We have very few, true holiday traditions. Easter is always iffy since weather in the Dakotas is highly unpredictable. Somewhat frequent summer burn-bans make 4th of July sparklers hit and miss. Our Thanksgiving table is always set for company–but we never really know who will be dining with us. Christmas and New Years are usually spent traveling–and those plans never seem to materialize until a week or so before December 25.
Valentine’s Day is different.
We don’t do anything elaborate for Valentine’s Day. Sometimes we go on a date. Sometimes we don’t. We might eat dinner out. Or maybe we just eat at home. I guess it’s really as unpredictable as the rest of the holidays. But we do have one tradition, and it might be my favorite of the whole year.

I don’t know how it started. I think I happened across this photo of beautiful, homemade ice cream sandwiches in an issue of Martha Stewart Living. And since V-Day falls right smack-dab in the middle of the coldest part of winter (for those of us in the midwest) I thought I’d give it a try. (Here is her recipe. The cookies are a lot like the traditional ice cream sandwich cookies you can buy in the store. I made these a few times, but I had a knack for over baking them.)
I’ve been making homemade ice cream sandwiches for about 6 years now. Every year they get a little better. This year our treat was sweeter than ever because I shared my favorite edible Valentines with not one handsome boy–but two!
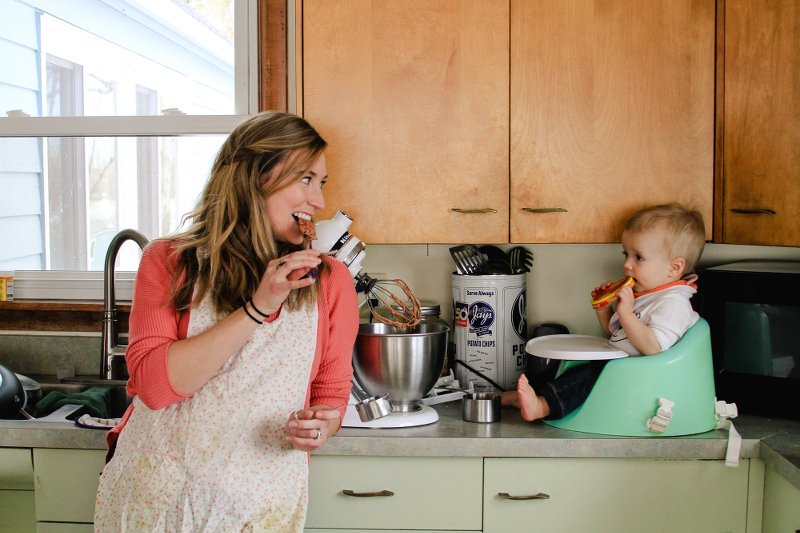
Maybe now that Gideon has joined our household we’ll create more traditions. Even if that doesn’t happen, hopefully he’ll always look forward to ice cream sandwiches in February. Perhaps he’ll want to help me make them even when he’s too big to be confined to a Bumbo seat on the counter.
Because I love this tradition so much I want to pass on my recipes to you. I’m a big fan of the traditional chocolate cookie sandwiches. (Like Martha’s above.) I’ve tried several cookie recipes, but this recipe from Handle the Heat is the best one I’ve found yet.
The cookies are soft and chewy–even when they’re frozen. They’re easy to make. The ingredients are usually already in my kitchen and the recipe is well-written and easy to follow. (The only down side is that they can’t be cut with a cookie cutter.) I’ve never made the cookie butter ice cream mentioned in her recipe, but I can only imagine it is di-vine!
I scoop the batter with a medium cookie scoop. Don’t be alarmed that the cookie dough looks thin. It’s more like a batter than a dough. I find that the cookies don’t spread too much and they come out light, airy and a little puffed up at first. Just don’t let their delicate look trick you in to over-baking them. They’re meant to be a little gooey.
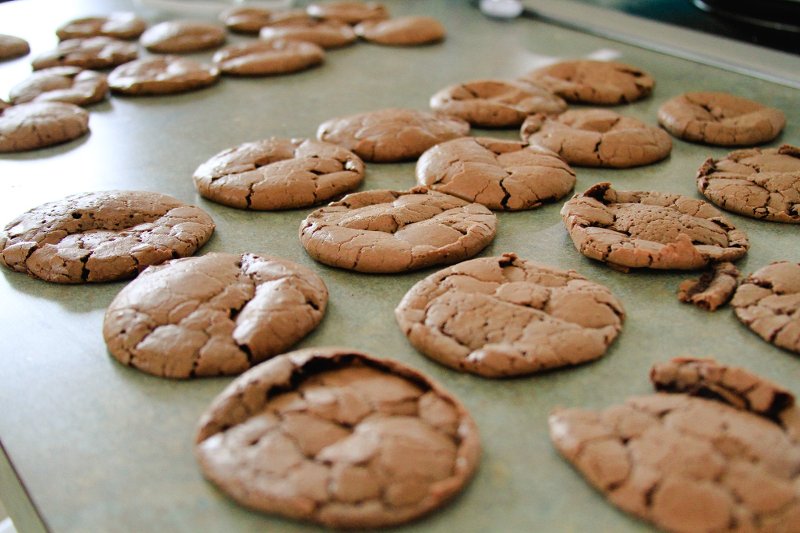
As they cool they flatten out a bit. (Oh, and I should mention that they are delightful to eat on their own. Or topped with peanut butter. Just saying.)
I’ve used lots of different fillings over the years too. The first year I did store-bought strawberry ice cream–just like Martha. Later I did vanilla. Then two years ago I got an ice cream maker for Christmas.
Best. Gift. Ever.
Well–one of the best gifts ever. Especially for an ice cream lover like me.
This is the one I have and if you have a KitchenAid, I highly recommend it. It’s easy to use, affordable, and makes a perfect sized batch of ice cream.
This year we filled our sandwiches with this Maple Nut ice cream from The Cookie Writer. It. Is. So. Good. I’ll definitely be making it again. It pairs perfectly with the chewy-gooey brownie cookies!

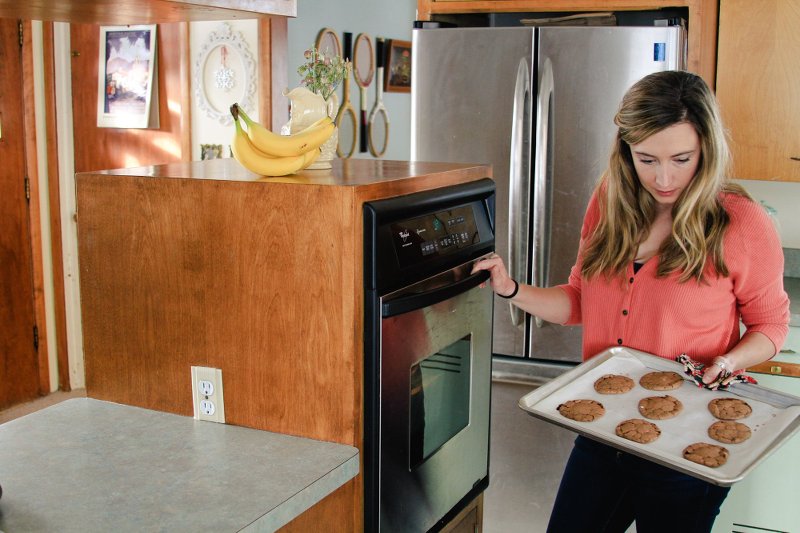
If you are going to try your hand at making your own ice cream sandwiches here are my top three tips. (Here’s a quick FYI. I don’t do elaborate staging for photos, as evidenced by the pile of used bottles waiting to be washed behind me.)
- Freeze everything before assembly. They are much easier to put together if everything is solid.
- Uniformity is key. Use a cookie scoop to size out cookie dough. I also use a round biscuit or cookie cutter sitting on top of a cookie as a guide for filling it with ice cream. It gives a nice clean edge and consistent filling.
- Do it in two days. While this is easy, it’s also a tad time consuming. I find that making cookies and ice cream on day one and doing assemble on day two helps fit this treat into my lifestyle. Doing it that way also keeps it fun, instead of leaving me cranky that I’ve been in the kitchen all day.
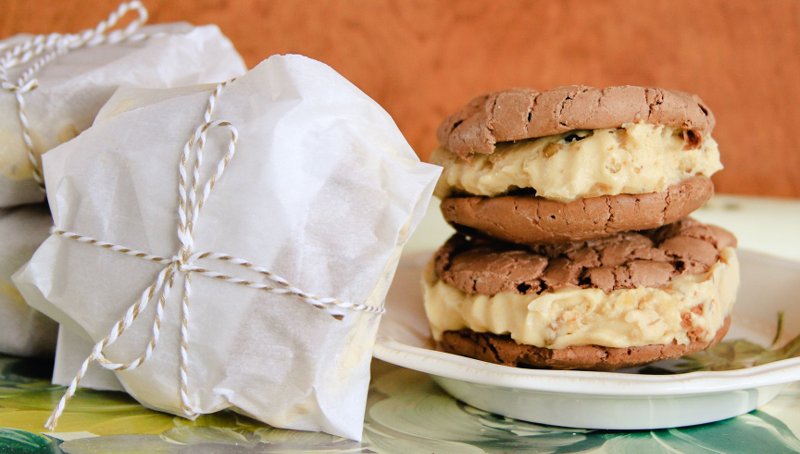
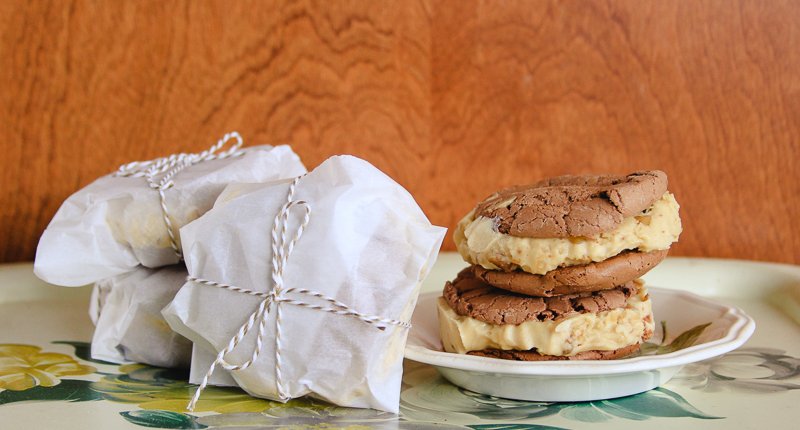
For pretty presentation I wrap mine in parchment paper and tie them with baker’s twine. However, if you aren’t giving them away you can just store them in an air tight container. I’ve been told they’ll keep a couple weeks…but we eat them too quickly to know if that’s true.
Happy baking!


