by Amy | Sep 29, 2014 | Blog, Crafts, The Art of Art, The Art of Design, The Art of Projects
You know how something just keep getting shoved to the end of your to-do list? If not, props to you. Maybe we can chat sometime and you can tell me how to quit doing that.
But I digress.
Something that has been pushed to the end of the line over and over again, is getting my shop up and running. I’ve had the photos in a folder on my desktop for months. I’ve had the products to be sold sitting in the cloffice since June. But every time I thought about reviving my Etsy shop and updating my PayPal account, I felt like gagging…then I’d simply walk away from the computer, or take a stroll through Pinterest instead.
But after my weeks in South Dakota and Indiana, I came back revived and refocused. Ready tackle, promote and grow the blog and business. {The amazing feedback from the Bridesmaid Thank You Cards, also gave me a pretty good push.} I can now proudly say that:
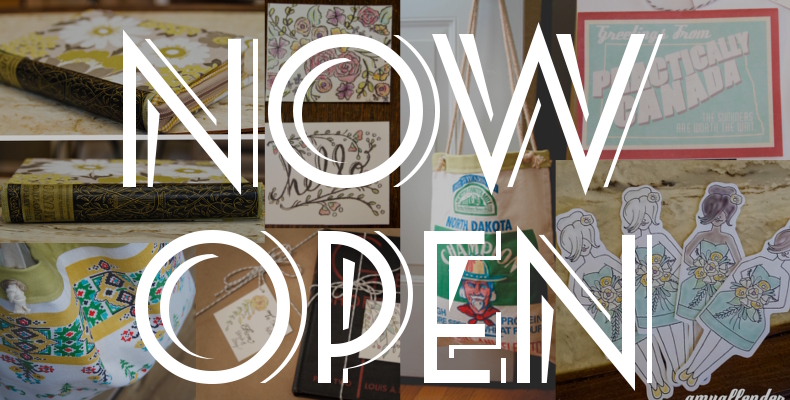
The Amy Allender: The Art of Living Etsy shop is now open for business!
So, now, you can shop products I’ve created in my home “sweat shop” or designed. You can access the shop from my navigation bar here at the website, or by visiting my Etsy shop. Soon I’ll be adding more invitation designs as digital downloads, and new items as the holiday season approaches, so be on the look out for those.
And now that the PayPal account has been revived as well, I’m hoping to add a “pay online” feature for photo clients…so no more check writing at the time of your session. But let’s not get ahead of ourselves. I’ll let you know when that goes live.
In the mean time, enjoy the shop. Favorite the shop. Share with your friends. Buy some gifts. You know, that kind of thing. I love you all. Thank you so much for encouraging me and being so amazing. If you have an Etsy shop, let me know by leaving a comment {I think I got that bug fixed too}. I’d love to check you out. Here are some items to get you started:
[shop_featured_listings]
by Amy | Jul 25, 2014 | Blog, Crafts, The Art of Art, The Art of Gathering, The Art of Projects

I have something very exciting to tell you about. It’s exciting for me, but mostly it’ll be exciting for the Practically Canadian followers out there.
A couple new services have been tacked on to my services menu. And they are way fun.
Starting now. Right now, The Art of Living Project is offering crafty classes for you and all your friends. Now, what on earth could that mean? Let me tell you.
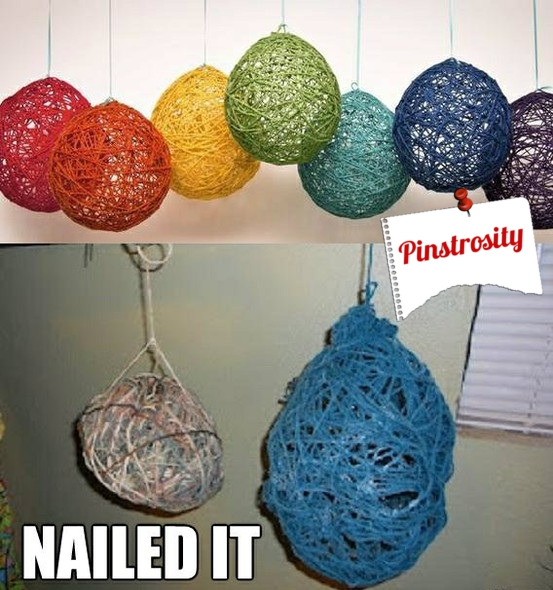
I think lots of us can agree that crafting is super fun and awesome….and it only gets more awesome if you craft with friends. And it gets even better if you don’t have to spend time gathering supplies or finding a tutorial. And even more amazing if there was no Pinterest rage involved, because someone is there to help you complete a project that actually turns out the way it should and not on one of those “nailed-it” boards.
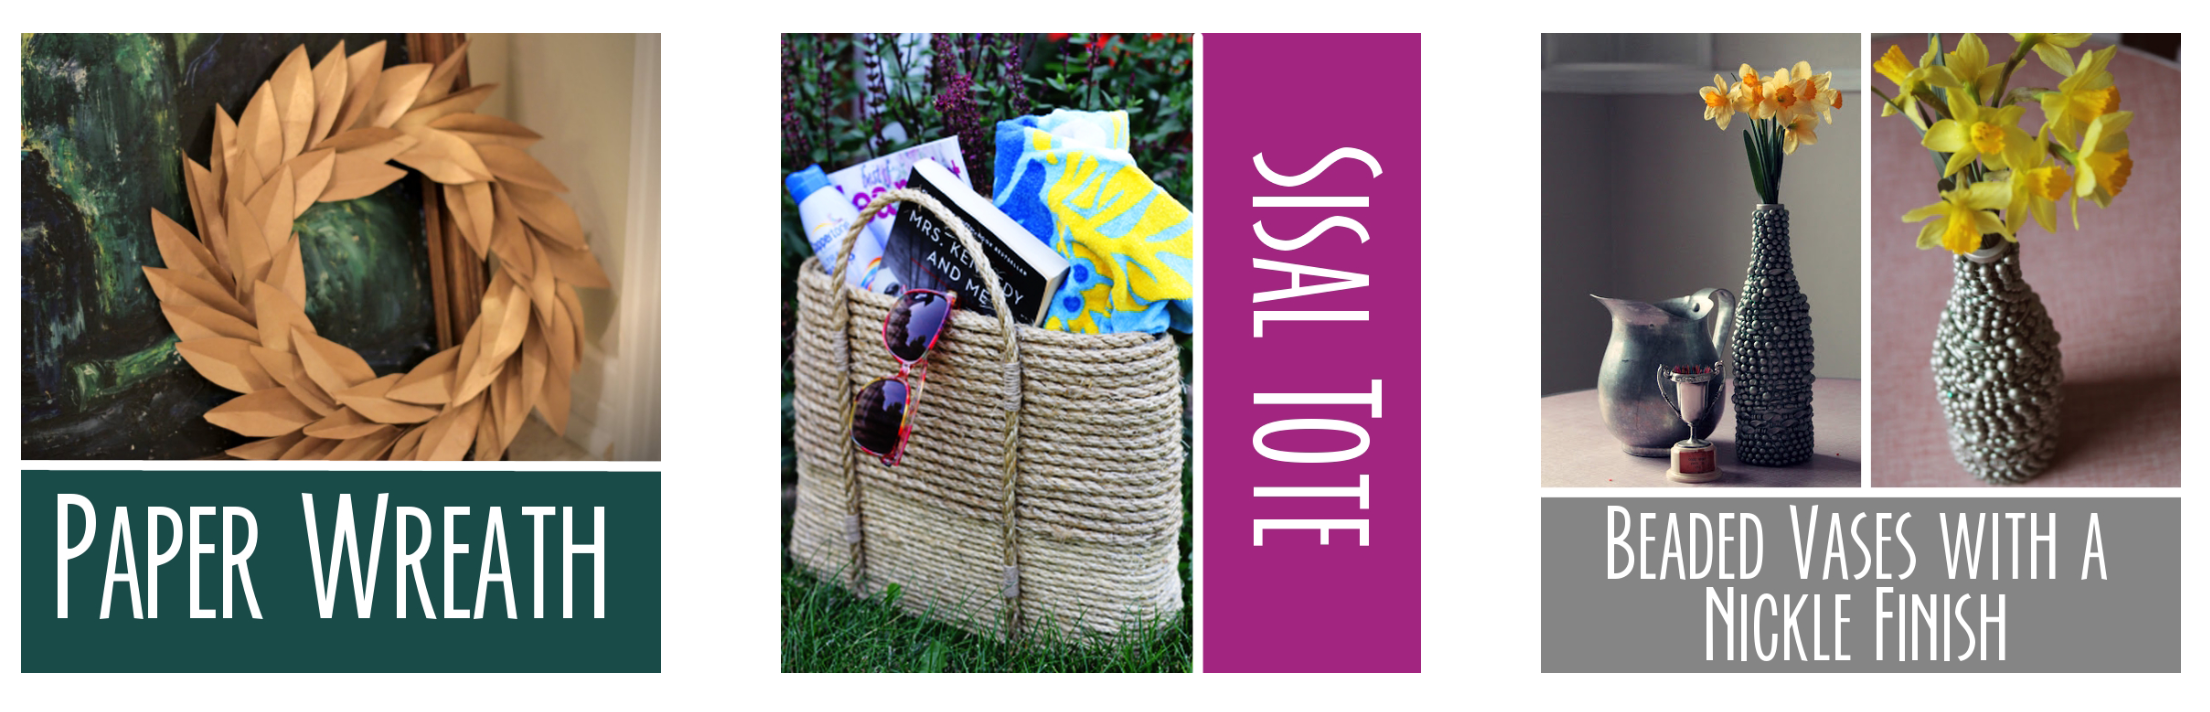
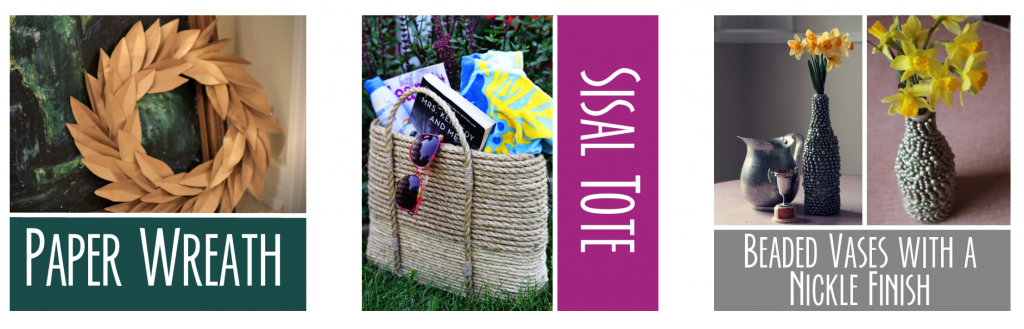
That’s where my crafty classes come in. Right now I have 15 projects available to choose from–everything from Pottery Barn knock offs to wreaths-a-plenty. Lots of others are on the way too. Projects on the horizon include DIY mercury glass, all kinds of paper flowers, burlap runners, glass painting, lamp wiring! So keep your eyes peeled and watch for new project postings.
You pick a class, I get the supplies, you have fun, you end up with something awesome and a new skill.

The best part about this type of class is that you will leave with the understanding of how to create something. For example, I offer a class that focuses on all kinds of burlap flowers. You’ll leave with some cool stuff and the know-how to do it again…the next time you want to embellish a wreath, or package, you’ll be able to whip up a flower and brag to your friends. It’s the whole teach-a-man-to-fish philosophy. I’m really into that.
Not only is it a way fun way to spend an afternoon or evening, it’s a great way to learn something new, create unique gifts and become a DIY master. After all…why should I be hoarding all the skills?
Oh…and if you and your cronies have found something that you are just dying to make…or have failed on before but would like to try again, all you have to do is get in touch with me and I’ll be happy to come up with a tutorial, gather supplies and plan a custom party just for you.
So, yeah. I’m pretty excited. And you should be too. Because this just might turn out to be your new favorite Practically Canadian pass-time.
Amy
PS–I’m also working on an artillery of painting party designs. Right now there is just one lonely painting in the gallery, but more are on the way!
by Amy | Jul 12, 2014 | Blog, Crafts, The Art of Projects
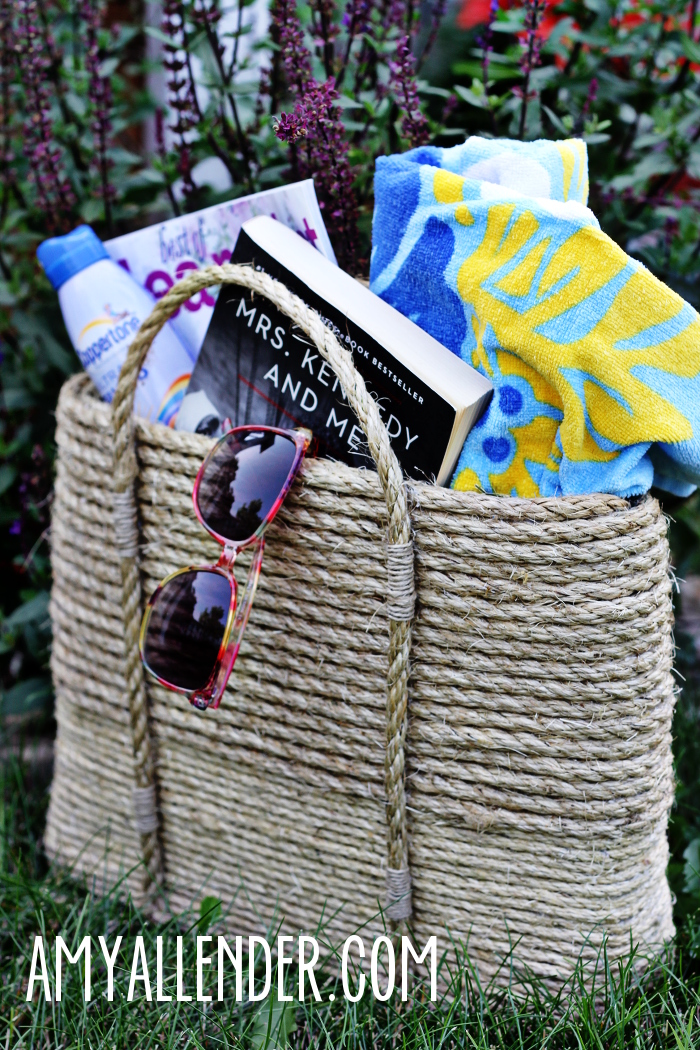
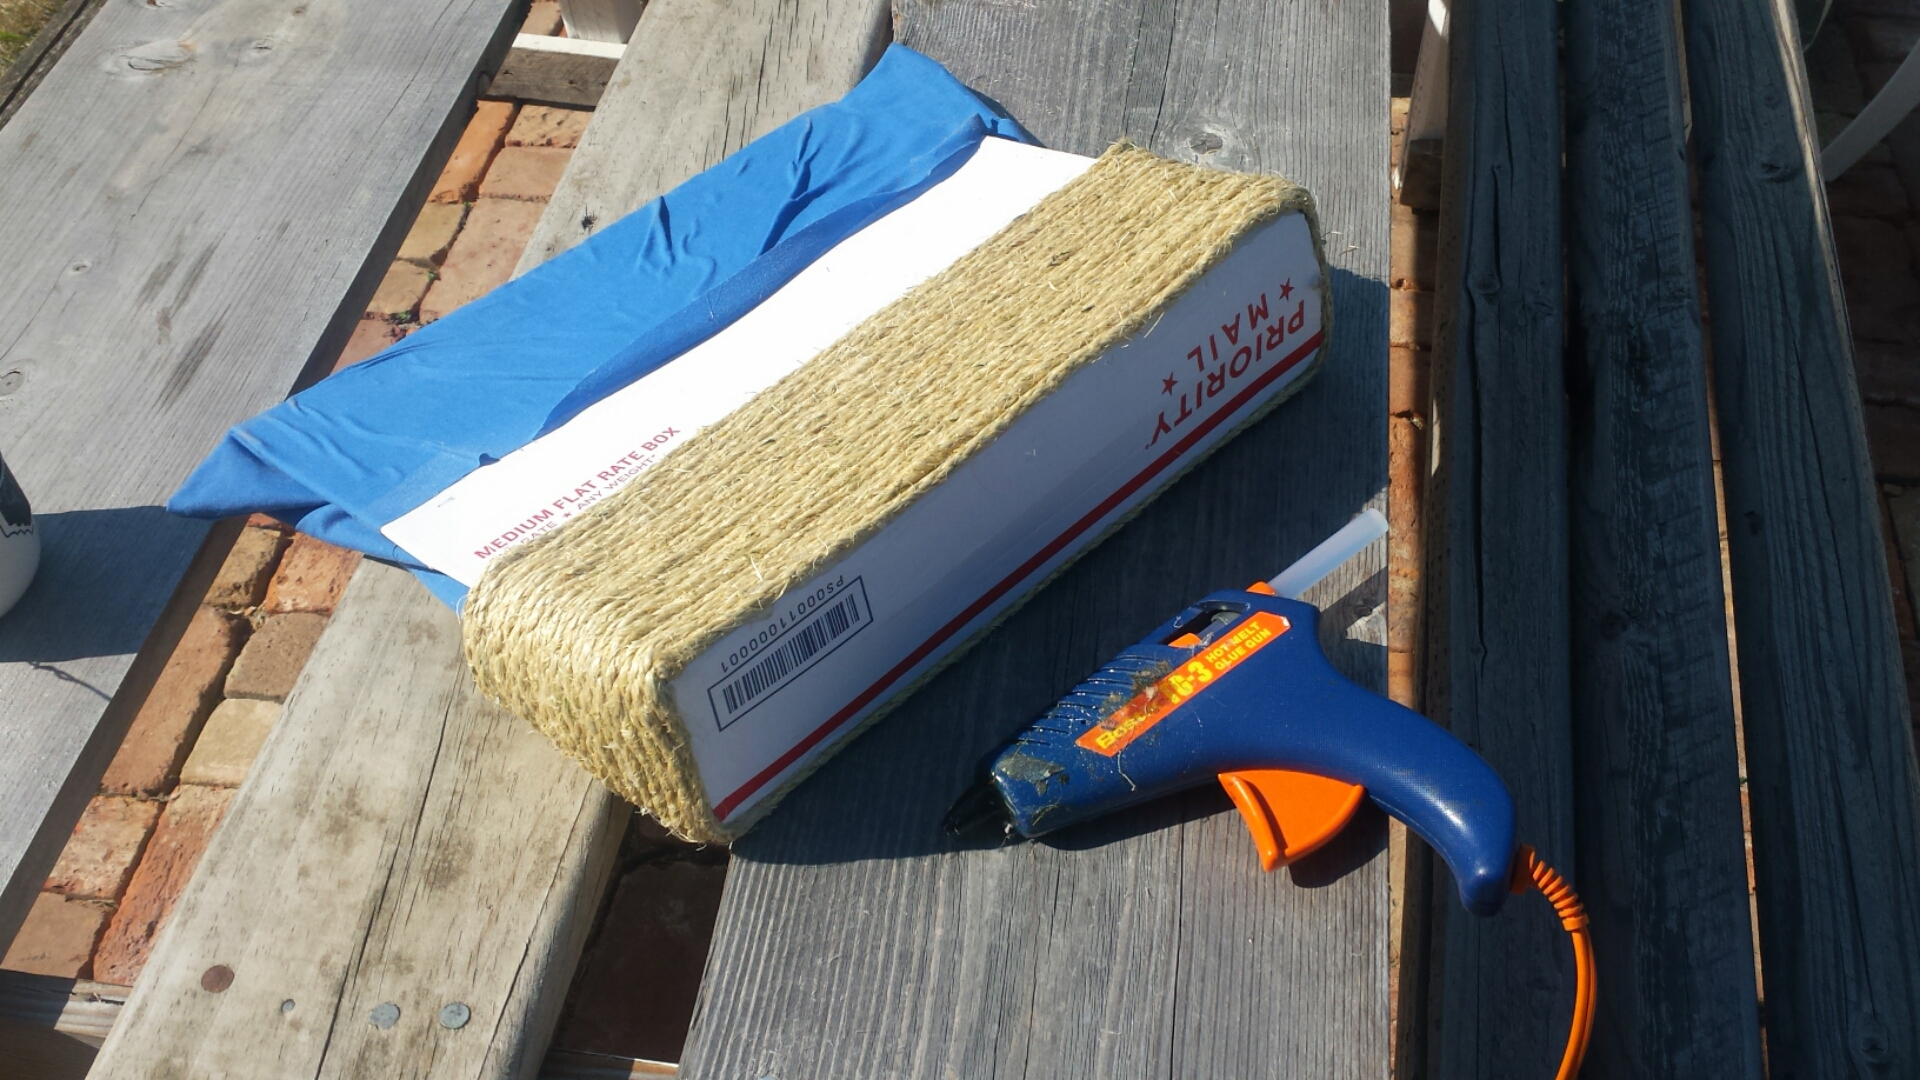
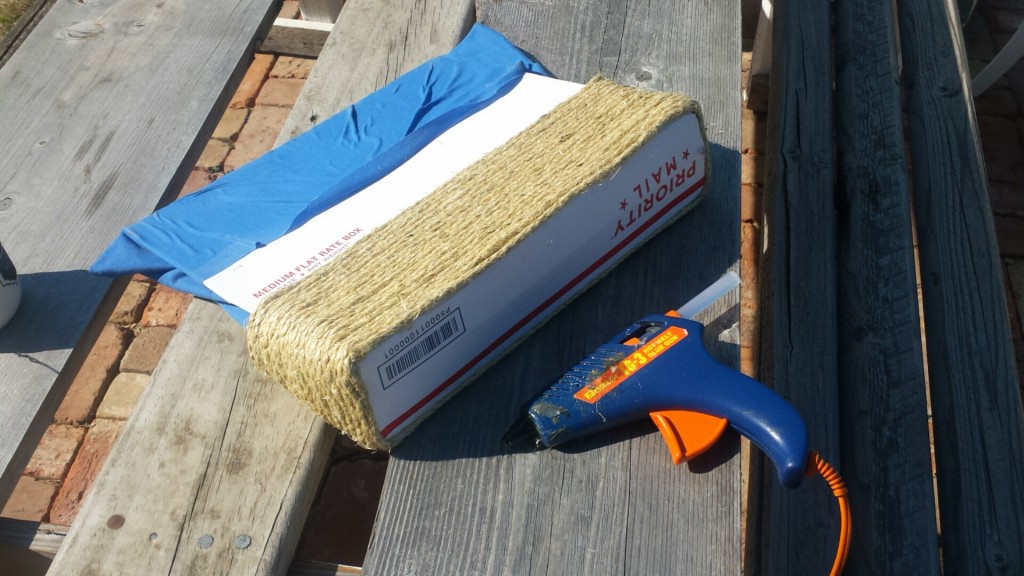
Okay. I know. It’s Saturday evening…this is out of character to post right now. But–I did finish the mystery project from yesterday and I just had to show you the finished product. Look.
Remember what I showed you yesterday? I know. I can’t believe it either.
As I said in that post, this was kind of an experiment. So I don’t have a full tutorial for you. But I’ll be going home to Indiana next week to visit the fam and my mom has requested full instruction on making these little gems. So, pinky swear, a full tutorial {with detailed instructions} will be coming soon.
For those of you that just can’t wait. Here’s the basic principle. Get a flat rate box. This one is a medium. Cut out the sides. Flip a pillow case inside out and put it in the box like a lining. Use spray adhesive to adhere the pillowcase to the cardboard that is left of the box.
Then start wrapping and gluing rope around and around and around. I used 1/2″ and 3/8″ sisal twine.
The straps are adhered with E6000 glue .
Again…a full tutorial coming soon!

by Amy | Jul 11, 2014 | Blog, Crafts, The Art of Projects
I’m making something. I had this idea and I’m not sure how it’s going to turn out…but I think it just might be a winner. Here are the ingredients.
A flat rate box
An old pillowcase
Spray adhesive
Rope
Hot Glue
Here’s what I’ve got.
I’ll show it to you when I’m done. Promise.
Isn’t mysterious upcycling the best?
Amy
by Amy | Jul 10, 2014 | Blog, Crafts, The Art of Art, The Art of Design, The Art of Projects
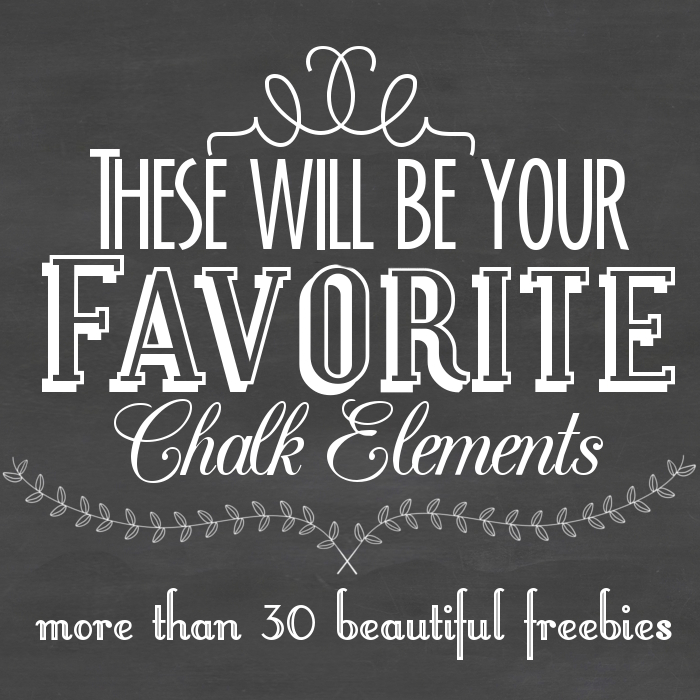
That’s right. When I’m not able to draw out a chalkboard full of awesome stuff by hand {like this, or this, or this…} I turn to the digital stuff. Tonight I’m sharing all my favorites with you. AND they are all FREE!! So get ready to pin, because you are going to want to hang on to these sources–or immediately download them. I use them all the time and L-O-V-E them. Dearly.

I love these Rustic Graphics from We Lived Happily Ever After. She is a genius. She also shared a free chalk background. You can get that here. While I usually try to download things that are okay to use commercially, these are for personal use only. So I reserve them for unpaid project for family and friends.
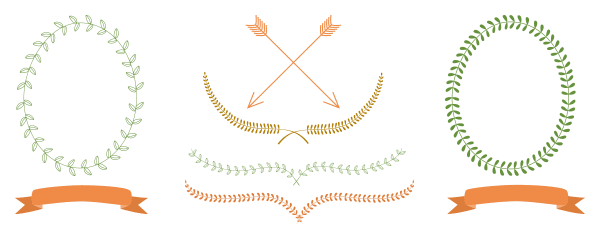
Next are these adorable laurels and frames from Sunflower Studio. They are under the creative commons license. So they are good to use for commercial or personal purposes.
If you know me weirdly well, you know I have a weakness for fonts. Here are my favorites to use against a chalk background.
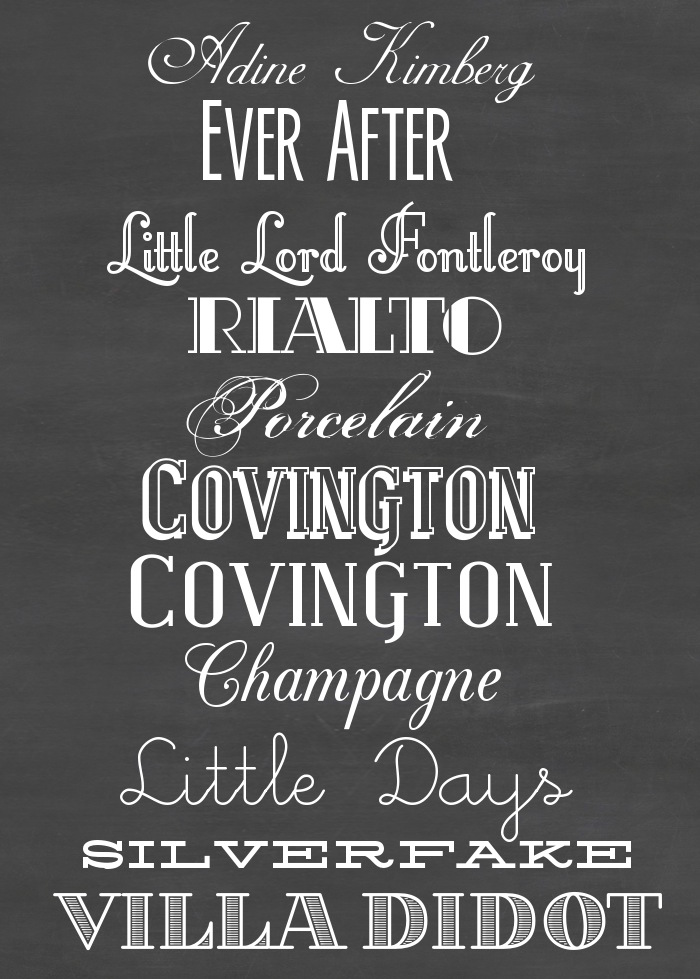
Adine Kimberg
Ever After
Little Lord Fontleroy
Rialto
Porcelain
Covington
Champagne
Little Days
Silverfake
Villa Didot
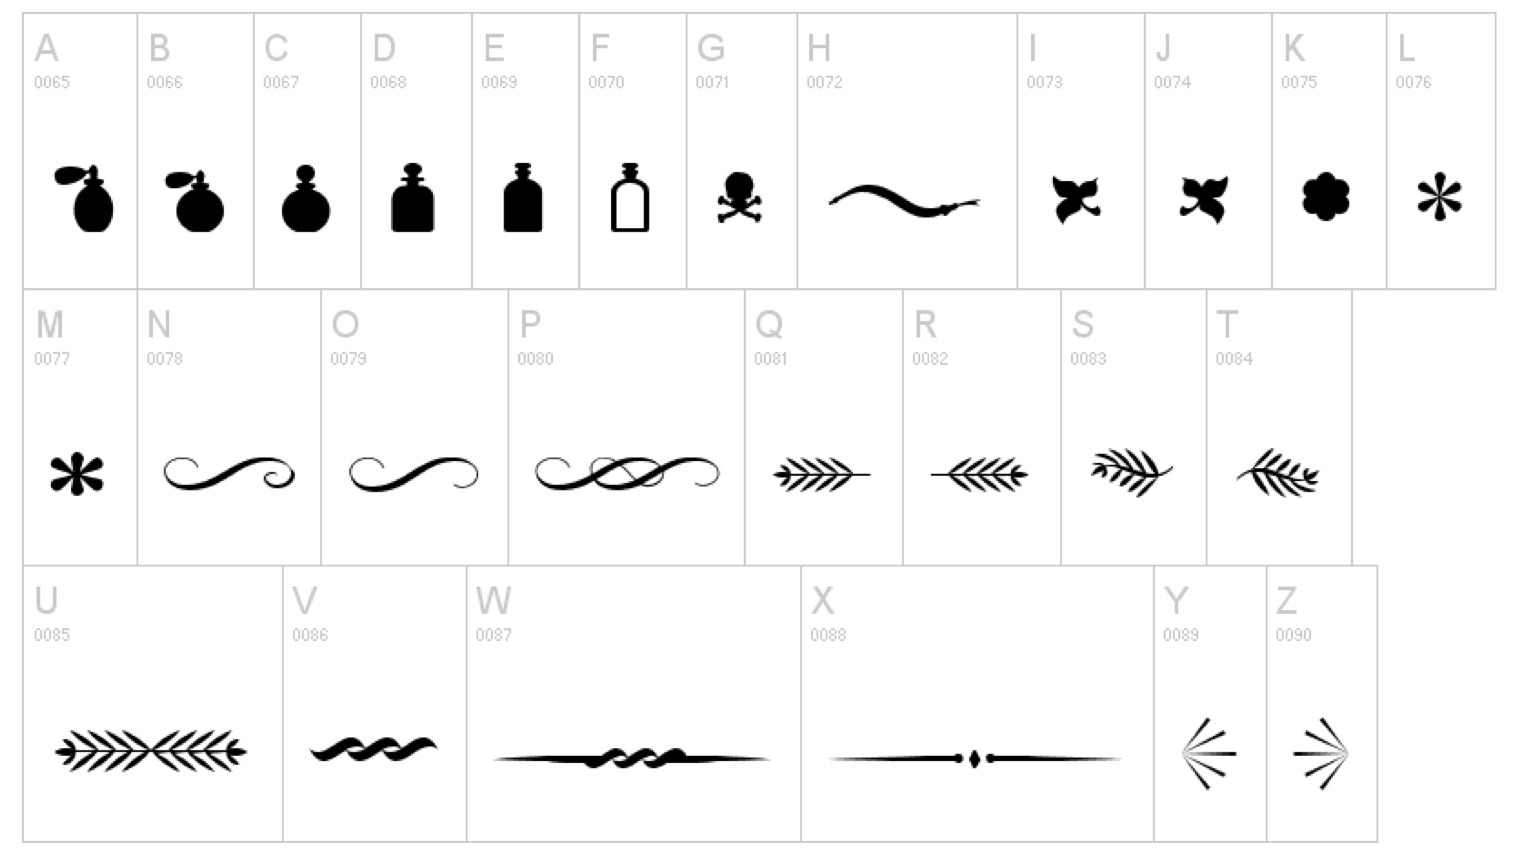
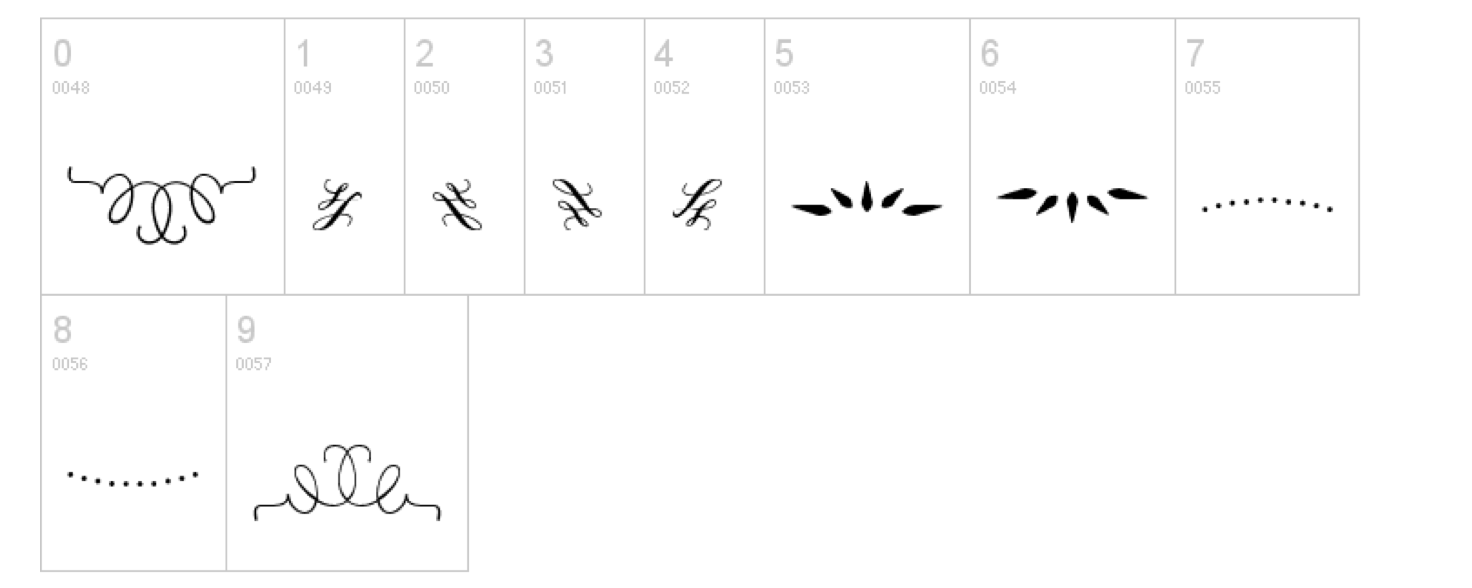
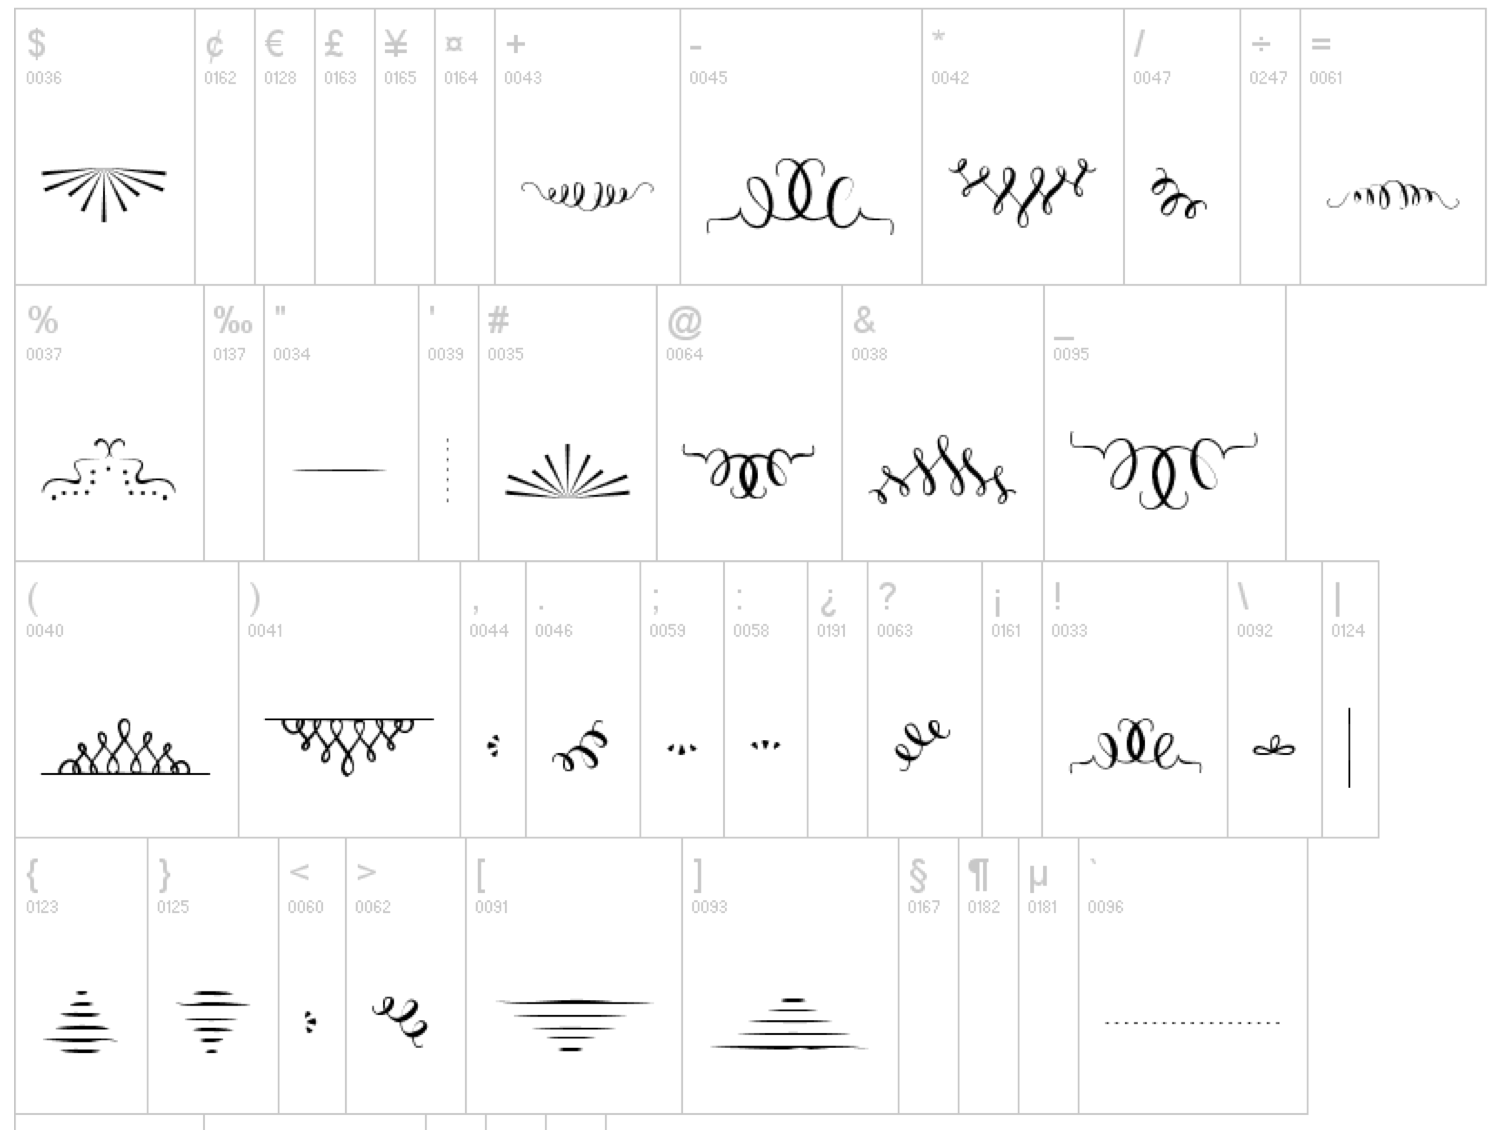
And…here are two more fonts that you should have. They are awesome dingbats for chalk projects.

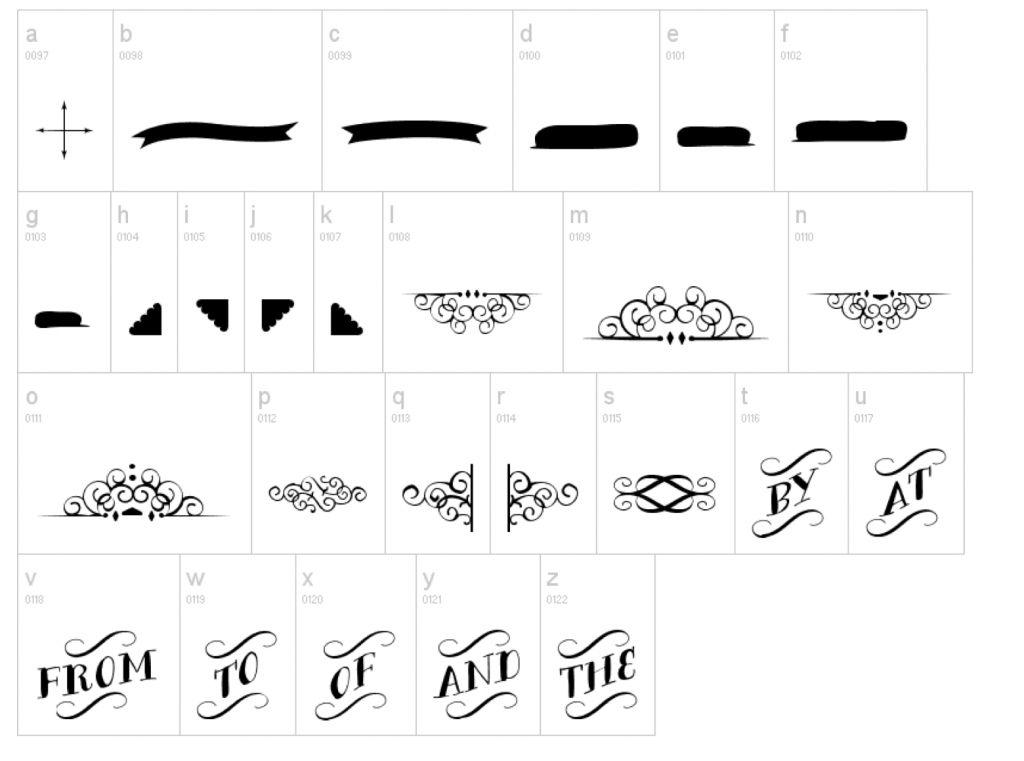


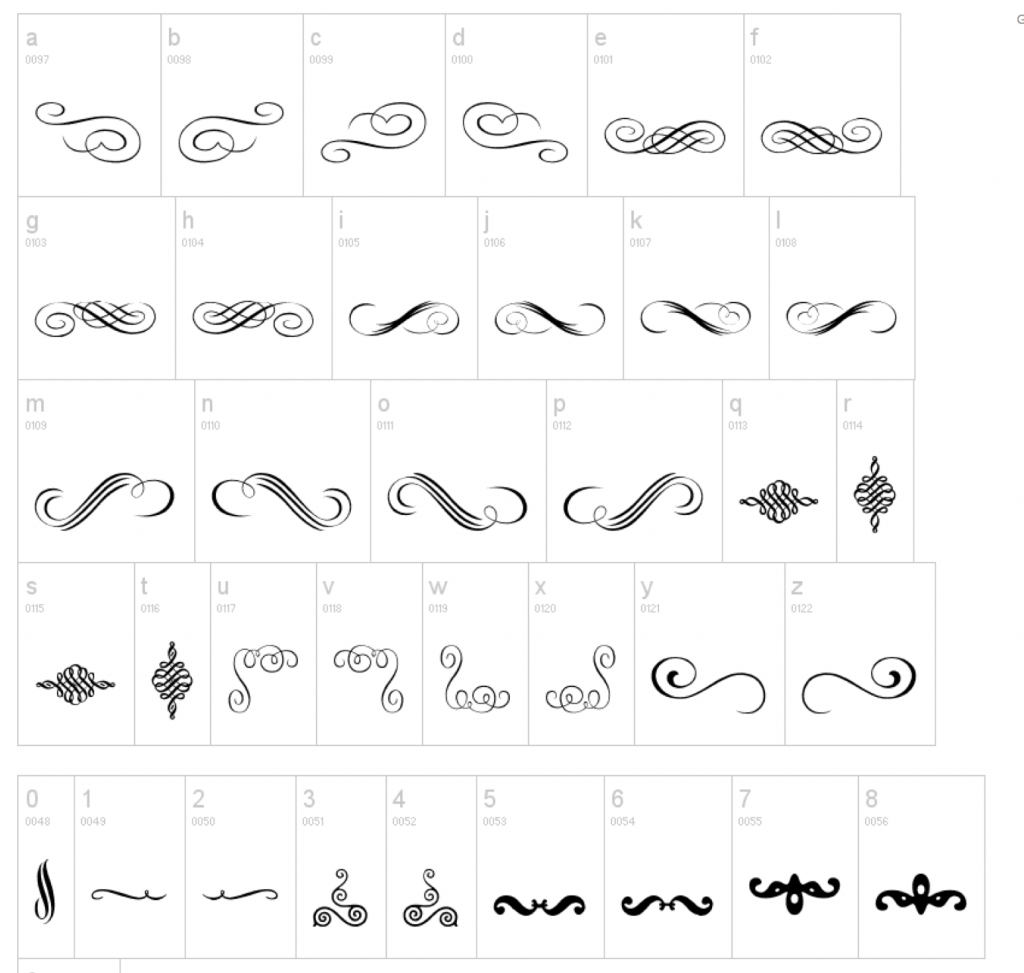
Remember to check licenses before you use them commercially, but most of this stuff is good to go. Happy chalking!
Amy
by Amy | Jun 28, 2014 | Blog, Crafts, The Art of Art, The Art of Design, The Art of Projects
Hey all! Well, let me tell you. Lots of things have transpired since I last posted. In case you missed the last post, it was the BIG, Fat Reading List. Much anticipated…lots of great recommendations from my most trusted readers. If you are looking for something to read this summer {or ever} you should check it out.
So, I had surgery. On the back. But I’ll tell you about that another time.
Tonight, I want to do a little show and tell and plug. Tomorrow is Minot’s Integrity Jazz Festival and I’ll be there. Yes, I know I just had back surgery. But I committed before I knew I was having surgery. And I’ll just be sitting there. Very similar to sitting at home, just with better music. And Derek will be with me. So no worries.
For the last few weeks I’ve been in what I like to refer to as Sweat Shop Mode. That’s where I work all day and all night on products. It happens a lot at Christmas time. Since this is my first ever vendor experience I kicked it into high gear to be sure everything was ready and I wouldn’t have anything left to do to prep post-surgery.
That’s what I’m showing off tonight. Some of the things that will be for sale tomorrow. I’m nervous. I just don’t know how this is going to go. Or if anything will sell. Which would be a giant bummer since printing all these pieces wasn’t exactly cheap. So–if it doesn’t go so hot tomorrow…you’ll soon be seeing these items for sale here at amyallender.com. And then I’ll probably drop the prices and beg you to buy–if only to salvage my self esteem.
But enough chat. I’m nervous even showing you this. What if you hate it? Okay. Here goes.
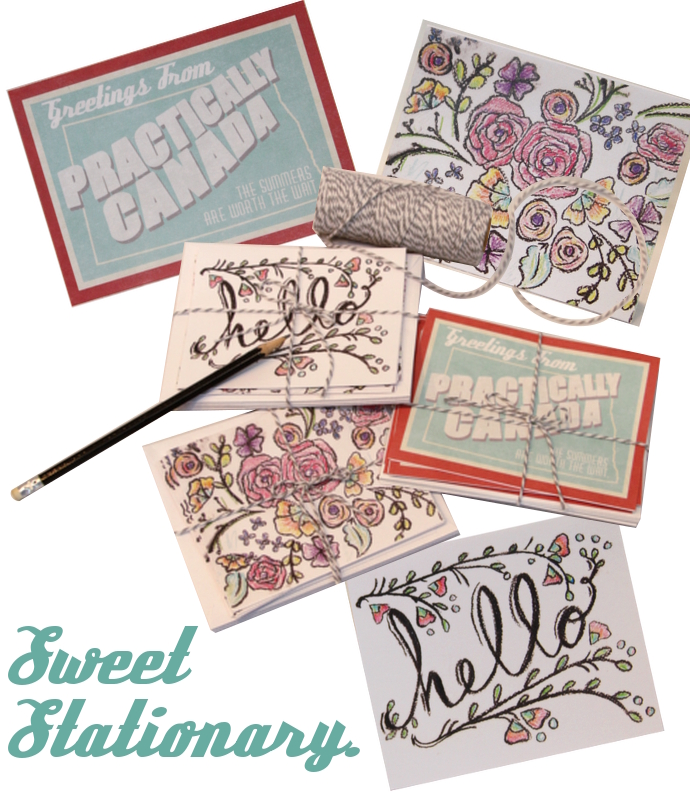
Stationary sets some are hand drawn. The Practically Canada stuff was digitally designed. And I hope the people I meet tomorrow have a good sense of humor like you guys.
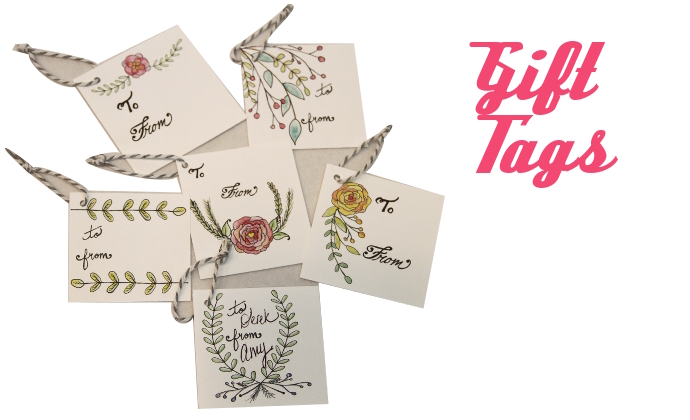 These I designed and drew and colored by hand. Then I digitized them to make them printable. They might be my most favorite of everything I’ve got for sale.
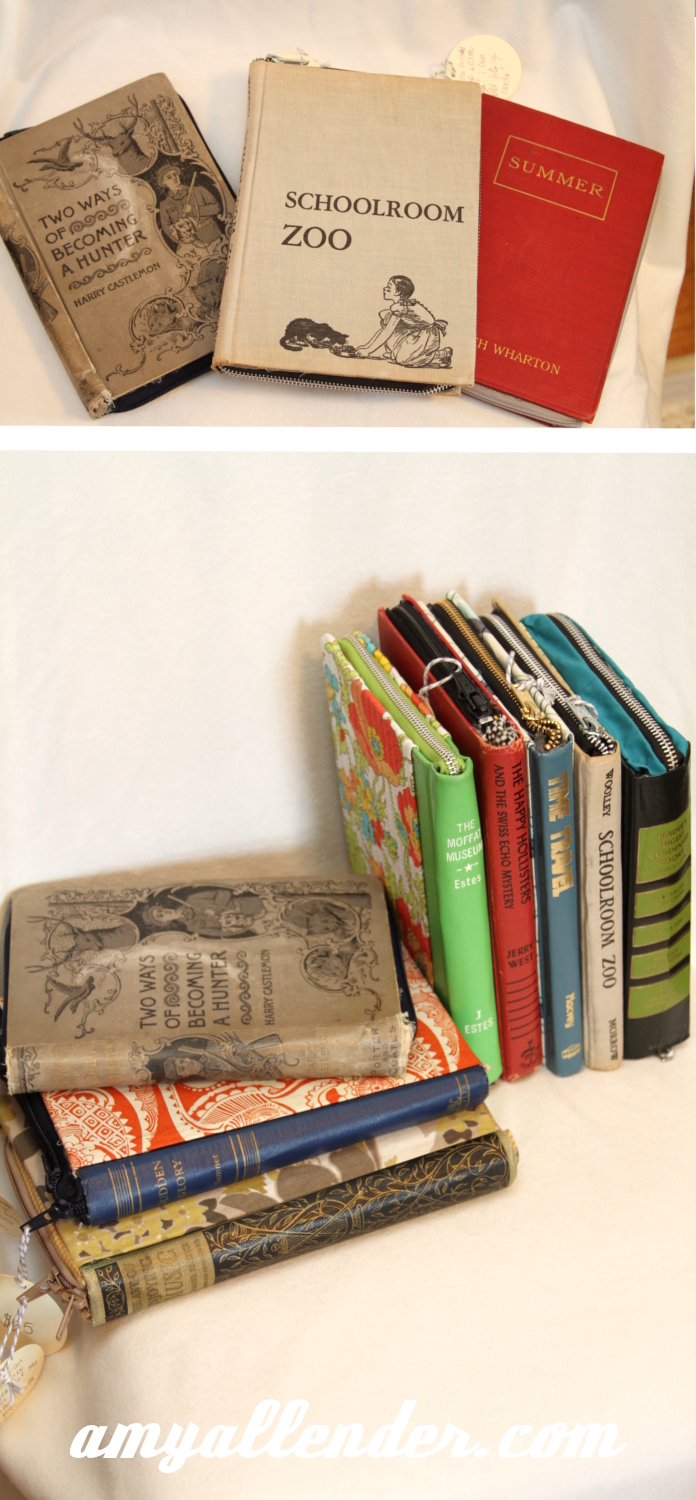
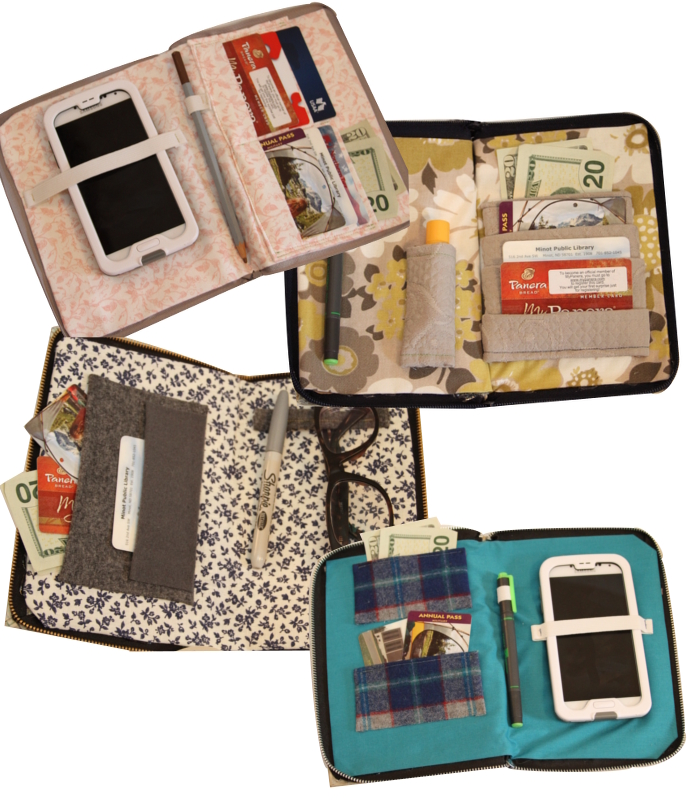 You may have seen book clutches floating around online. They are precious. I love vintage books and had a great time designing these. What I think sets mine apart from the loads of others in the world is that I sought out some really cool vintage books. The covers are lovely…and I left their original charm intact. Some are outfitted to be wallet-ish. Others are made to hold e-readers. But they make great carry-alls for toting items to the pool {sunglasses, phone, card, cash sunscreen}, holding make up, stashing stationary, etc.
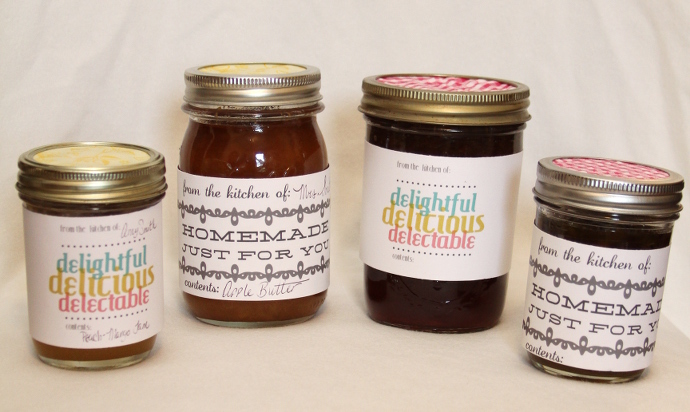
You know I love canning things. Usually I make labels for myself…so I thought others might like them too.

I came across these vintage flour sacks at an antique store. They were too adorable NOT to make into market bags.
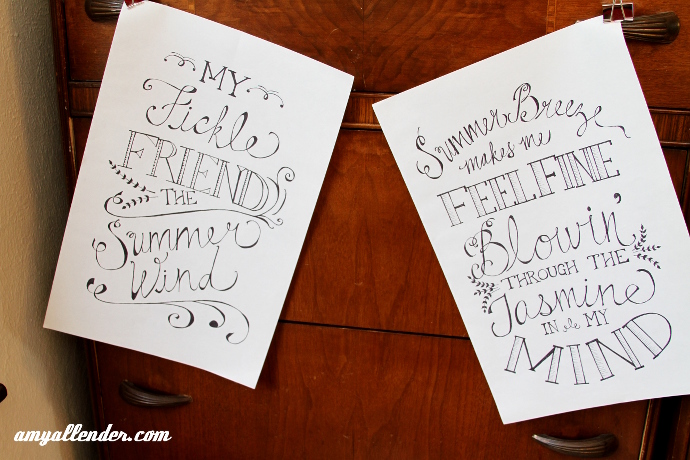
These might look familiar from another post…but I’m really proud of how these summer themed pieces turned out.
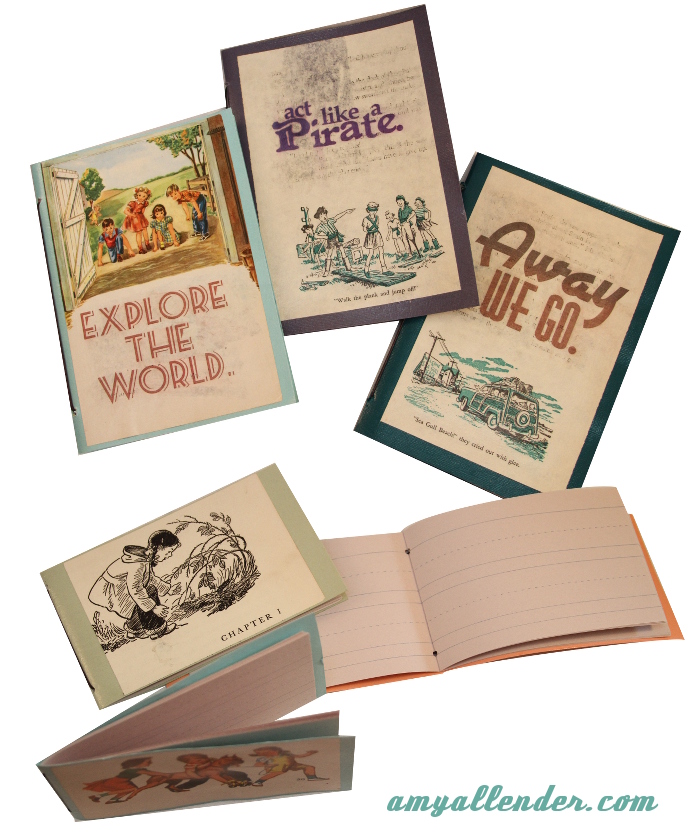
And lastly…I’ll have these adorable journals for sale. I made these from salvaged pages of vintage children’s books. I developed a technique for removing the page text and added my own graphic. Then I bound them into journals and notebooks. On a side note, I’ll also have individual pages with printing on them for sale. They’ll look super cute in a frame or decoupaged onto something else!
Now the plug. If you are in Practically Canada–you should totally come by the Jazz Festival. It’s at MSU in Anne Nicole Nelson Hall. If nothing else, you should just come say “Hi” and remind me that I am a fool for committing to do this just two days after surgery. Wish me luck!
Amy
by Amy | May 21, 2014 | Blog, Crafts, The Art of Art, The Art of Design, The Art of Gathering, The Art of Projects
About a week ago I found myself in Bismarck. Naturally, while there I was faced with a difficult decision: TJ Maxx or boutique shopping? I went the boutique route and found myself at a darling place called Junk Yard Chic. Their wares boast gifts of the salvaged, shabby-chic, rustic variety.
When I checked out, my goods were carefully wrapped in the cutest Popsicle tissue paper I’ve ever seen. Which got me thinking all about summer’s best treat, and how I could incorporate those fun, sweet, melty colors and flavors into my life this summer. Here are seven great things I came across.
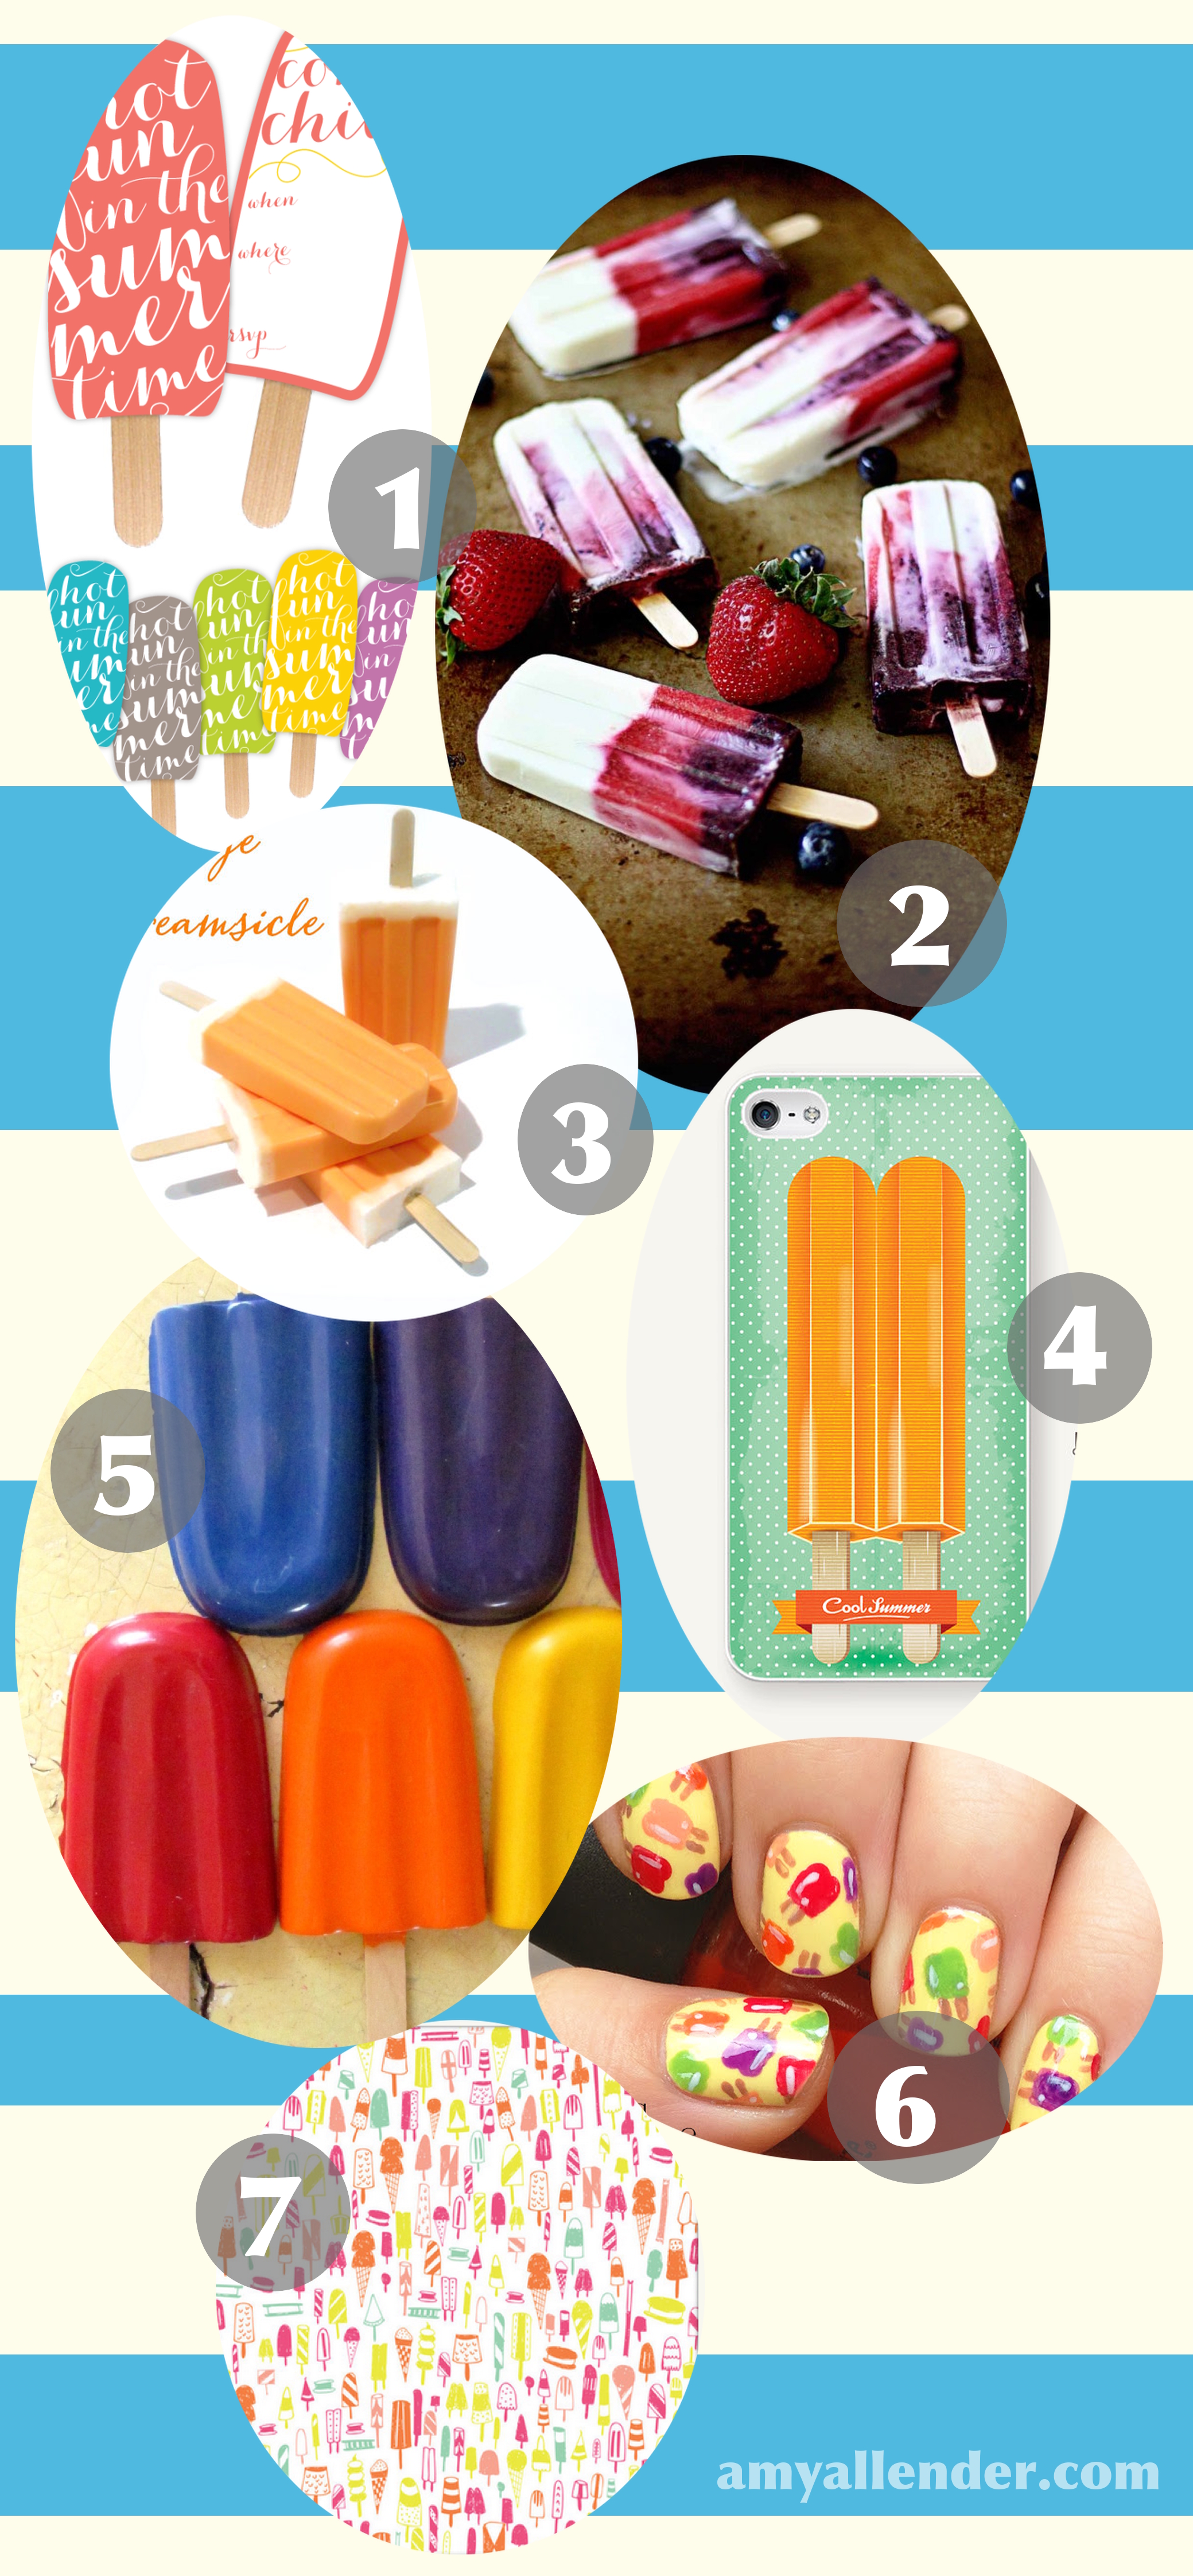
1. I have been itching to host a summer ice cream social. But I might just do a Popsicle social instead. These invitations from Free Pretty Printables are sooo cute I could eat them up. Oh, yeah. And they are FREE!
2. There are a ton of amazing popsicle recipes floating around on Pinterest these days. I fell in love with the wholesome ingredients and easy prep for these made with blueberries, strawberries and honey. Get the recipe here. The blog, In Sock Monkey Slippers recommends this mold.
3. Dreamcicles anyone? Those are soap! Yes, soap. The perfect summer gift for a summer hostess. Get them from Sun Kid Gifts on Etsy.
4. If technology is more your style, sport this adorable phone cover this summer. Get this one and other cute Popsicle prints at Peanutoak Case’s Etsy shop.
5. These aren’t edible at all! They are crayons. How amazing is that? I found this image on Pinterest. Which led me to Etsy…only to discover that the listing is no longer active. I’m guessing you can melt down crayons and cool them in a Popsicle mold. You’re creative. I know you’ll figure it out.
6. I dig these nails from Lacq Lustre. She did them herself and shares all the colors she used. So even if you don’t make the mini Popsicles, you can still have some poppy color.
7. And lastly…I searched high and low for the tissue paper that started this whole thing. I couldn’t find it. What I did find was this adorable wrapping paper from Clementine Store. Now who do I know with a summer birthday…?
Amy
by Amy | May 20, 2014 | Blog, Crafts, The Art of Projects, The Art of the Moment

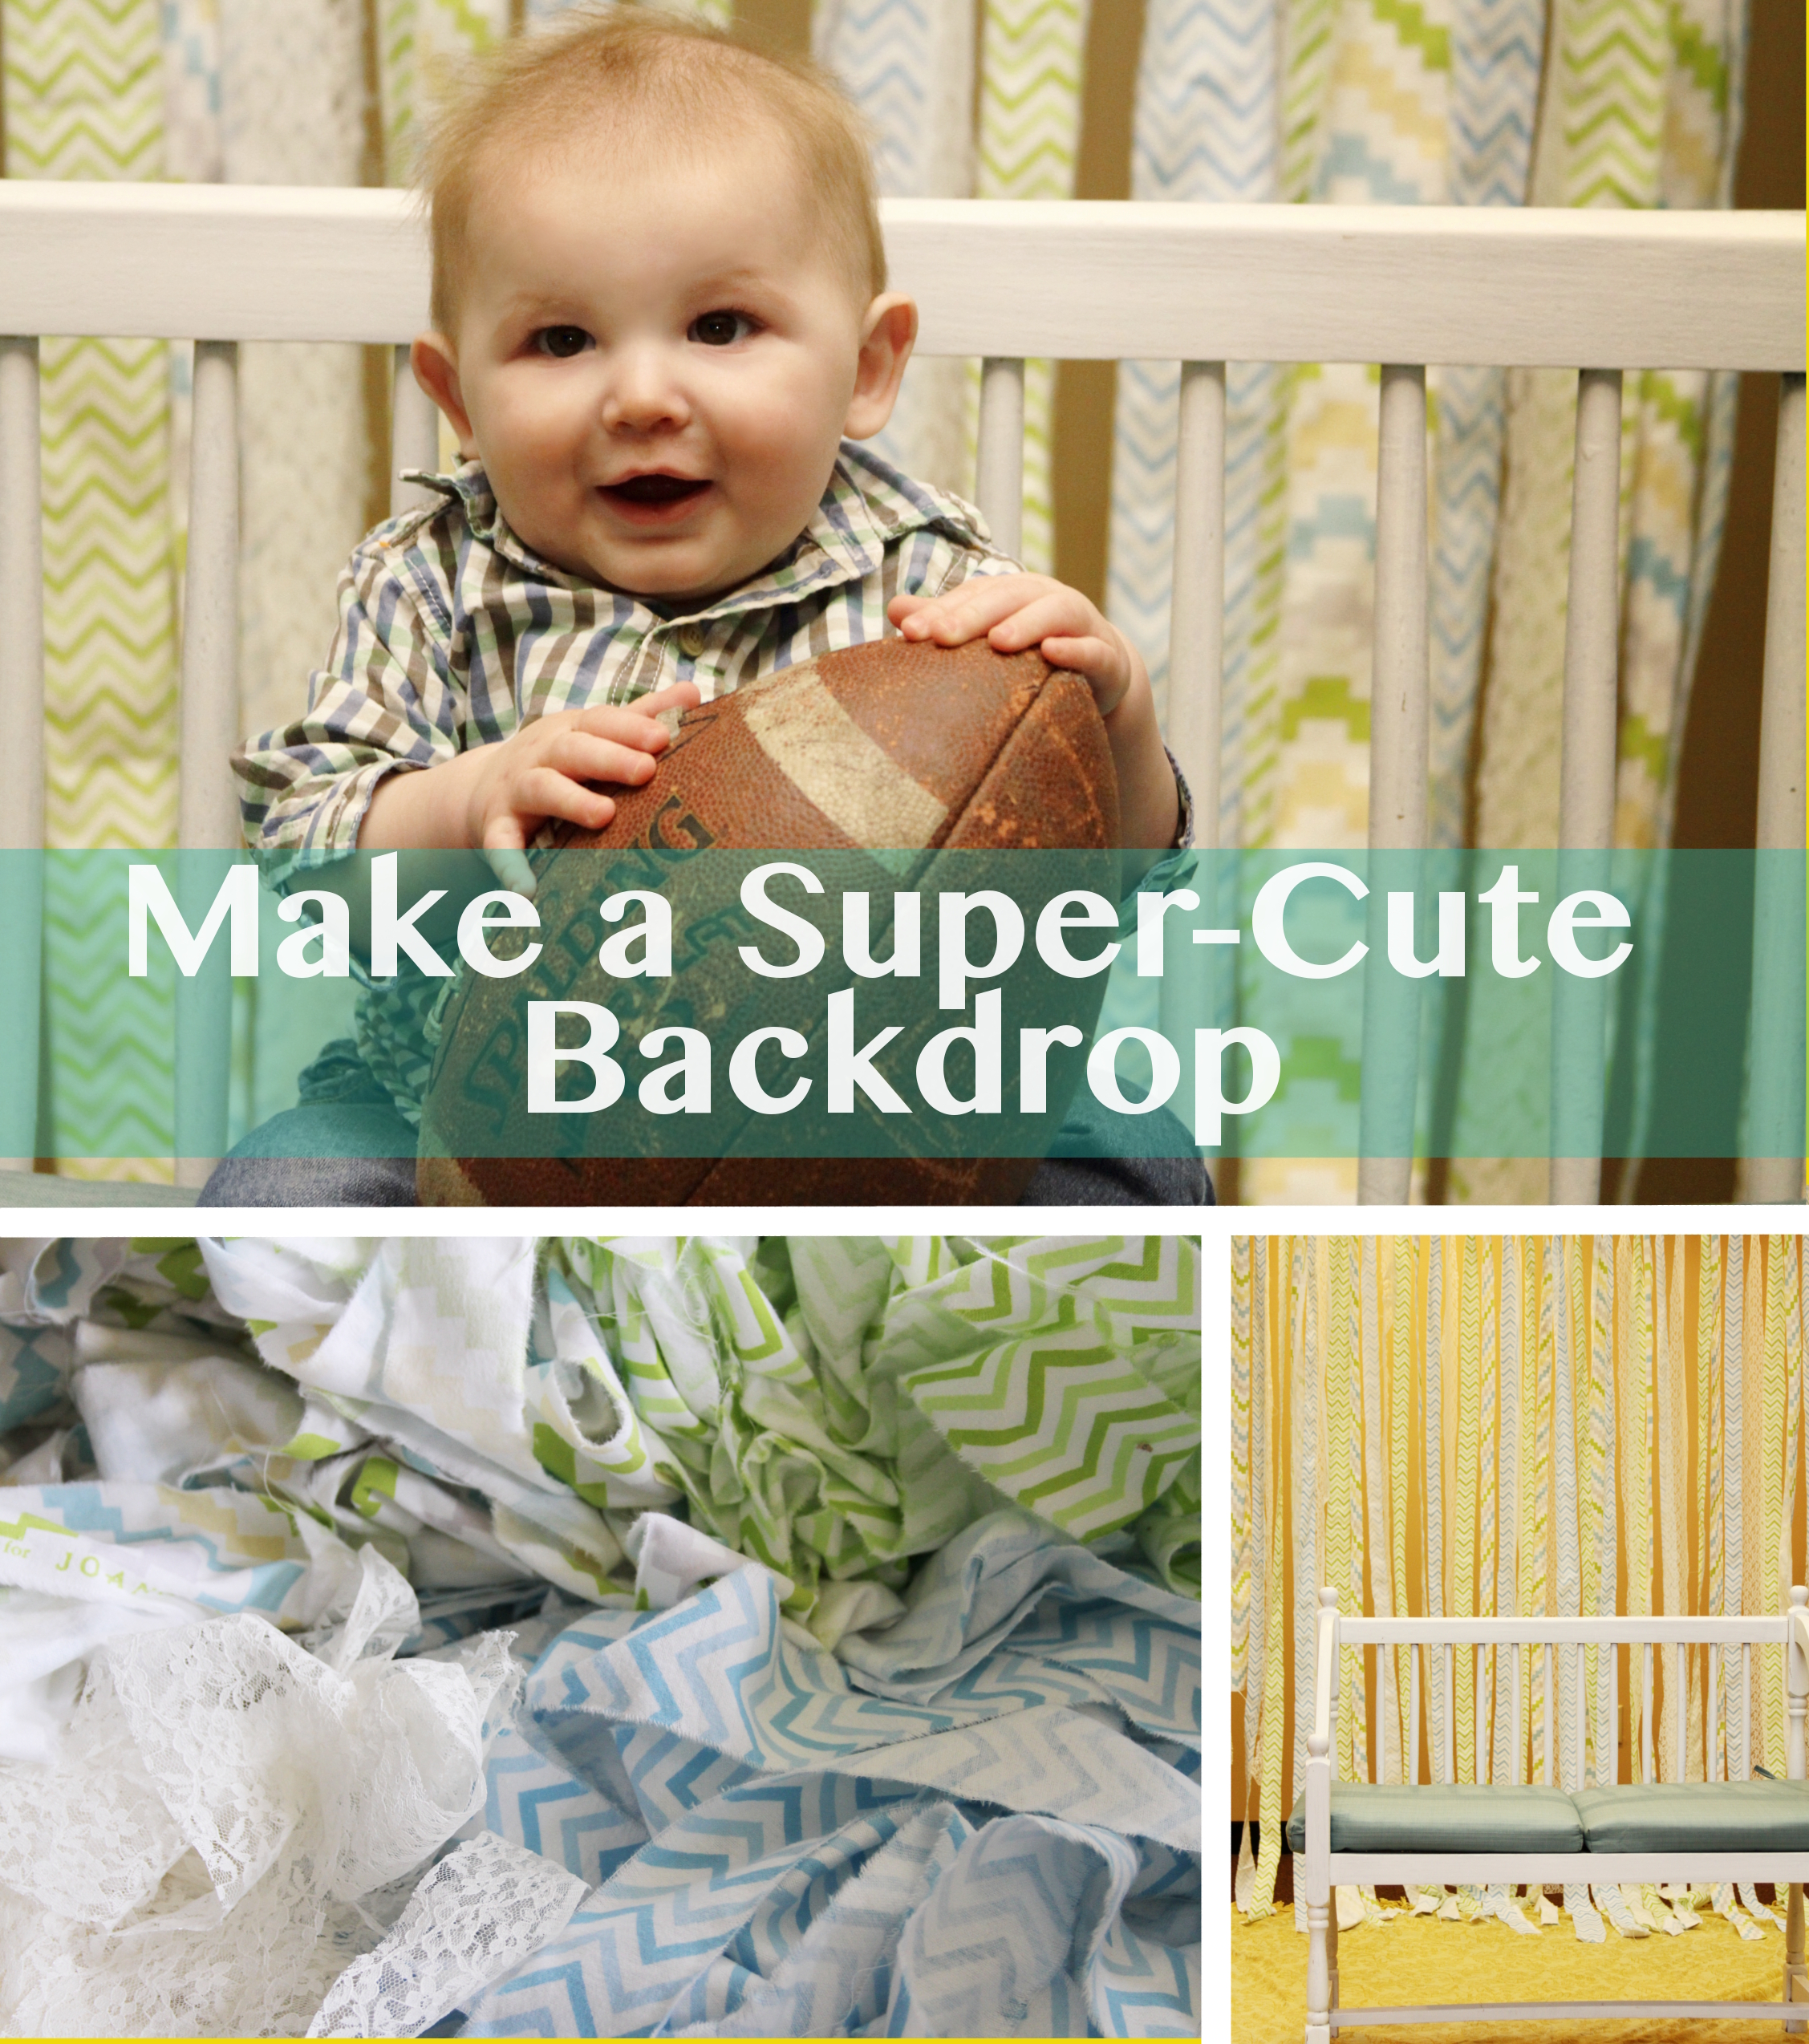
I did some walk in portrait sessions about a week ago. So I made a new backdrop.
Did I have other things I could have used? Probably. Okay, fine…yes. But I was in the mood for something new, something reusable, and something versatile. So I made a the backdrop you see above. It was insanely easy. Insanely. Let’s go.
You’ll need:
- 2.5 yards of fabric in 3 patterns
- 2.5 yards of lace {if you want it}
- Rope
- Scissors

First, find yourself a good episode of Dateline or Call the Midwife to watch while you are doing this. It’s easy…but a little mindless…so obviously, I like the TV on.
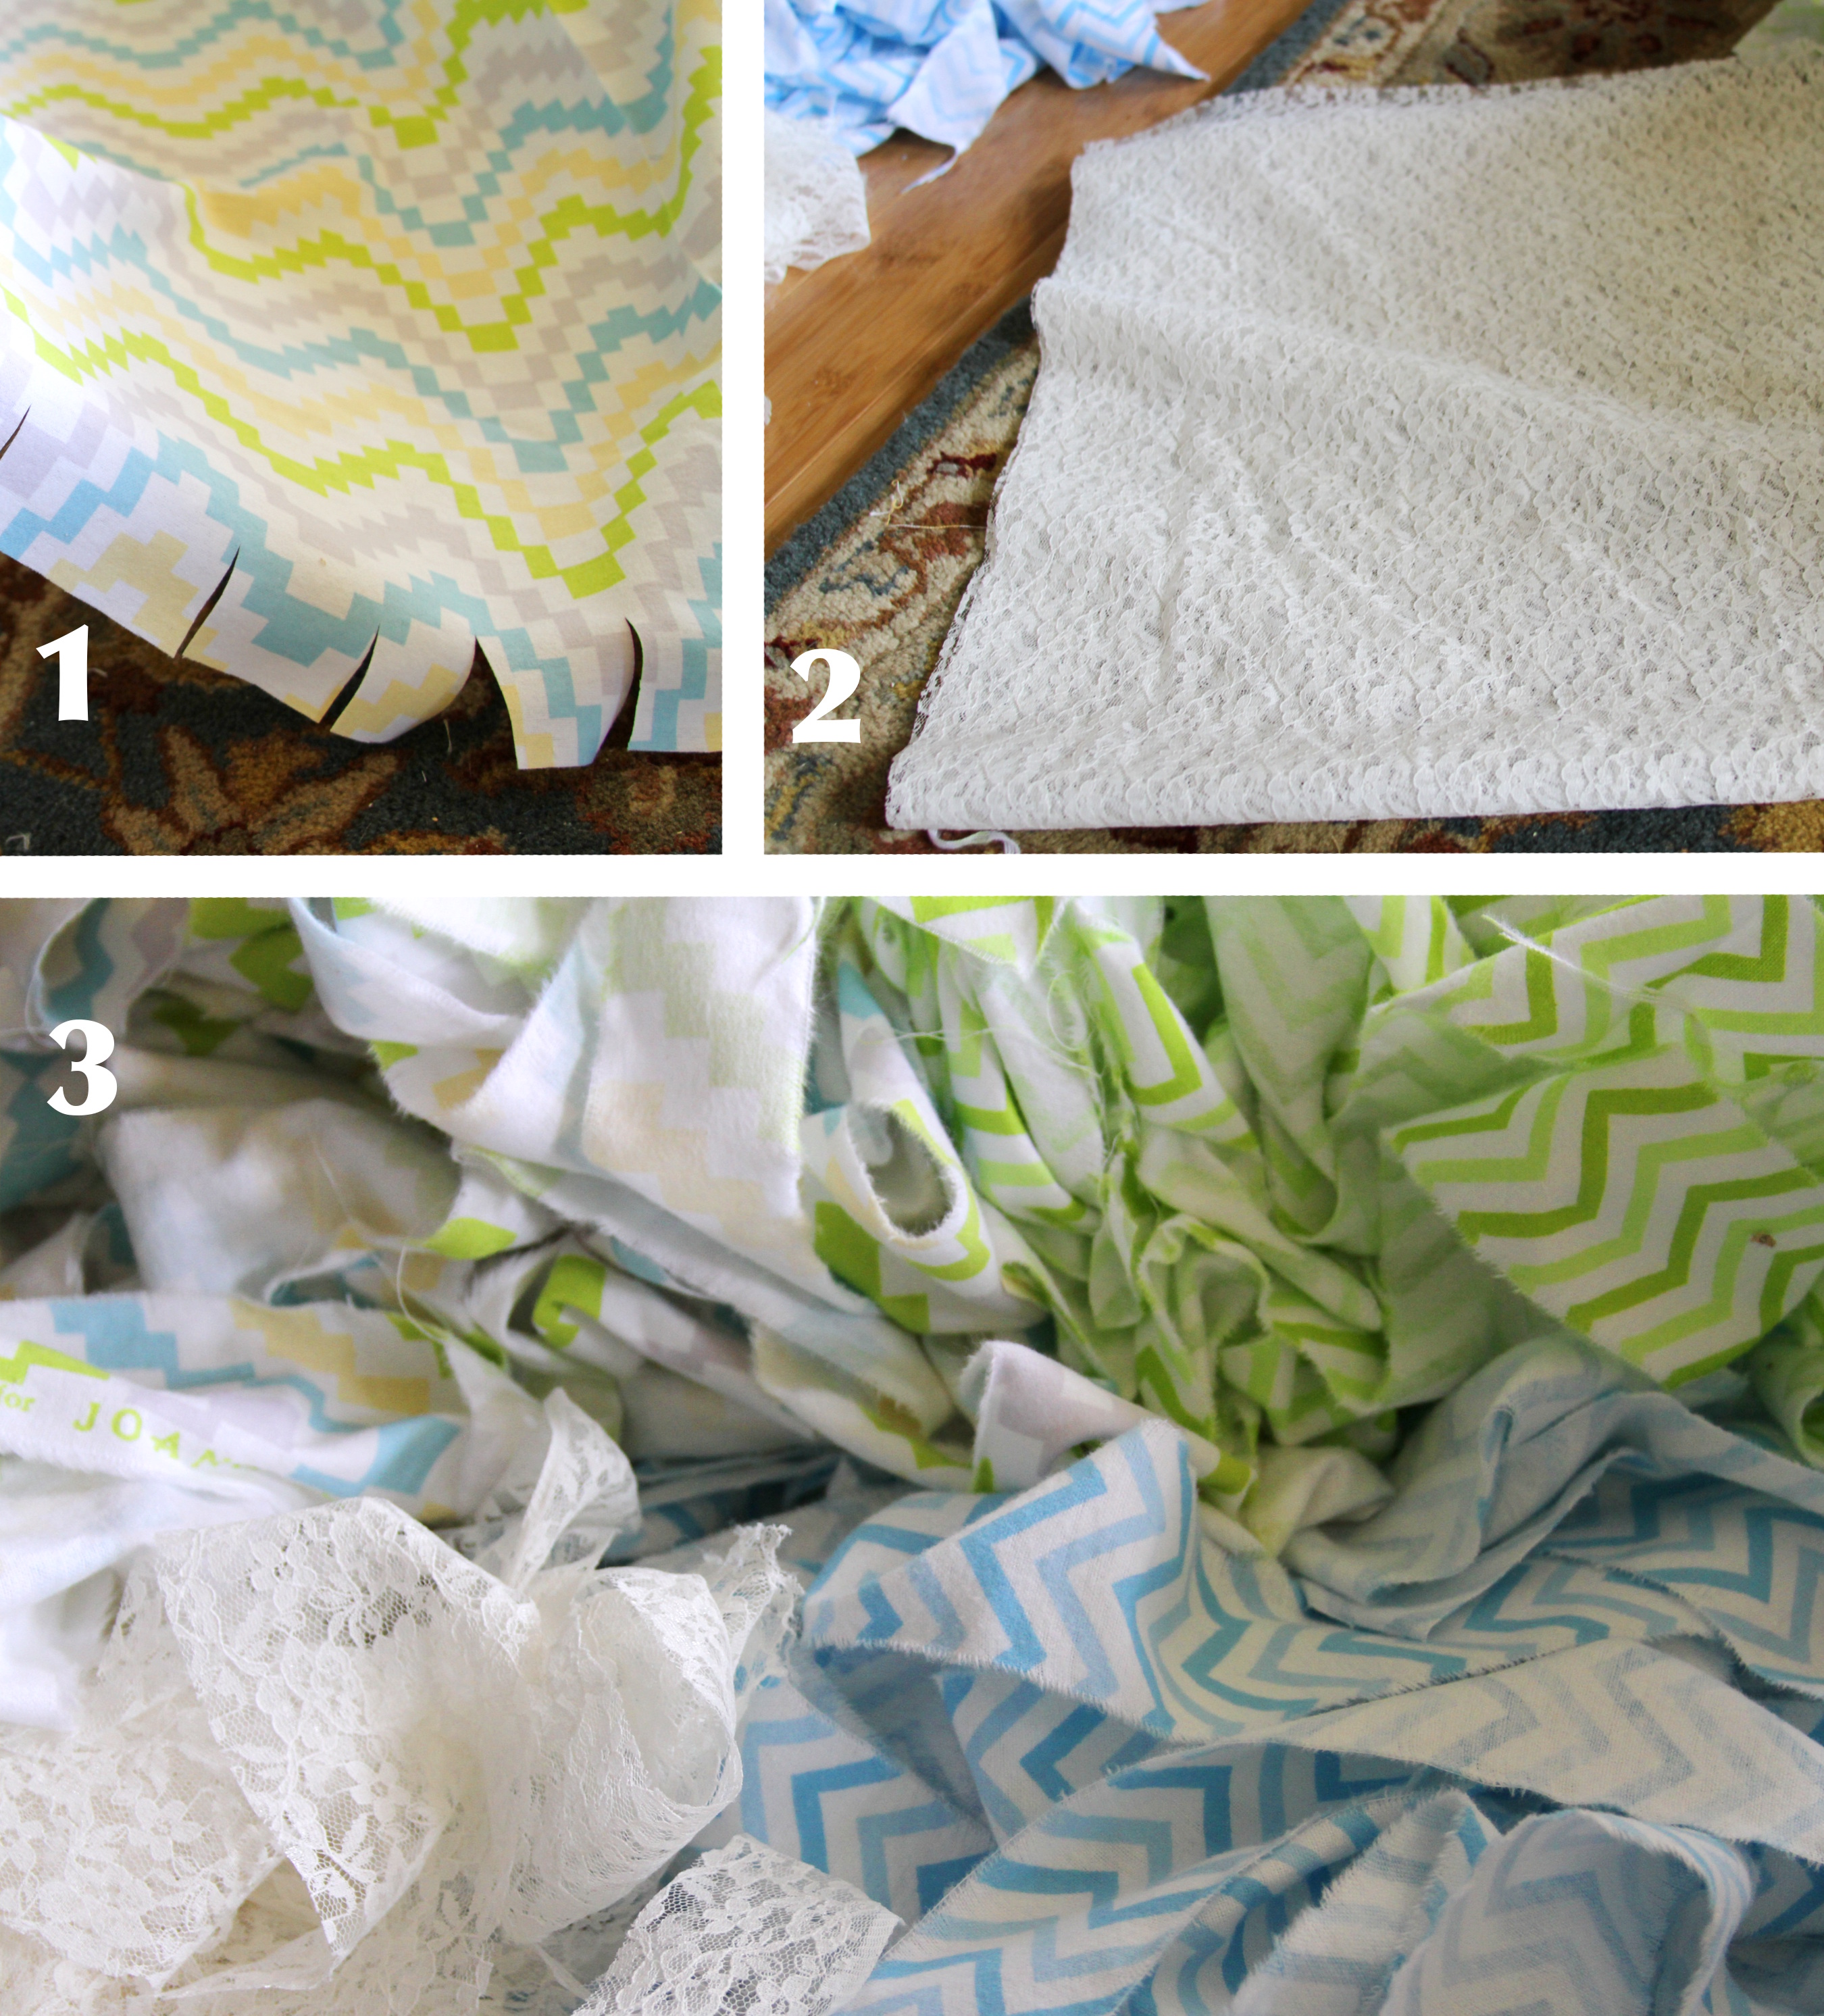
Next, unfold your first cut of fabric. I used flannels since they were on clearance the day I shopped, but any cotton weave will do. Snip along the short edge, making cuts every couple inches. I varied mine a bit to give the finished product a little variety.
After that, pull our your muscles and start ripping. That’s right. Just tear the fabric into strips, starting where you snipped.
Repeat on all your fabric.
For the lace, I accordion folded it a few times, then cut it into strips. You want all of your strips to be 7.5′ long…so be sure you are making strips that extend down the fabric…not across the short side.
You’ll be left with a pile of fabric strips. Take those and tie them onto a piece of rope. I just tied them once…no fancy knots here. This amount of fabric will create a backdrop that is 7′ tall and up to 8′ wide…more if you don’t mind sparse streamers. Once all your strips have been tied on, you can hang the ends from anything that is convenient. Whether that is a backdrop stand {if you are really legit}, a drop ceiling {that’s what I did}, or something you have laying around your house is totally up to you. I just wouldn’t use it outside on a windy day.
Then, keep your eyes out for clearance fabric that would make a good backdrop. These are a little addictive.
xo
Amy