Historically speaking, I’m a terrible pumpkin carver. You can ask anyone in my family. They’ll relay stories of many pumpkin-induced rage quits. So this year when some friends asked Derek and me to participate in a friendly carving contest I was pretty nervous. The raging is now a thing of the past, but the terrible carving skills are still fully intact.
But I gave it my best shot. I obviously spent a little time on my phone Googling pumpkin carving images before beginning. Then I started. Now, maybe it was the pressure of the competition, or maybe I didn’t want to look a fool in front of new friends…whatever it was, this year I carved my best ever pumpkin.
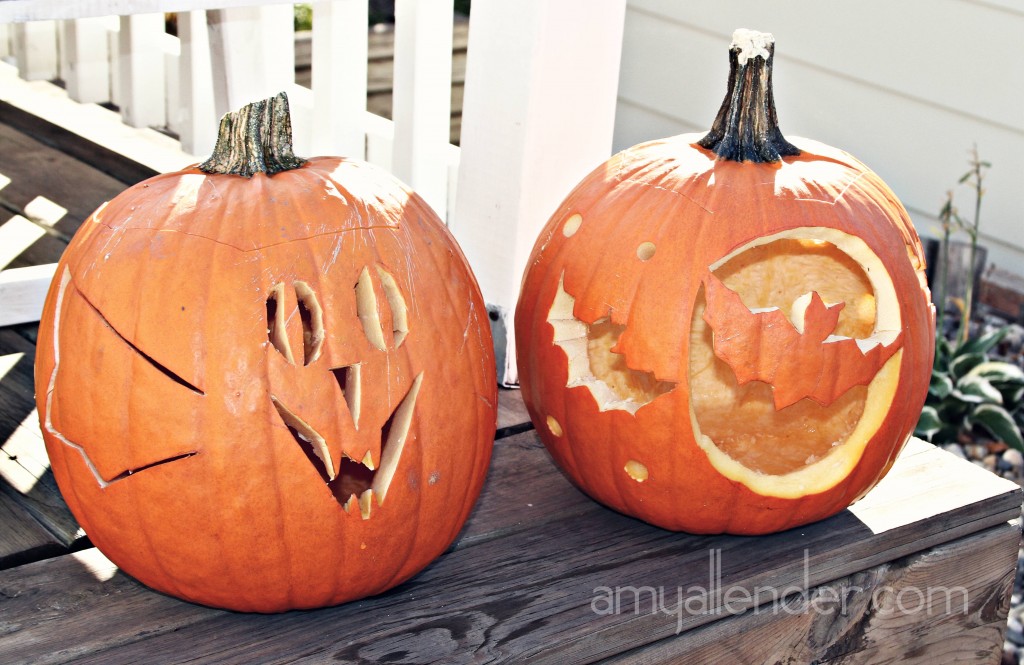
Here are the Smith pumpkins in all their glory.
And here is the full line up from our get-together. Pretty impressive, right?
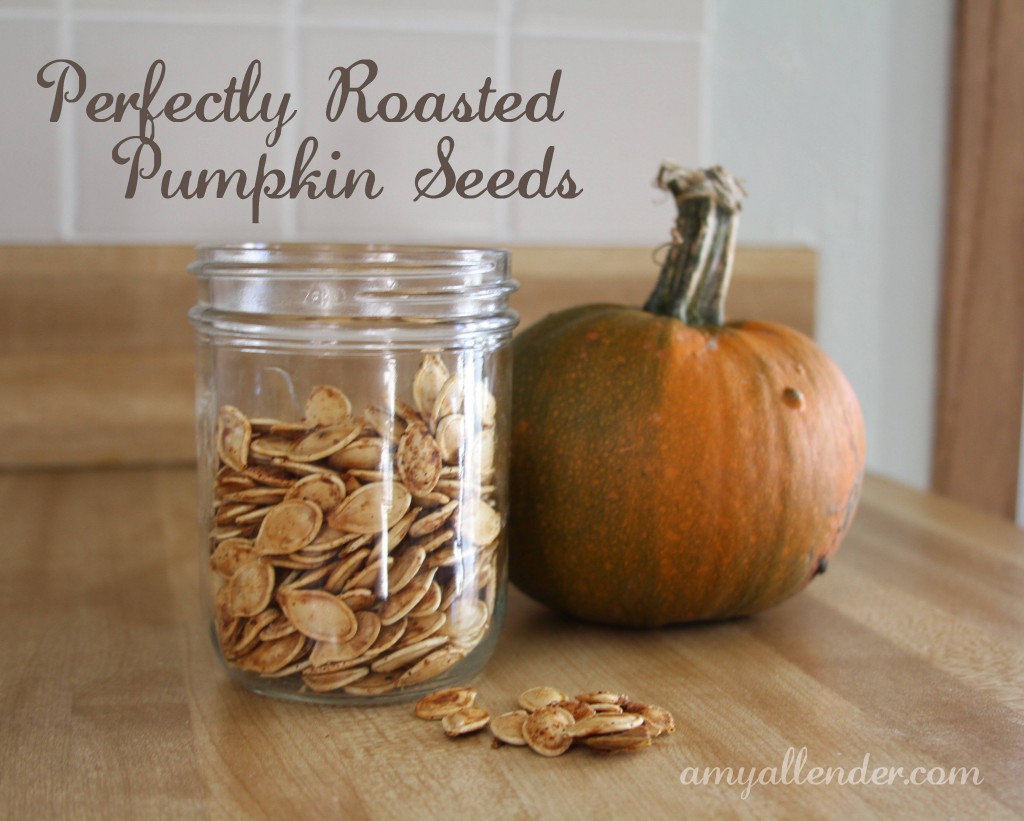
Here in PraCan, it’s almost too windy every night to actually light our pumpkins and have them stay lit. But that’s not why I really like to carve anyway. I’m mostly in it for the seeds. If they are done right, they kind of make wading through all that pumpkin goo worth the nasty.
If you’ve already carved and thrown your seeds away, don’t fret. You can use this recipe on squash seeds too. So when you hack open that butternut, put the seeds aside for later.
It’s really easy. The recipe below is good for about 2 cups of seeds. If you have more, you’ll just need to add a little more oil to get them all coated.
First, degoop all your seeds. Some stringy stuff is okay, but separate your seeds from the big chunks of pumpkin guts.
Next, I rinse mine off just a bit in a collander. Nothing too thourough. Then I shake them off and pour them into a bowl.
Add about 2 Tbsp of olive oil and stir it around. Then spread them out on a cookie sheet or pizza pan. I have a pizza pan with holes in the bottom that I like to use because it lets heat up underneath the seeds, but I’ve done it on a cookie sheet and they turn out fine too.
Once they are evenly spread, sprinkle them with some salt. Then sprinkle them again with a grill seasoning. Yep, that’s my big secret. I use a premixed seasoning. I really like this smokehouse maple from McCormick Grill Mates.
Finally put the pan in the oven and turn it on to 250 degrees. The key here is letting the seeds dry out completely. That’s the difference between a good seed and a soggy seed. So you’ll need to let them bake for 45-60 minutes. Take them out and give them a quick stir every 15 minutes or so. You’ll know they are done when they are dry and making a crackling sound.
Happy October
Amy


