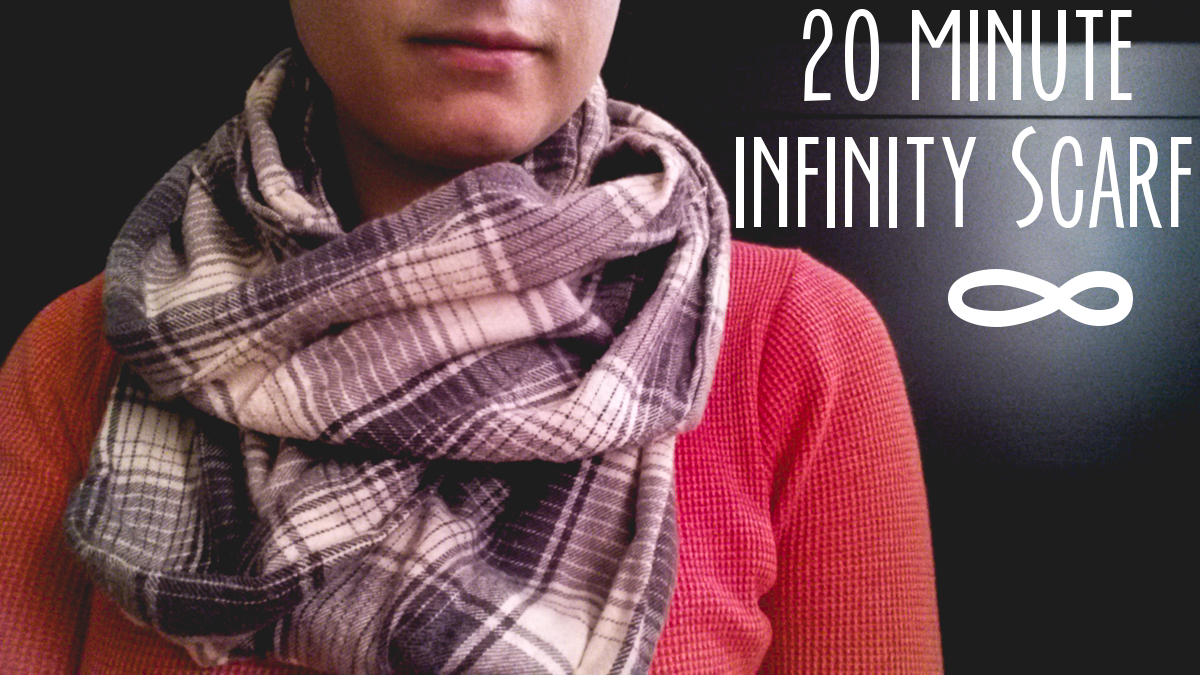
Last Christmas, I made a few infinity scarves. They went over really well with the friends and fam. I found a few tutorials online, I combined a few steps. I’m sure you could find other tutorials out there too. But this is my version, and I’m glad you’re taking a look.
The first thing you need to know is that this is easy. It’s quick. And you don’t have to be a pro with a sewing machine to make it happen. Just a couple straight lines. Really, it’s easy.
Here’s what you’ll need:
1.5 or 1.75 yards of fabric–Flannel works great, but I’ve also used some thick, slightly stretchy knits that have worked nicely too
Pinking shears
Pins
Sewing machine
Thread
The length of fabric really depends on how you like your scarf. I like them tight to my neck, so I tend to favor a 1.5 yard cut. If you like it looser, go with a little more length. That cut of fabric will yield two complete scarves, so this is a perfect crafternoon project. You and a friend can each buy a cut of fabric and swap patterns. Or–since it is the gifting season–you can make one and gift one. Anyway…
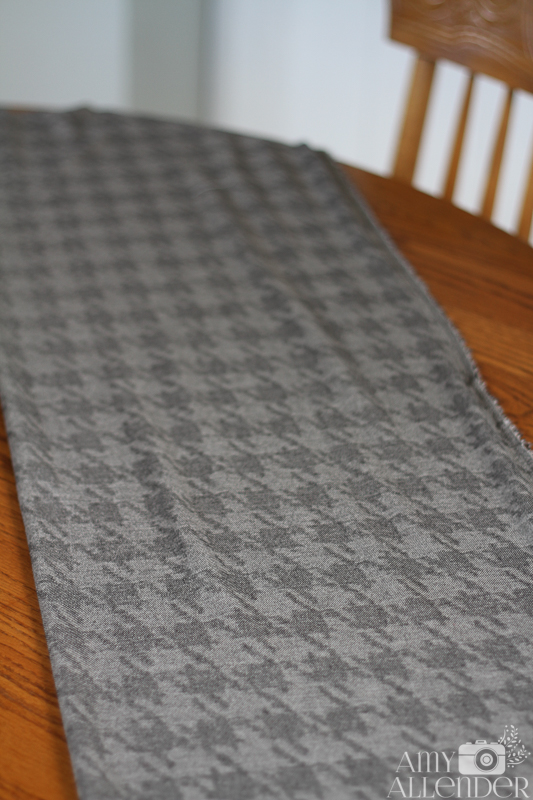
Step One:
Lay your fabric out on a flat surface. Unfold it and cut down the middle length-wise {so you have two pieces about 27″ across} Use the pinking shears to prevent it from fraying loose from the seams you’ll be putting in in a minute.
Step Two:
Fold the “right sides” of the fabric together, and pin the open edge. {Side note…the tutorial is a demo of a different scarf than the one in the intro image}
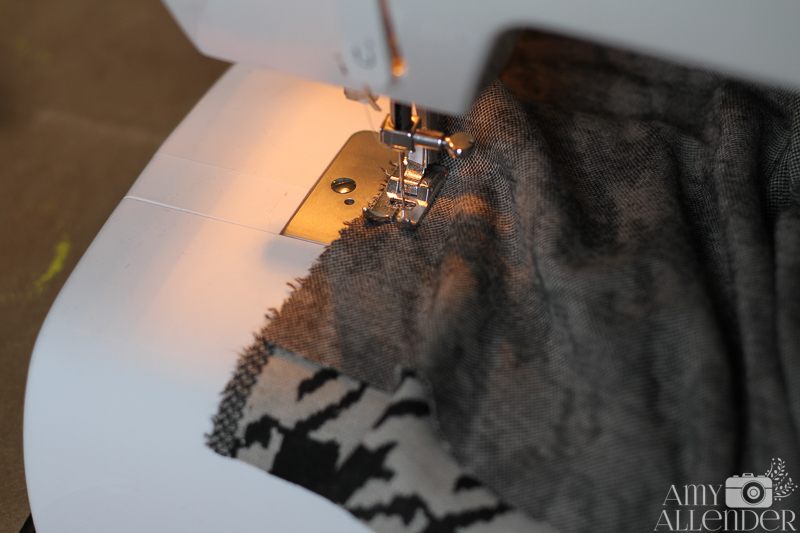
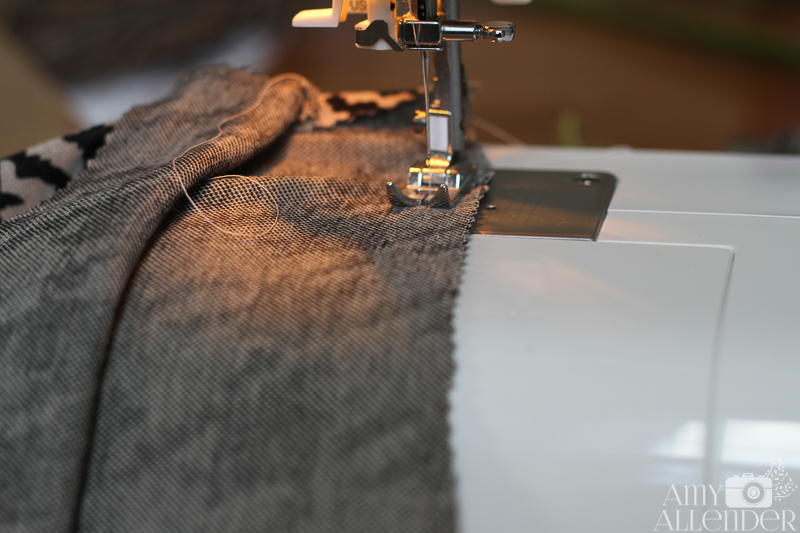
Step Three:
Leave a 2″ gap at the end of the fabric, then sew all along the open edge. Remove the pins as you go, stop about 2″ from the other end. Back stitch at both ends.
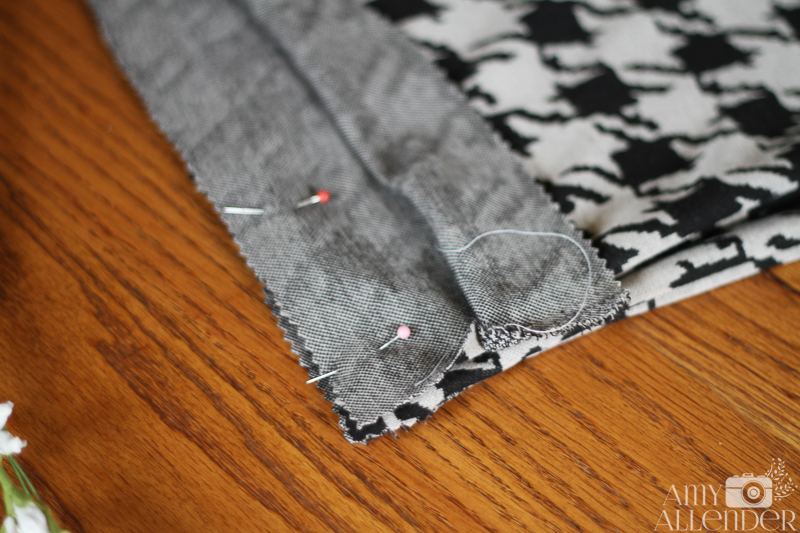
Step Four:
Turn it, so the right sides are out again and you have a tube of fabric. Fold that tube in half and line up the open ends. Follow me here…You’ll have four layers of fabric stacked on top of one another. Take the middle two and pin them together.
Step Five:
This is where it gets a little tricky. But not too tricky. Get the outer two layers out of the way and start to sew the layers you’ve pinned together. Start at the very end. Back stitch. Keep going all the way around. Just try it. It makes more sense once you’ve done it.
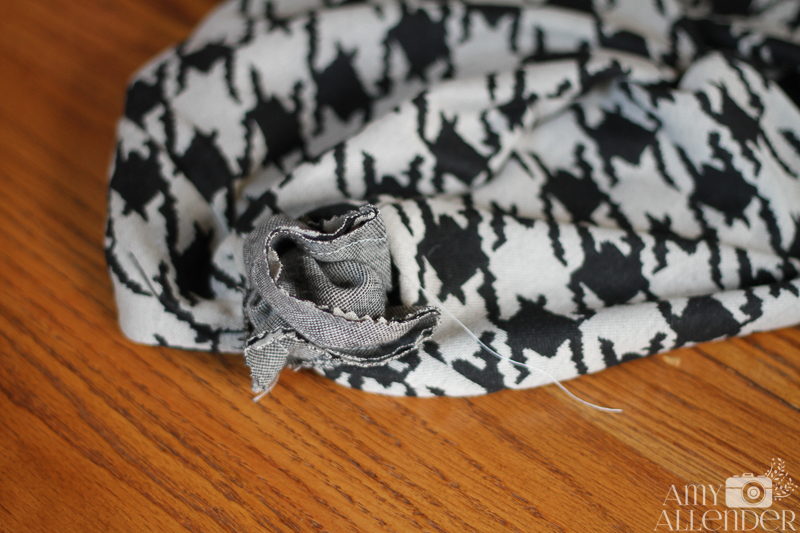
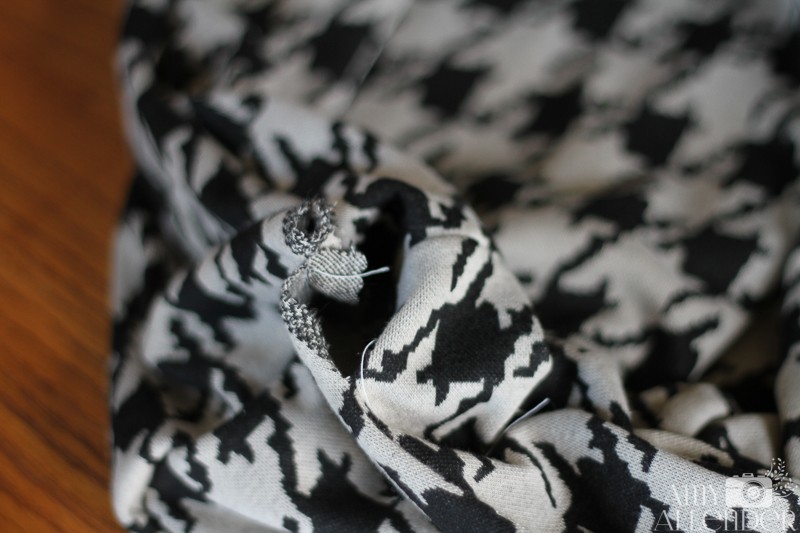
Step Six:
When you are done, you’ll have a circular tube of fabric with just a little hole. {That’s the 2″ gap we left earlier.} Tuck the fabric that is sticking out back inside. Now, you can hand sew the gap…or, if you are lazy like me, fold the seam together and use the machine to sew really close to the edge.
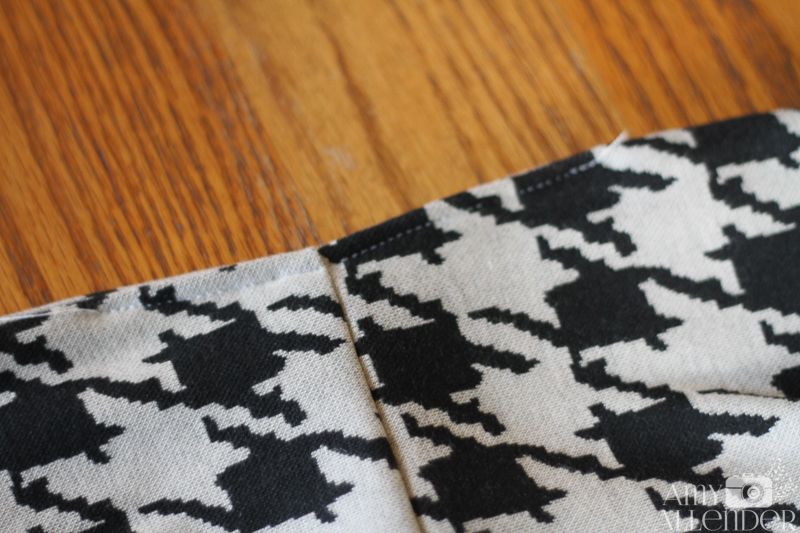
After that you are done! It really is super easy. I wear the ones I’ve made all the time. Here’s me at Eddie Bauer last Christmas. They were making balloon hats for some reason…but who am I to say no to that?

Happy crafting!


