by Amy | Sep 11, 2012 | Blog, The Art of the Moment
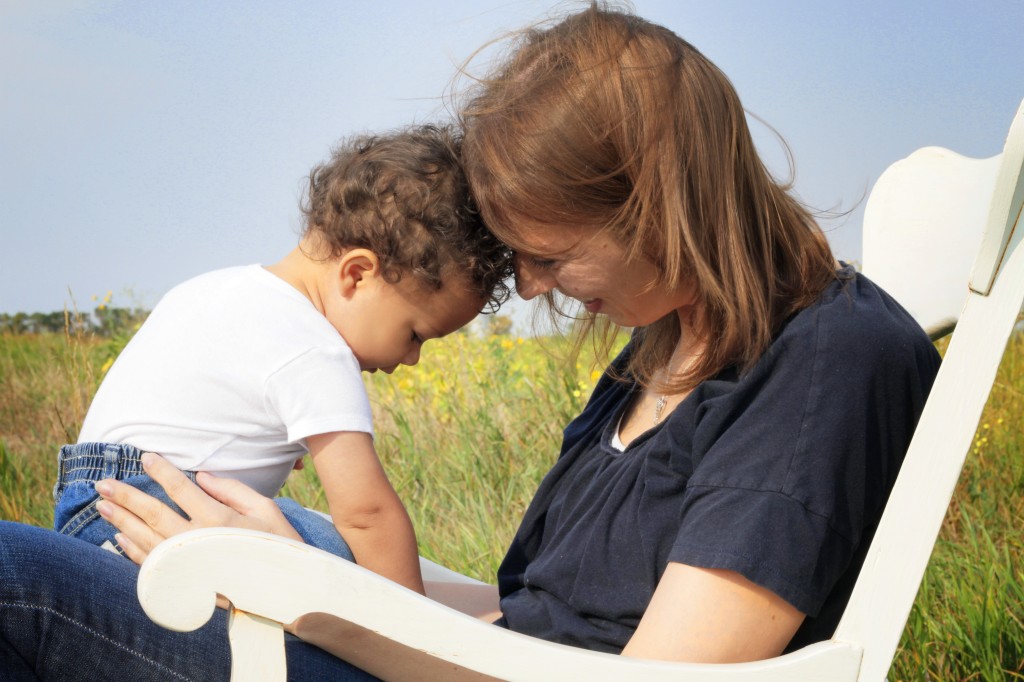
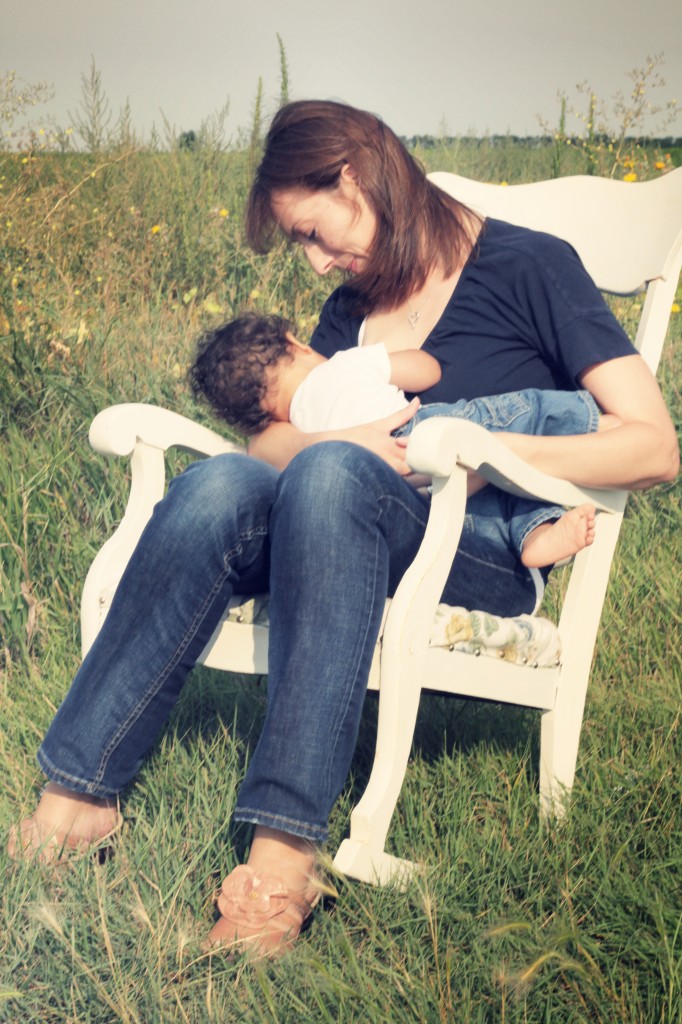
Before Labor Day I had the good fortune of photographing Nadine and her son Phinaeus. They are beautiful. Phinaeus is simply stunning. That lovely skin. Those precious curls. And let’s not forget the dimples.
Once we found each other at our rendezvous point {a dirt road in Minot} it was smooth sailing. The setting is simply divine.


If you like what you see…be sure to tell your friends. Or you can just be a frequent gawker here. I’m okay either way.
Thanks again to Nadine and Phin! You guys made this shoot a total blast.
Amy
by Amy | Sep 11, 2012 | Blog, The Art of Projects, the house
Nope. I’m not talking about that classic Jodie Foster flick from the early 00’s.
I’m talking about what lies beneath all of the surfaces in my house. In preparation to paint the living room and dining room I needed to do a little removal. Which led to quite a few unsightly discoveries.
All clues about the history of my home. The transitions it’s gone through. The fads and trends that have graced its walls. On second thought, I don’t know if “graced” is the right word for pea green carpet, striped wall paper and thick wood paneling.
As with most home improvement projects, this excavation job began with a simple, “Well, before I paint, I need to remove this chair rail.” Under the railing…I found
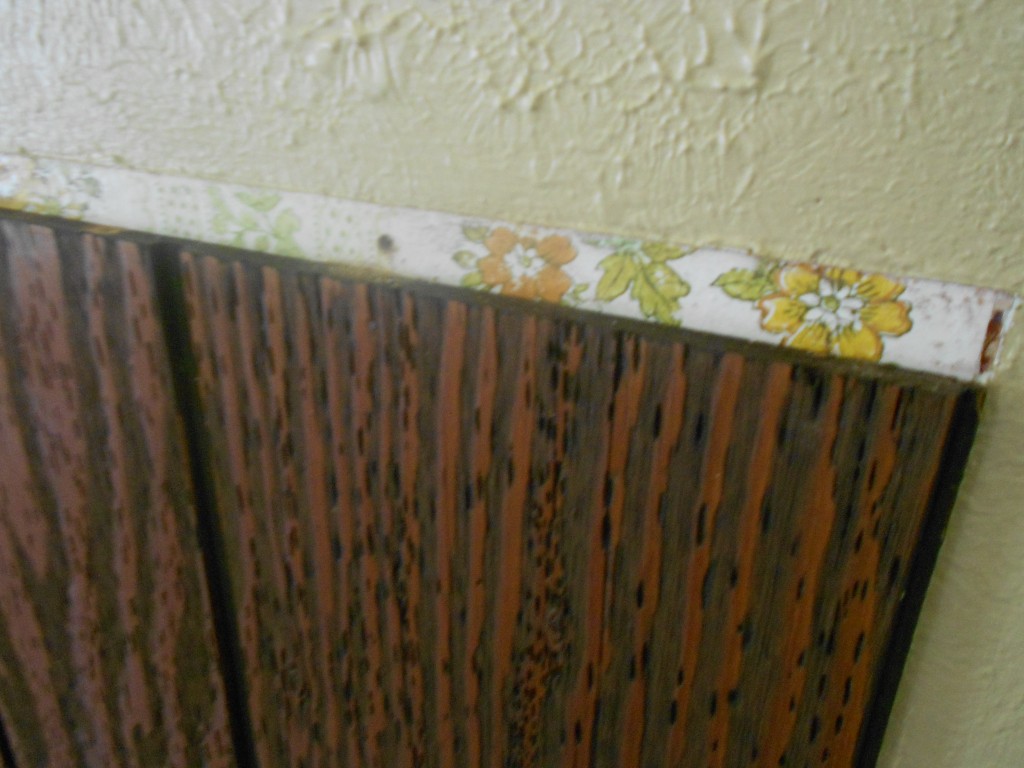
Believe it or not…we are leaving the paneling. Just adding a little class in the form of white paint and a sweet chair rail.
After this discovery, I moved to the stairs. You may remember my strong disdain for my carpeting. In case you don’t…I hate the carpet in my house. All of it. It’s in nearly every room, wall to wall shag in a variety of browns. So to paint the walls, I needed to remove the carpet hanging over the wall. Starting with this weird furry block.
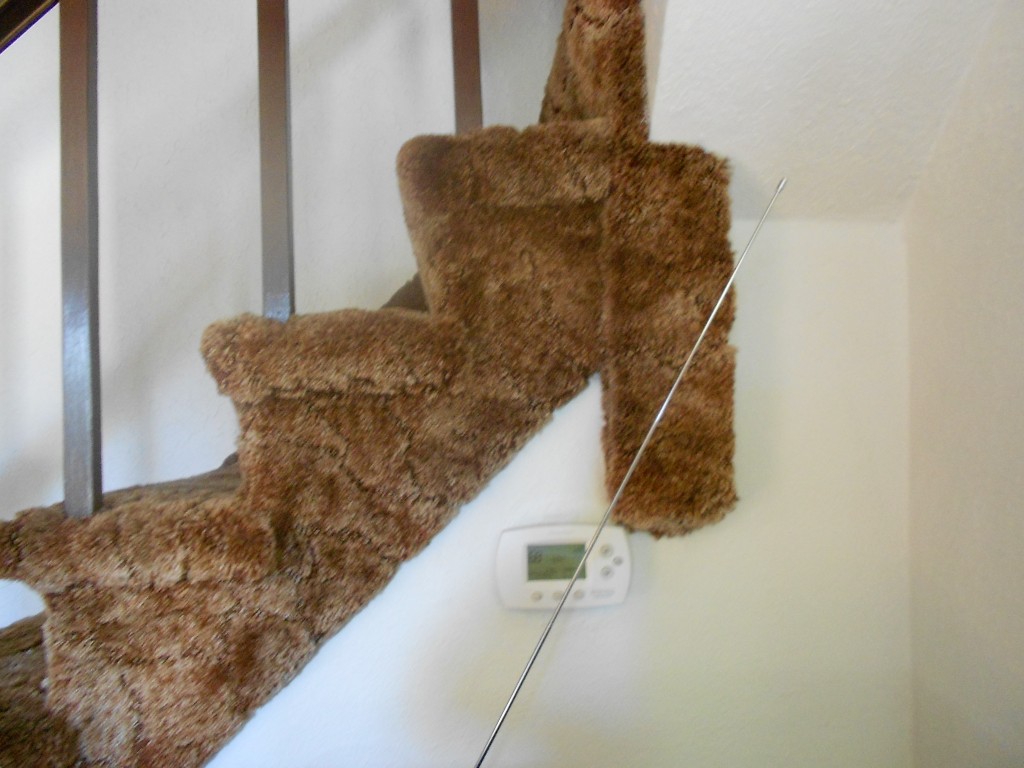
Once the carpet was off the block, I decided that I needed to pull it off the bottom of the stairs as well.
So I kept pulling.
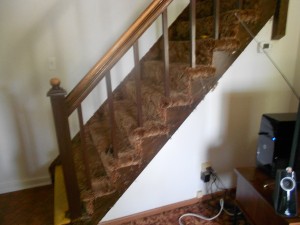
You know what was under all the brown carpet? Brown paint. Once I got to the bottom, it just kind of wrapped around the first tread.
And then I just kept pulling. Until my stairs were bald.
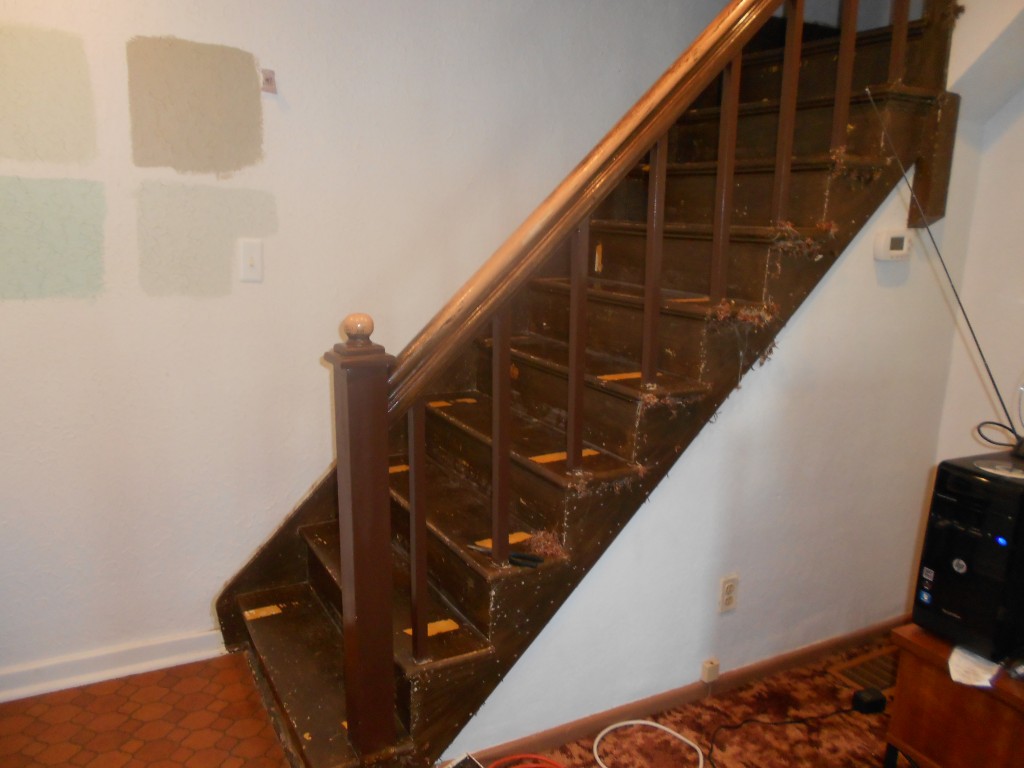
Along the way I discovered that the wall on the other side of the stairs was papered with brown stripes. Under the brown paint is mustard yellow. Under the brown carpet I found remnants of pea green runner. Woof.
It seems like my house is just begging to be pretty again. Not trendy pretty, but classic and simple. I can only imagine what I’ll find next. As soon as my hands recover from pulling all the staples out of the stairs…
Amy
by Amy | Sep 9, 2012 | Blog, The Art of Adventure, The Art of the Moment
Keeping with the blog theme here, let’s talk about the unexpected. Over Labor Day Derek and I got some tourist action in down in Rapid City, SD. Tonight I’d like to share some photography and thoughts from our time at the monuments.
I don’t think the four men featured in this monument would have ever expected to be immortalized in this over the top fashion. If you had told George or Tom that their face would be larger than life, carved in a mountain…I dare say they would not have believed you. These were men who did their job, who made their lives count. I don’t think any of them “saw it coming.” The impact their lives would have on our nation, the lasting affects their efforts would have on the generations to follow.
So often we can’t tell how our lives will ripple into the generations to follow. We cannot predict the circumstances that will come our way. We can only face the unexpected with a courageous heart, solid values, and a compassionate soul. Hoping to navigate in such a way that we live a life worthy of remembrance…even if we aren’t carved in a mountain.
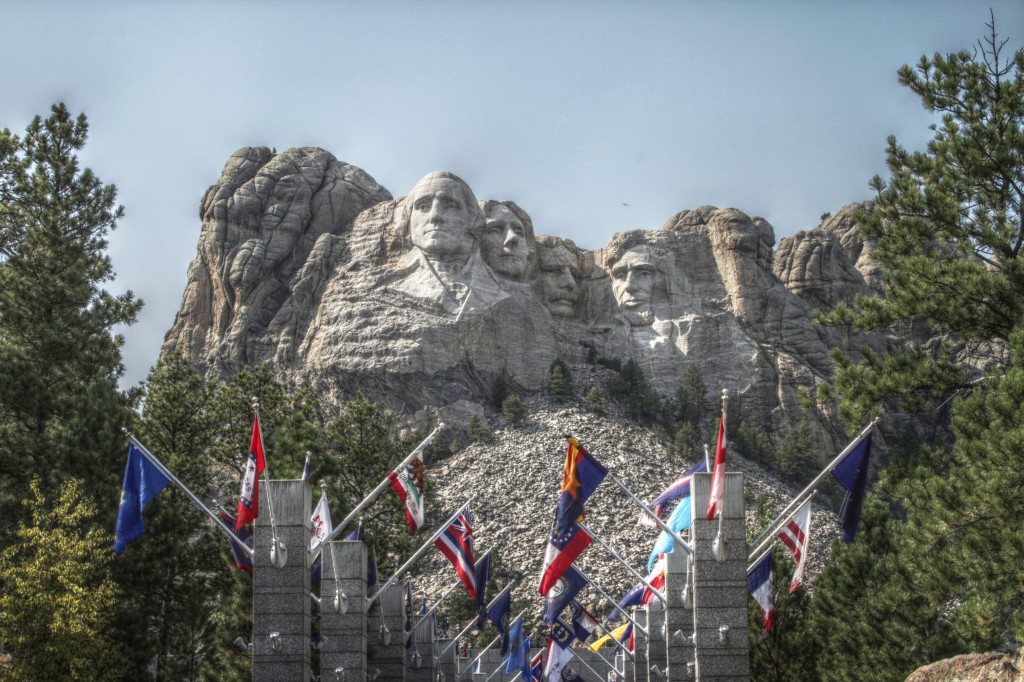
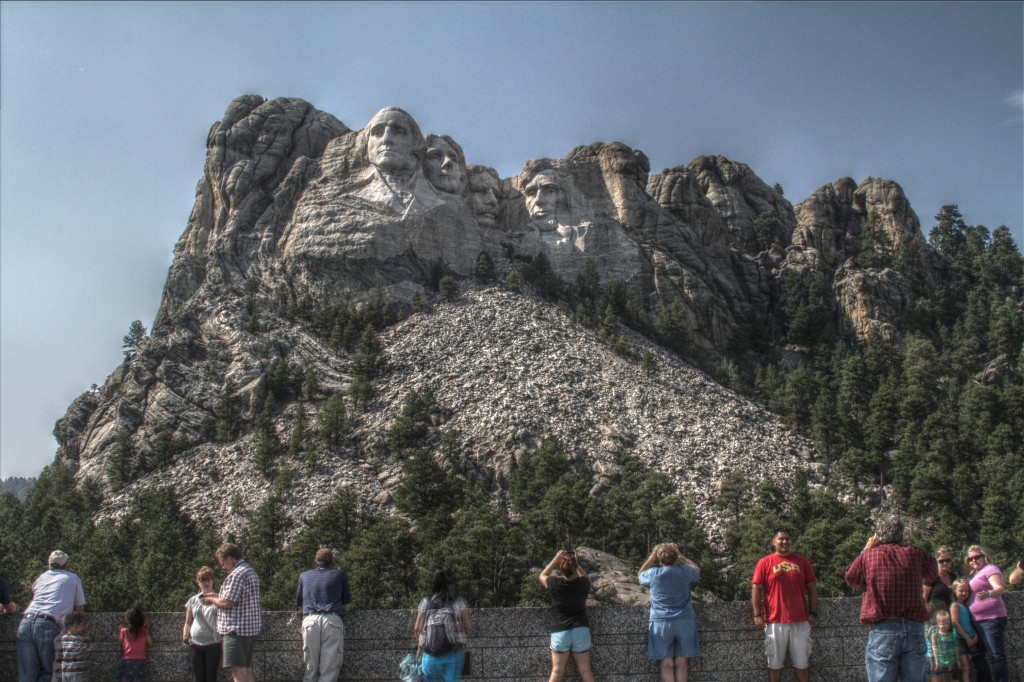
Call me corny, but I’ve wanted to lay eyes on this rock for the better part of my life. I thought it would be simply breath taking. And it is.
If you’ve never seen it, don’t believe people when they tell you it’s hokey. It’s faces carved into a mountain. In case you didn’t know…hokey is not a synonym for awesome. This is awesome.
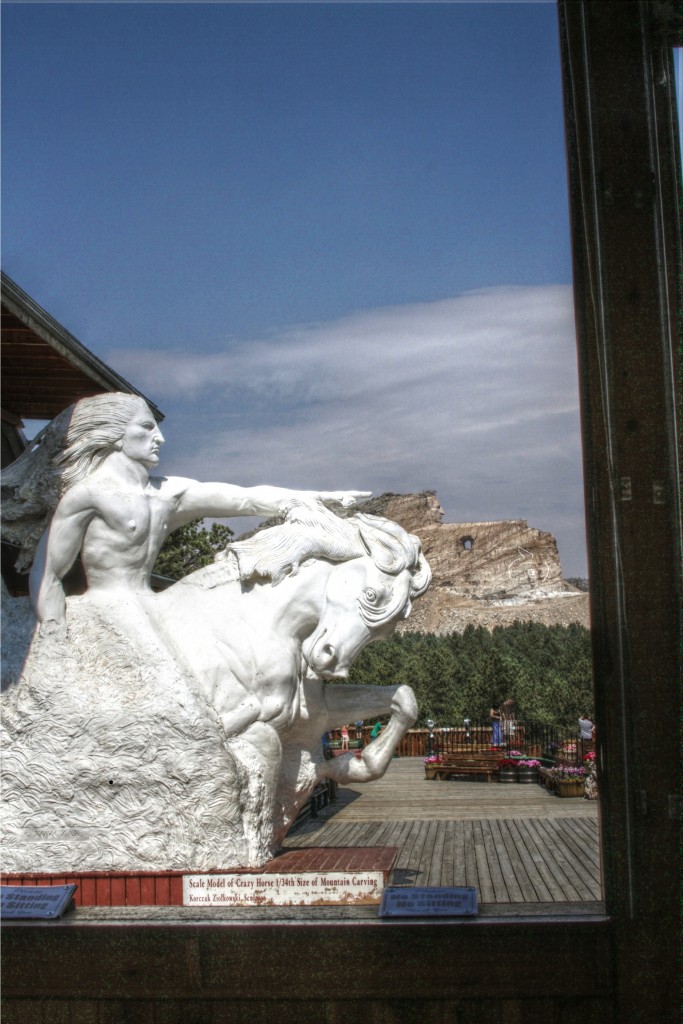
During our time in Rapid City we also went to the Crazy Horse Monument. {It’s where that awkward photo moment took place. } Like Rushmore, it’s a memorial sculpture in a mountain. Which is amazing because it is a project totally funded privately. Generations of family members have worked to preserve this land and move forward with the project. It’s been going since the 1940’s. Someday it will {hopefully} look like this scale model. You know how they “carve it”? Dynamite. Seriously, I’m not kidding. They are carving a person in a mountain with explosives. It blew my mind. {I love puns.}
Amy
by Amy | Sep 8, 2012 | Blog, The Art of Fitness
So…my first ever Fitness Friday did not go as planned.
Some things {mostly computer things…} got in the way.
But technically, it’s still Friday in Minot, ND. So Fitness Friday is still on.
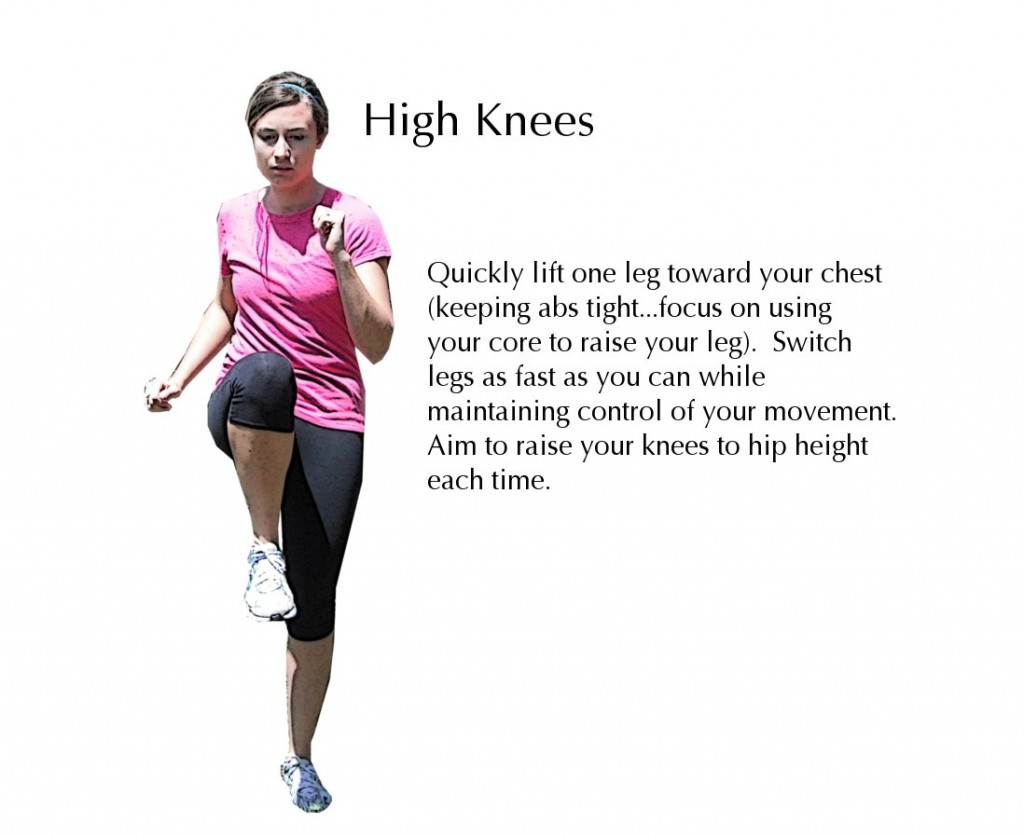
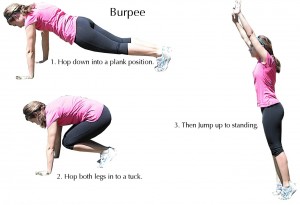
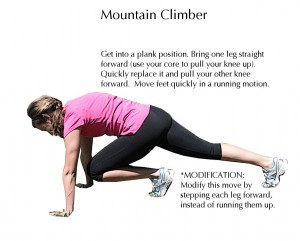
If you have never done a Trim and Tone class, here is the drill. You’ll go through each exercise in the circuit back to back, with no rest between. After you’ve done each exercise in Circuit #1 recover for 1-2 minutes. Go through the circuit three times. Then Do the same with Circuit #2.
**Click any of the how-to images below to bring up a bigger version**
Circuit #1:
- 50 Jumping Jacks
- 1 minute: High Knees
- 30 seconds: Burpees
- 30 seconds: Mountain Climbers
Circuit #2
- 30 seconds: In & Out Squats
- 30 seconds each leg: Tae Bo Knees
- 30 seconds: X Jumps
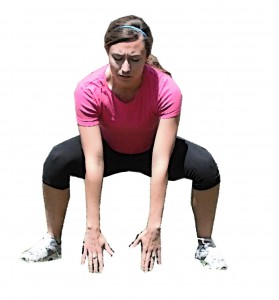
In & out squats: Step your feet wide apart {wider than hip width}. Lower yourself into a squat, pulse twice…then hop your feet closer together {hip width} and pulse twice. Keep your legs bent throughout the exercise! Don’t come out of the squat position.
Tae Bo Knees: Just like Billy B. would want. Place your body weight on your left foot. Raise your right foot off the ground and bring your knee across your body. Reach your hands over head, then down toward your knee as you raise your knee. {Like you are smashing a pumpkin over your knee.}
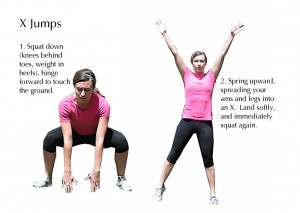 Enjoy the workout! I’ll see you tomorrow.
Amy
by Amy | Sep 7, 2012 | Blog, The Art of Projects

Well…next week I dive into major house project number 2. I’ve been crazy busy this week and it seems like all of it will come to a screeching halt after this weekend. So, I decided that this is the perfect opportunity to do a little painting.
My living room. My dining room. My built in hutches. My front room. The ceilings. Some wood paneling.
The goal is to get all most of it done by the end of the week. Mind you…I’ll still some other obligations as well. Like feeding my husband and Panda Kitty, editing a super cute photo session, teaching fitness classes, maybe contacting a few nonprofits about doing some work…you know…the usual. Nothing super busy.
But here is the dilemma. I’m a color-commitment-a-phobe. I know it’s just paint, but paint is expensive. And I am very cheap. And I make very little money. And I have this complex about making little money and spending buckets of the dollars Derek earns by having a real job. So, while I know if I hate it I can always redo it…I’d rather get it right the first time.
So, I’ve started a Pinterest board of pretty paint colors. You should totally go over there and check it out. Seriously, they are pretty.
Then I started thinking about creating my own pallets from things that naturally appeal to me. Like my favorite photographs. Here’s what I came up with.
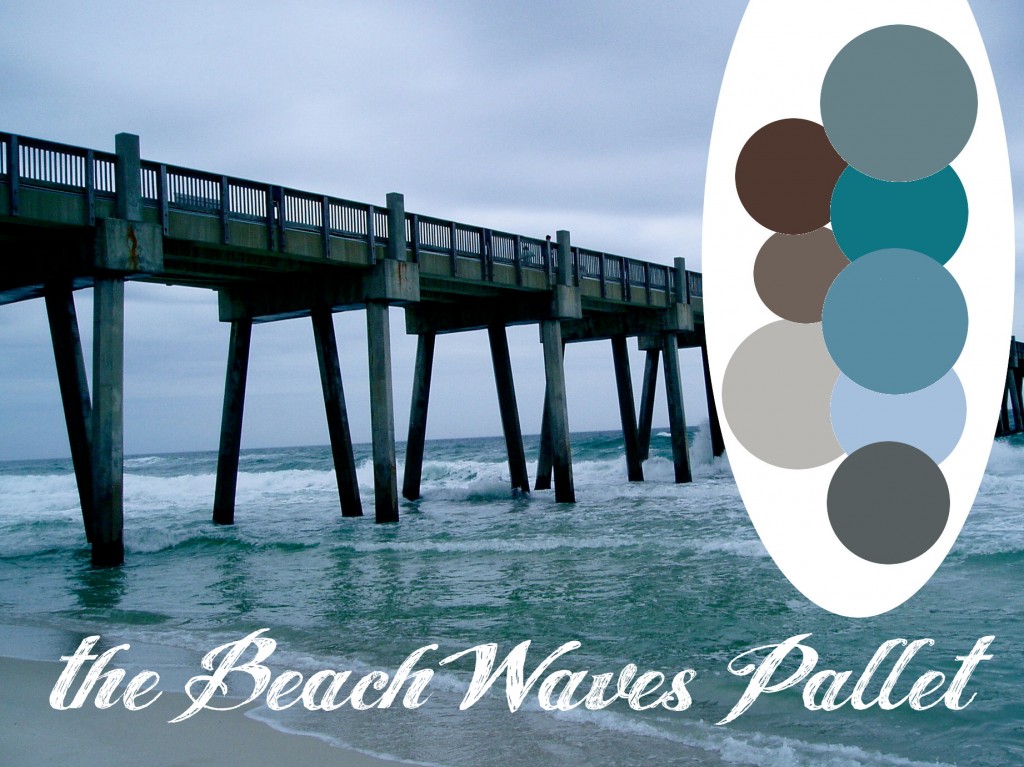
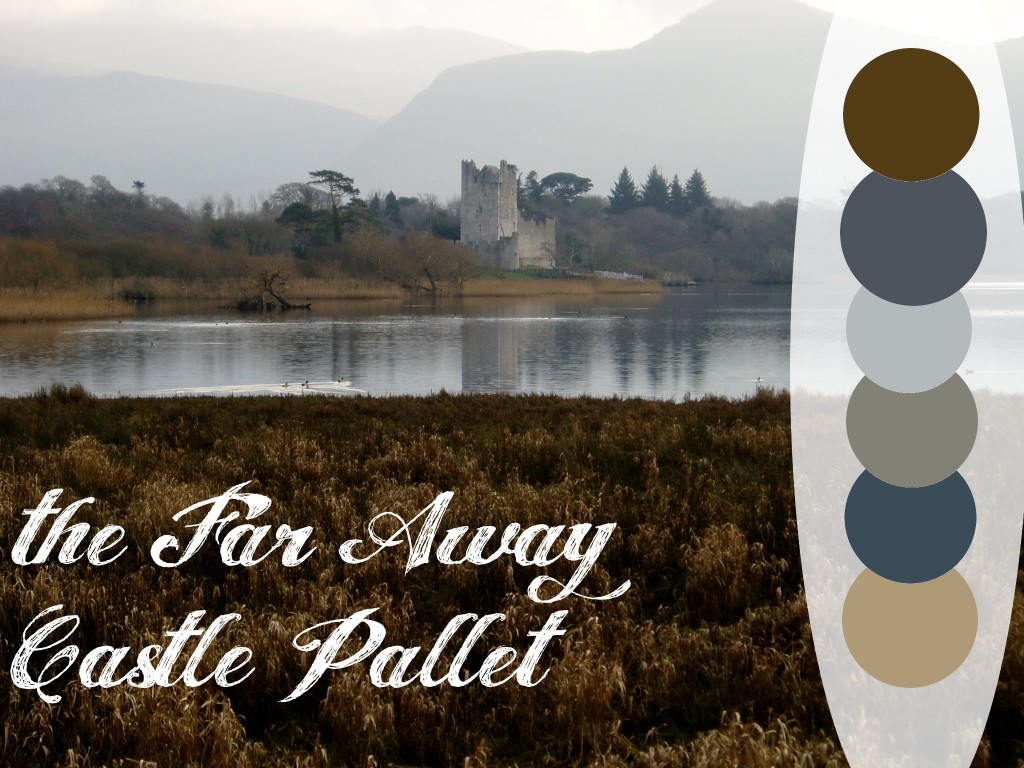

There are two bonus pallets over on the Facebook page. You should check those out too. And while you’re there…go ahead and like the page. *Insert corny smiley face here____*
After I had made my own pallets…I thought maybe you would like to make some of your own. So here’s the skinny on how I made it happen. (more…)
by Amy | Sep 5, 2012 | Blog, The Art of the Kitchen
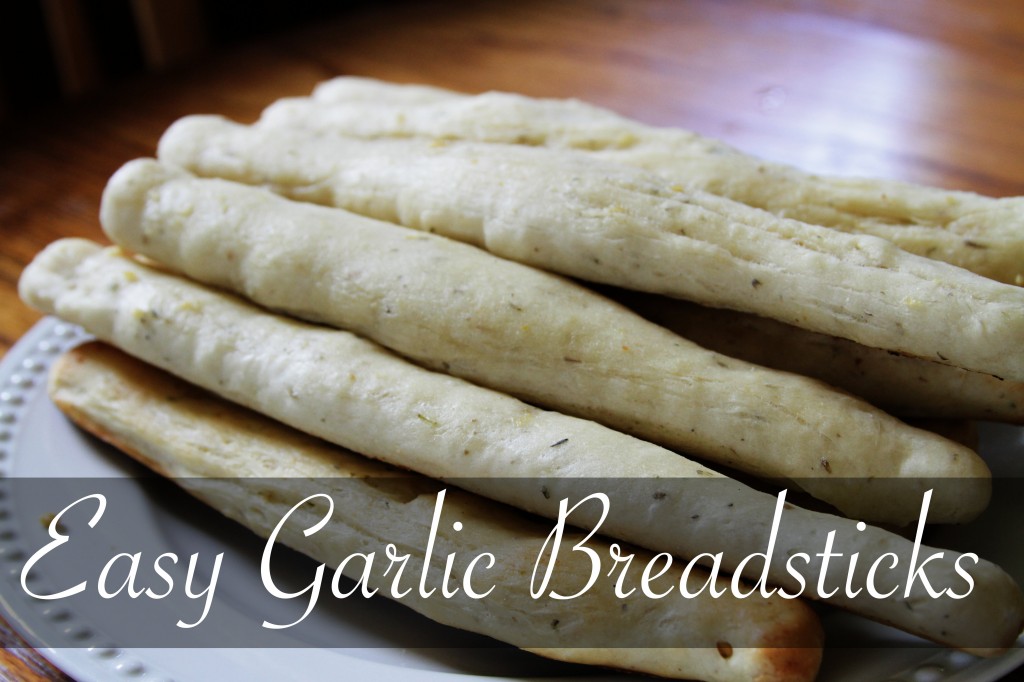
I’m not one to brag about things I do. When I do, it’s mostly just making a cocky joke. Really, deep down, I think I’m pretty plain. But I am good a few things. Making bread sticks is one of those things.
And because I believe everyone should be entitled to a good bread stick and bowl of soup, I’m relaying my recipe to you.
It’s easy. You don’t have to be a whiz bread maker like Peeta Mellark. All you need is a little time and an electric mixer.
Here’s the full list of ingredients.
Flour | Yeast | Salt | Oregano | Garlic Powder | Olive Oil | Pepper | Water | Butter!!
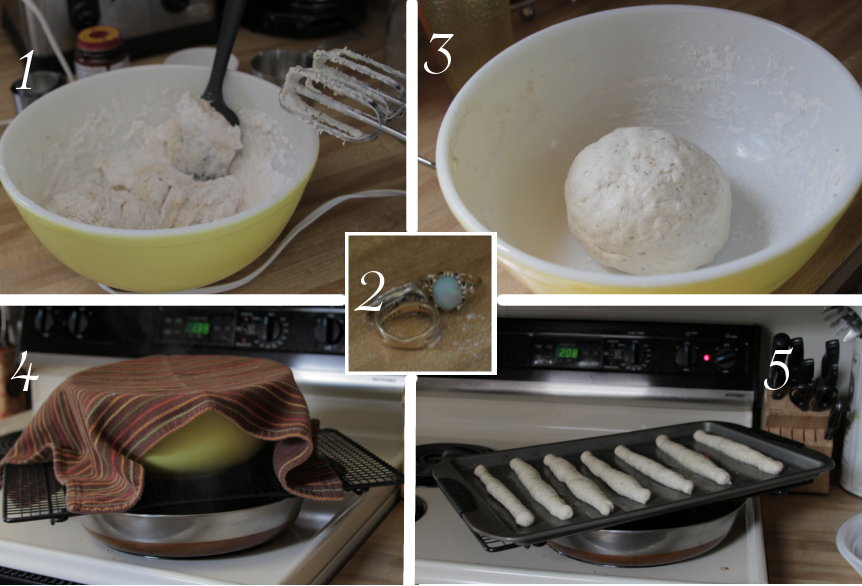
1. Mix up your dough. | 2. If you wear rings…take them off before you knead!! | 3. Coat your ball of dough with oil and let it rest. | 4. To speed up rising time, set your covered bowl over a baking rack on a skillet of simmering water | 5. Roll your sticks and let them rise again. {cover them with a towel}. | Read on for details!
Here’s what you do.
In a medium mixing bowl mix these ingredients together:
- 1 1/4 C flour
- 1 packet of yeast
- 1/4 tsp salt
- 1/2 Tbsp oregano
- 1/2 Tbsp garlic powder
- 1/2 tsp olive oil
- 1/8 tsp black pepper
- 1 C warm water
Use your electric mixer to combine all these things for about 30 seconds. Then crank the speed up to high and let it mix for 3 minute. The consistency will be sticky and gluey.
Take your beaters out, grab a sturdy spatula or wooden spoon and gradually mix in 1 1/2 C more flour. {I do 1/2 C at a time.}
Now it’s time to knead. I leave the dough in the bowl, but you can turn it out onto a clean floured surface if that’s what you prefer. Knead the dough, folding it over itself and adding a bit more flour as you go for about 7 minutes. By the end of that amount of time your dough should be soft {but not sticky} and stretchy.
Sprinkle a little olive oil on your hands then pat your dough into a ball. Cover it in the bowl with a clean towel and “let it rest.” I just learned a cool tip for expediting the rising time….Simmer a pan of water on the stove, place a baking rack over the pan then place your covered bowl on top of that.
If you are doing the water technique let it rise for 15 minutes. If you are just letting it rise on the counter let it sit for 25 minutes.
Once you dough has had a nice rest divide it into pieces just a bit bigger than a golf ball. Roll the small dough balls into skinny ropes. I just roll them between my hands. Place those on a greased baking sheet. Once they are all rolled, let the sticks rise again {covered with a clean towel.}
You can place the pan over steaming water for 15 minutes…or let them rest on the counter for 25 minutes.
While your bread is resting for a second time melt 1/2 stick of butter. And preheat your oven to 400 degrees. When time is up, gently brush the raw dough with butter. Sprinkle lightly with garlic powder. Put directly into the oven.
Bake for 6 minutes.
Remove them from the oven. Brush more butter over them and return to the oven for 5 more minutes.
When they are done baking…coat them again with butter and sprinkle some Parmesan cheese over them if you like. {I like…} And you’re done.
Megan…I know this is your favorite. I miss our days at Olive Garden together, so just know that this post is dedicated to you!
Amy
by Amy | Sep 5, 2012 | Blog, The Art of Adventure, The Art of Faith, The Art of the Moment
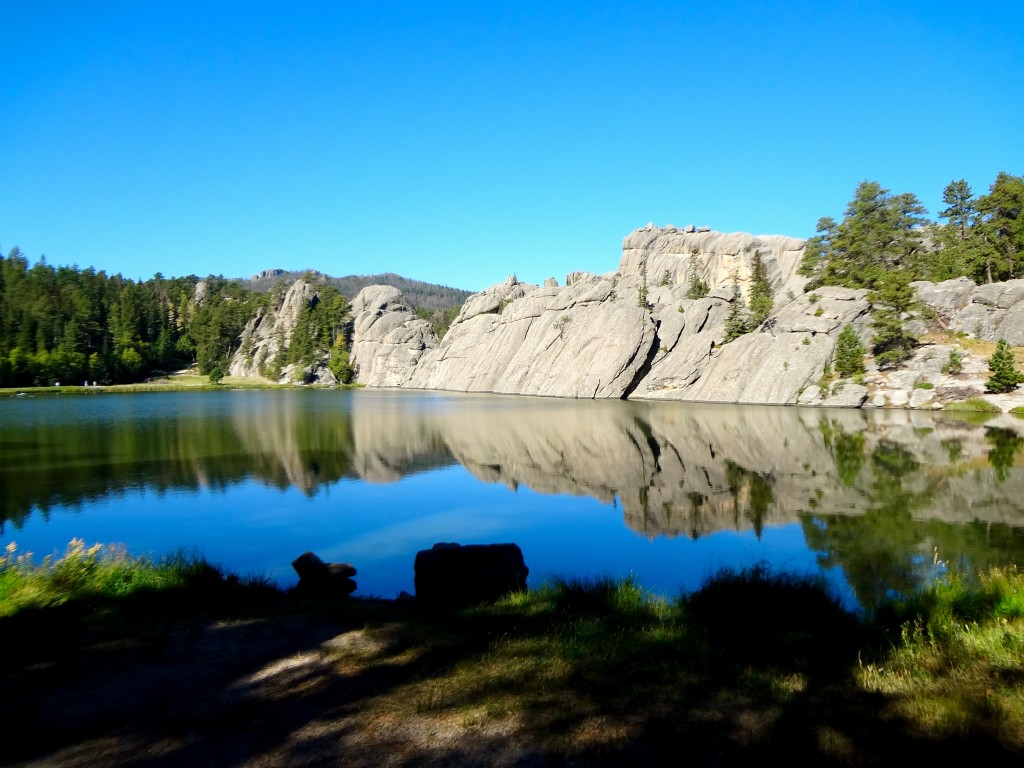
Today reality hit me in the face. Back from vacation and a “do-list” a mile long. {I’m a big list maker in case you didn’t know.}
Reality.
Lists. Work. Editing. Emails. Phone calls.
Then I sat for a minute and saw this photo. I snapped this at Sylvan Lake at Custer State Park over the weekend. And suddenly, unexpectedly, I remembered that this is reality too. Both are real and wonderful in their own way.
I need to embrace both of them and appreciate the fact that both of these realities have been hand-crafted by God. My loving heavenly Father.
What reality has He crafted for you?
Amy
by Amy | Sep 4, 2012 | Blog, The Art of Adventure, The Art of the Moment
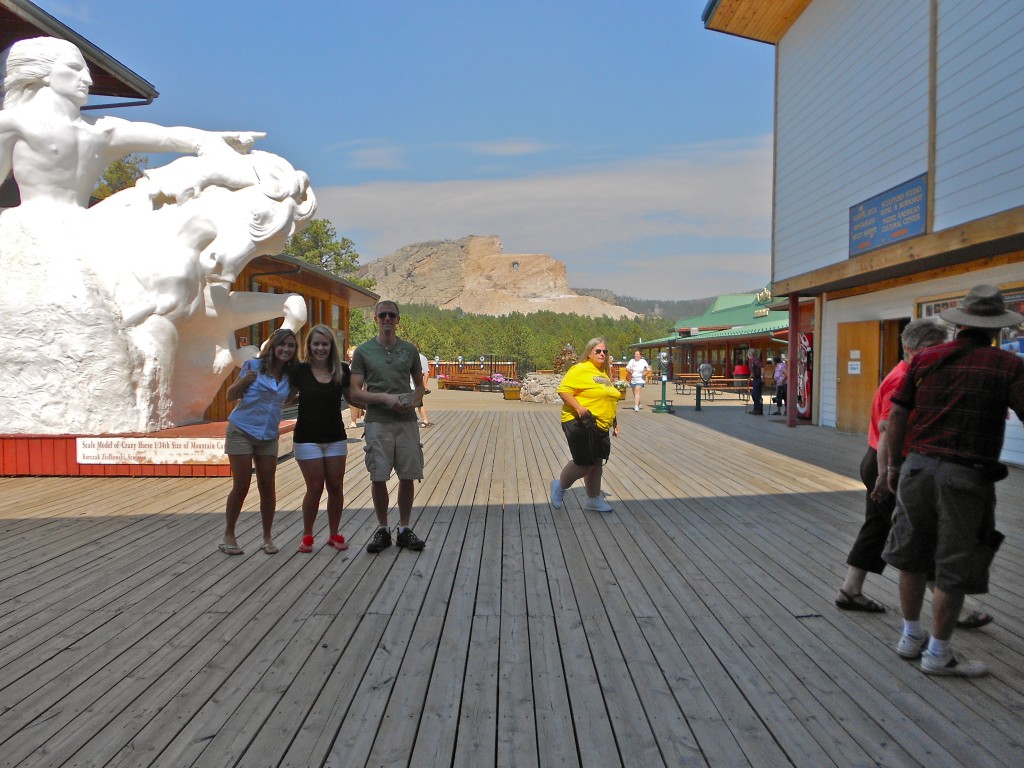
You know when you are on vacation and you ask a stranger to take your photo?
I think we’ve all been there. Over the weekend {possibly the best Labor Day Weekend I’ve ever had} we were at the Crazy Horse monument in South Dakota. I’ll tell you all about the trip in the coming days….but for tonight I just wanted to fill you in on this little awkward moment.
So. Back to the original statement. We are at Crazy Horse. I was setting up my camera on self-timer when a kind gentleman asked if I wanted him to snap the photo for us.
“What a sweet offer. Of course. ..Yes we were trying to get both the scale model and the monument in the photo. Thanks so much….It’s the big button in front there.”
As we crowd together. He starts waving his hand as if asking us to scoot to the right a bit. So we shuffle. While scooting over he clicks the photo. Then he says to his wife, “Not them. You honey. Move over a bit.”
A large woman in a highlighter yellow t-shirt gives a light laugh and says, “Oh, haha, was I in the picture?”
Her husband replies, “No, I think it was okay.”
We review the photo. The subject of the photo is supposed to be Derek, our dear friend Megan and me. But, as you can see…someone else stole the show. Yeah…I think she made it out of the photo in time. No, not really. You are definitely in the photo. In hindsight, you are the subject of the photo. Classically awkward. Love it.
So let’s raise a glass to all awkward vacation photos. Right here, right now. I bet you have a few of your own.
Amy


