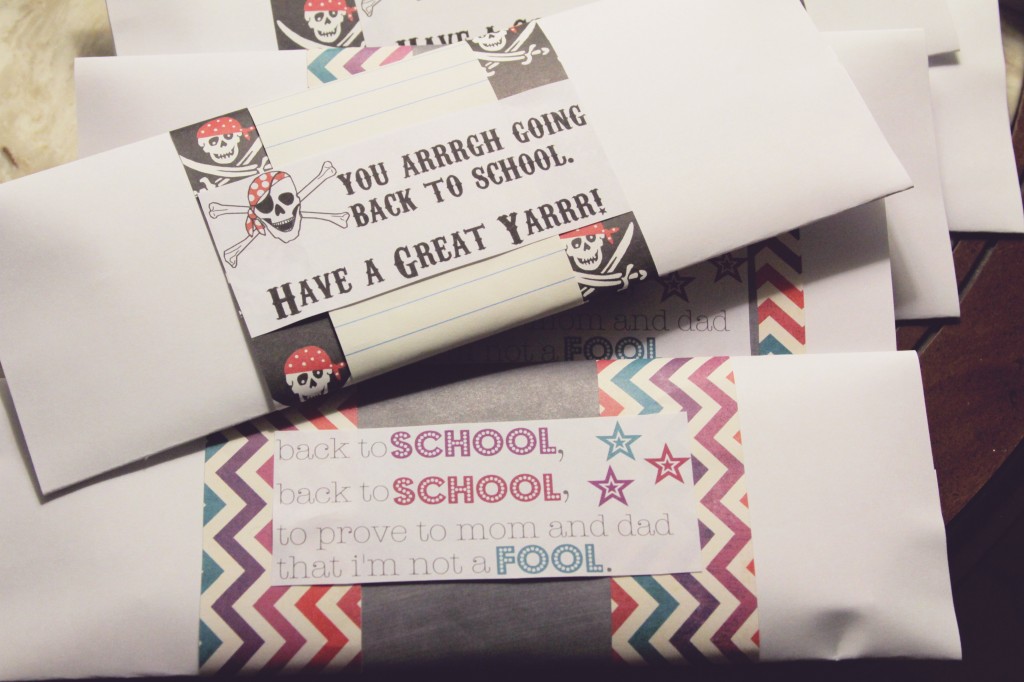
Hey all. So I know, I’m a little late to the finish here…but I’ve got a great back to school project for you. This is simple and cheap and fast…and sure to get any little one {or bigger ones} off to a great year.
I created s simple card-stock envelopes then filled them with some pretty pencils. I finished things off by adding some cool scrapbook paper and catchy graphics.
To make this craft you’ll need:
Card-stock | Double Stick Tape | Scrapbook Paper | One of the graphics below | Pencils
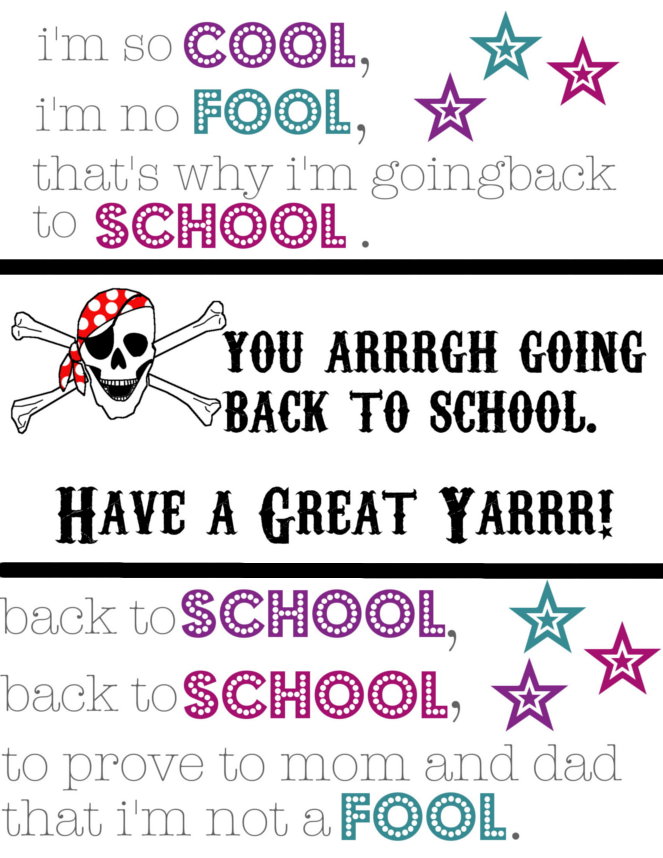
Here are the three graphics I worked with. Pirates for the boys. Back to school rhyme for the girls. And a “Billy Madison” quote for my older recipients.
I thought that pirate play on words was pretty clever.
Here’s how I did the envelope.
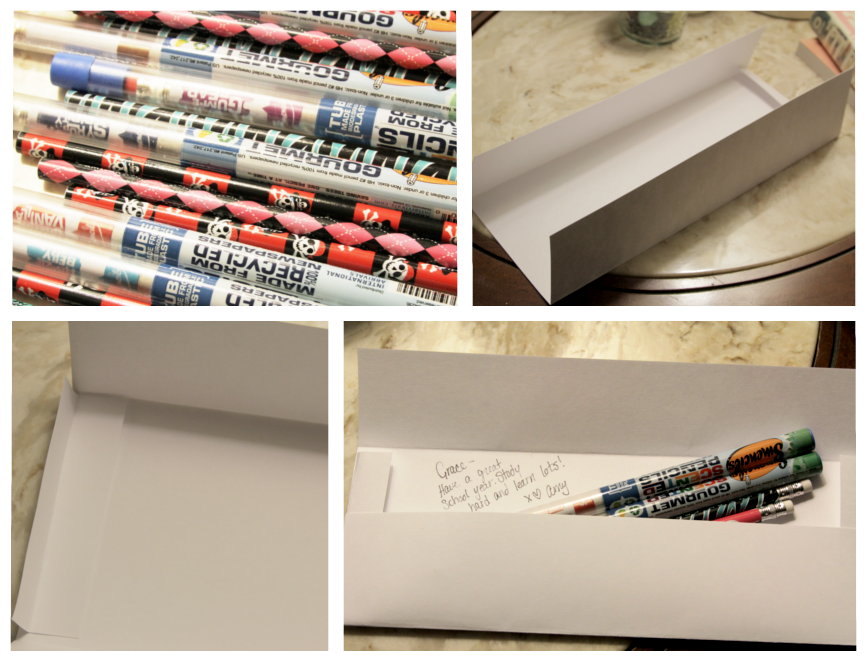
1. I looked for fun pencils. Target’s selection was a bit disappointing. I ended up buying Smencils from Barnes & Noble and getting the others from a party supply store. I was just at Walmart and they seemed to have some cool ones though.
2. Start with a sheet of 8 1/2 x 11 white card-stock. Make a tri-fold length wise. So your folded paper is 11″ across.
3. Cut a scrap of card-stock to fit along the back side of your tri-fold. Fold the scrap in half and double-stick-tape it in place. Repeat on the other end.
4. Now put a piece of double stick tape on the bottom flap of your tri-fold. Fold it up to complete your envelope. Write a note to your student and tuck the pencils, stickers, etc inside. Then fold the top down and secure with tape.
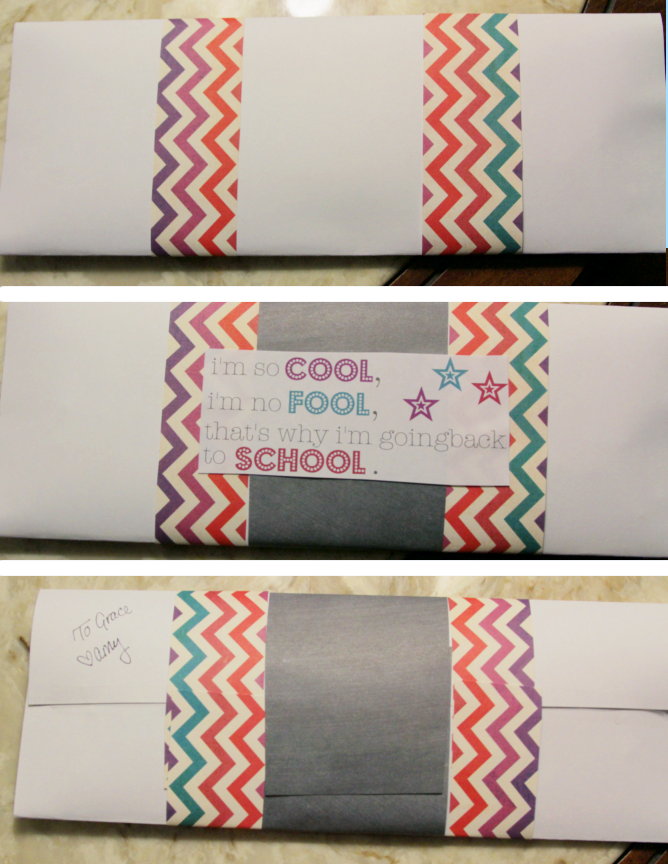
1. To save paper I cut strips of scrapbook paper and wrapped them around, then secured with tape.
2. Then I wrapped a thicker piece around the center to overlap the strips a bit. Finally I added my back to school graphic.
3. This is what the back of the envelope will look like.
And that’s all there is to it. I got all my paper from Hobby Lobby. For 6 packets I used less than 4 sheets of 12″x12″ paper. Happy back to school!
Here are the links for the graphics:
Pirate | Rhyme | Billy Madison
I recommend inserting the images into a word document so you can fit multiple graphics on one page! Share this with your friends…just remember to tell them where you got it!
Amy
PS–This post is entered in the CSI {Create Something Inspiring} Weekly Challenge. Go here to see where else I link up.


