by Amy | Oct 22, 2012 | Blog, Crafts, The Art of Projects
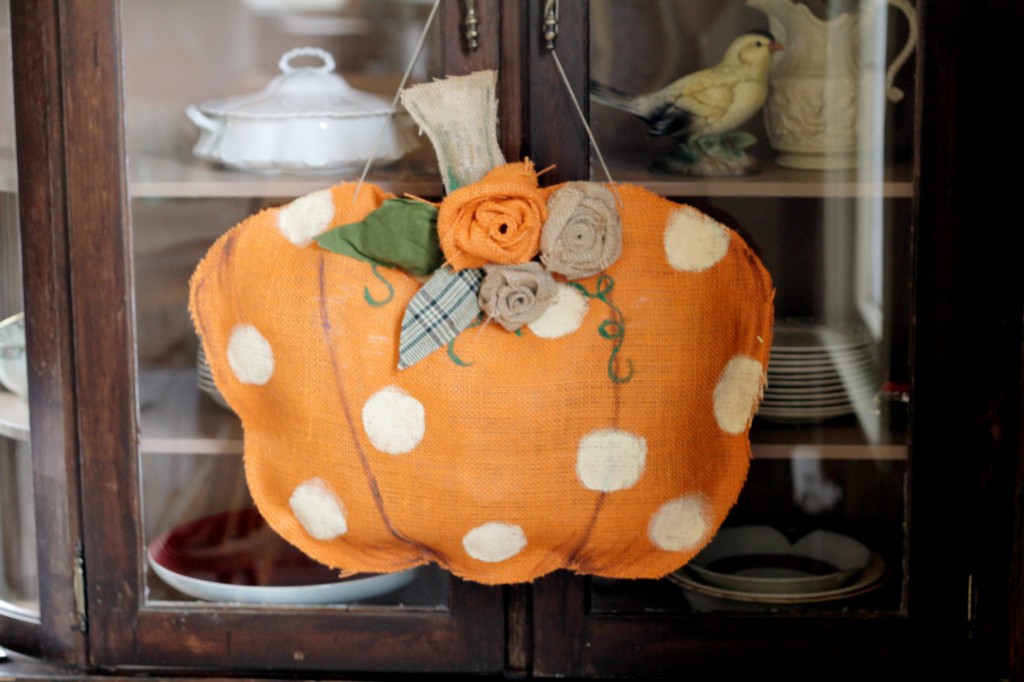
A while back {see the cabinets are still brown??} I did a little fall DIY crafting. I got together with a girlfriend and we made these super cute burlap pumpkins. Her neighbor had one. They are all over the Internets. {Yes, sometimes I call it the Internets. With an “s.”} They are retailing on Etsy for around $35.
Well…you know me. $35 for something made of burlap?? Maybe if the burlap also came with a gift card for some fro-yo and breadsticks at Olive Garden. Maybe…
So anyway. We made our own and I think they came out pretty darn cute. And now is the perfect time to whip one up as you swap your scary-spooky for harvest-happy. The best part? Ours cost $6. For both. What up? The second best part? It’s an awesome way to upcycle your plastic grocery bags! {Remember what we did with paper bags?}
Here’s what you’ll need: Burlap 1/2 yard per pumpkin {Hobby Lobby carries it in orange} | scraps of tan burlap | white & green paint | paint brush {bonus points if it’s one of those nifty circle sponges} | scraps of felt or other awesome fabric | hot glue | plastic grocery bags {unexpected…I know}
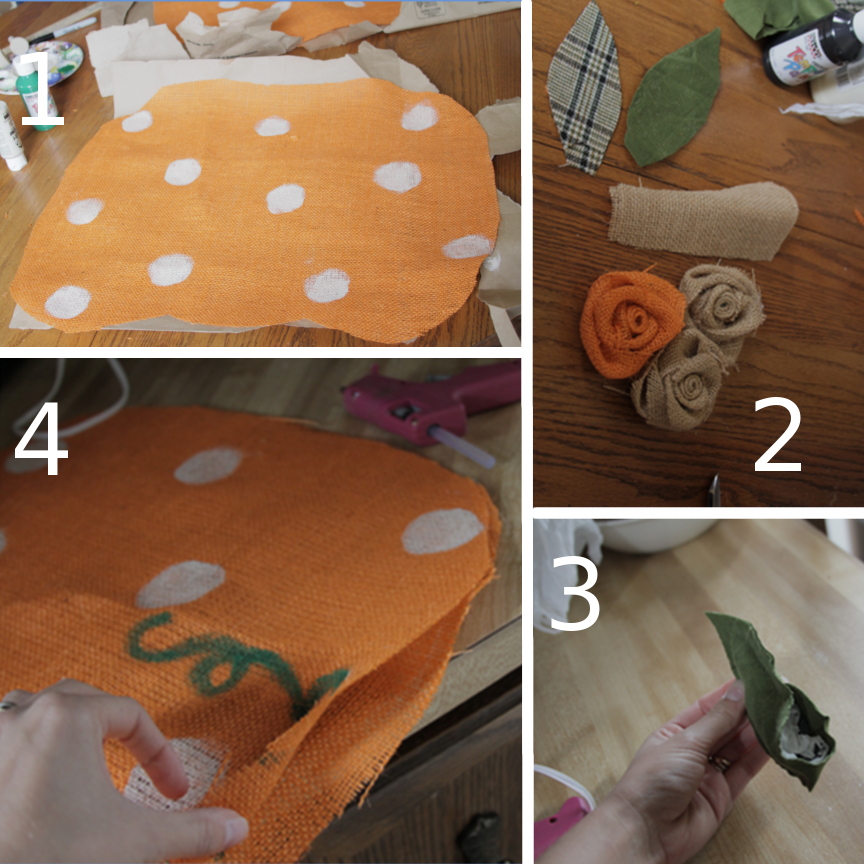
1. Cut out your pumpkin. Double your fabric up so you have two identical shapes. Mine is about 22″ wide and 16″ tall.
2. Cut a stem out of tan burlap. I cut leaves out of some scraps from the fabric bin. Wool, felt, and flannel from an old shirt are great choices. Use a few other scraps to make some burlap roses. Tutorial here at the old blog.
3. Start gluing your small pieces together. Lay them flat and run a bead of hot glue around the outside, leaving a little raw edge exposed. Be sure that both right sides are out!! When you’ve almost got the whole shape sealed up stuff it with some plastic baggies. For the small pieces you may need to tear the bag into smaller bits.
4. Almost done. Lay a paper bag between layers of orange burlap and paint. These look best when they are kept simple. I went with big polka dots…but you don’t even have to include the dots. Swirls, stripes, whatever…it’s your project. Add a few curly-q vines to the top. Follow your heart. Then repeat the gluing process. Leave the top open and stuff it with plastic bags. Glue your stem in place {sandwiched between orange layers} then glue the top shut.
Add your leaves and roses with a bit more hot glue.
I used a pen to open up a whole in the weave of the burlap, then I threaded a piece of craft twine through to create a hanger.
Why plastic bags? It’s simple. First of all…they are free, and we all have way too many on hand. Second, if you are planning to hang this gem out for all to see…plastic is an ideal choice. It won’t rot or get nasty. The rain won’t hurt it. I’ve seen other tutorials use brown craft paper…which is dandy…if you aren’t putting it outside.
As always, I love to see your creations. Feel free to send me a photo of your version of this craft {or any craft}. I love new ideas! AND…if there is a project you are drooling over, but can’t figure out how to make it happen…email me. I’d love to find a way.
Amy
This thrifty project is partying at Home Stories, My Uncommon Slice of Suburbia, Savvy Southern Style, and these other great parties.
by Amy | Oct 8, 2012 | Blog, The Art of Adventure
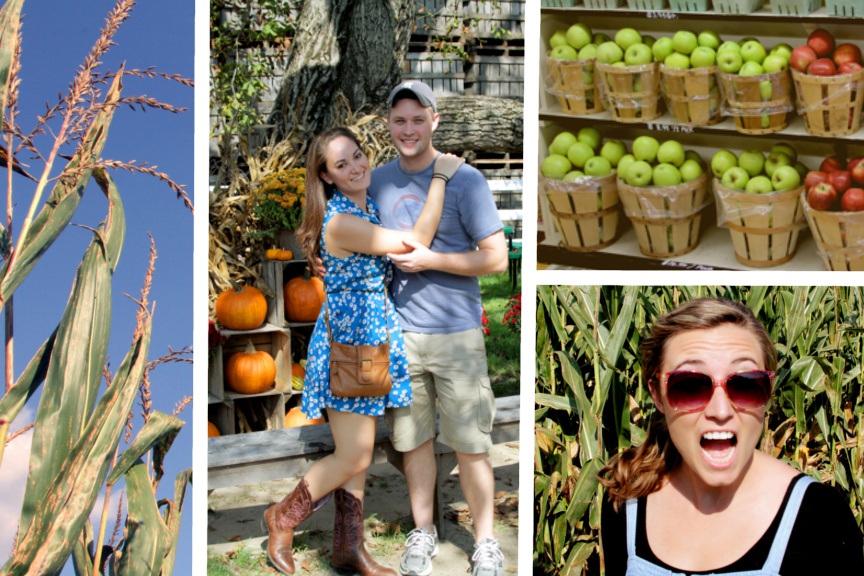
Fifer’s produce near Dover, DE
Lots of fun had this weekend during a trip to Fifer’s Orchard near Dover, DE. Lucky us for showing up during a Fall Festival weekend! Even though there were lots of activities geared toward little ones, we were still entertained for hours.
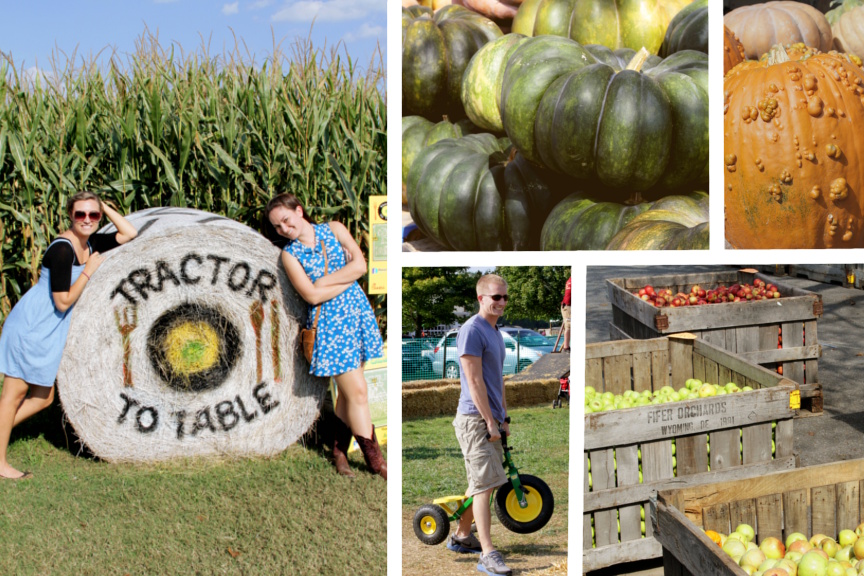
Fifer’s produce and corn maze near Dover, DE
Fifer’s offers loads of jolly times. Including a corn maze. This year’s theme: Tractor to Table. Check out the map of the maze below! Crazy, right? How the heck do they do that??

Tractor to Table corn maze Fifer’s Orchard
I loved looking at the cool pumpkins. This is the type of thing that Martha loves. If I hadn’t flown in…you better believe I would be going home with some of these squatty green guys and warty lovelies. Yes, that’s right, I have no idea what they are actually called.
And when we weren’t playing outside, we were hanging in the fruit stand. Sipping apple cider slushies {crazy delicious} and filling mix and match bags with the prettiest apples I’ve seen this season.
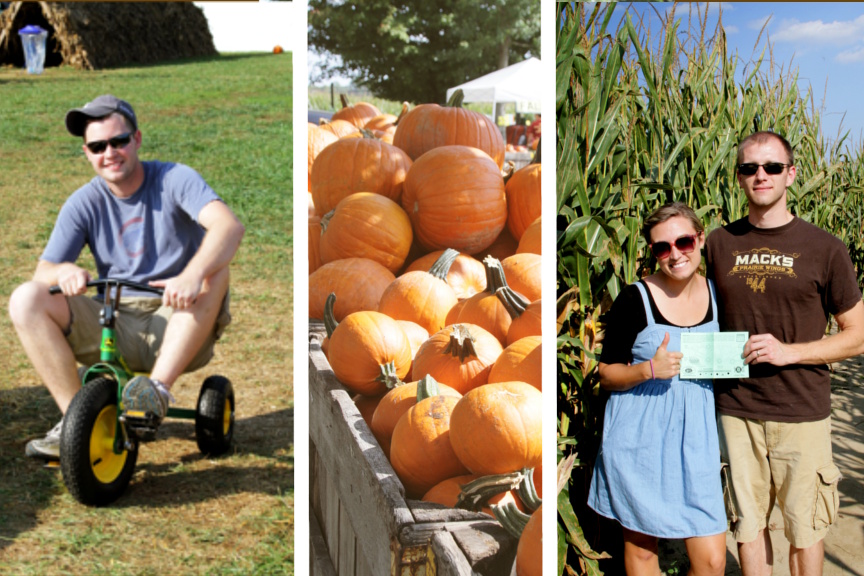
Fun and games at the fall festival
And what is it about orchards, corn mazes and tricycle races? I don’t know why they go hand in hand, but they do.
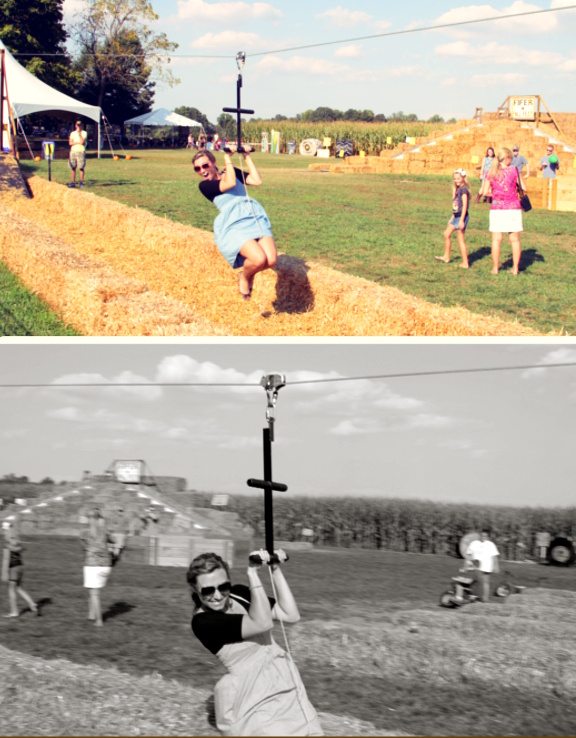
Zip lining at Fifer’s Orchard
Oh, yeah. The best part? Well…besides spending an afternoon with some of my BFF’s?
The zip line.
Obviously. Weight limit cuts off at 150 lbs…so that meant I had all the fun while the boys stood on the sidelines crazy jelly. Did the children see my underoos? There’s a good chance. But come, on. It’s a zip line through bales of hay.
All in all…it’s one of the best days I’ve had this fall. Thanks Fifer’s. You rock.
Amy
PS…What did we do with all the produce we lugged home? Caramel apples, apple pie, pumpkin carving, pumpkin seeds, apples and peanut butter, and hot apple cider. I’m pretty sure I’ve gained 20 lbs this weekend. So worth it.
by Amy | Sep 14, 2012 | Blog, Crafts, The Art of Projects
I have about a million of those re-useable grocery bags. My problem? I get to the store and realize they are still in my basement at home. Then I’m asked the question. The big question:
Paper or plastic?
Kill a tree. Or get my groceries in a bag that will never really decompose. It’s a lose-lose.
About a year ago I first showed you this project over at Aprons & Ambitions. It’s a super easy wreath you can make using just a paper grocery sack, an old box and some hot glue. I’m revisiting this tutorial today. It’s a bit updated, but still as easy and thrifty as ever.

Here’s what you do:
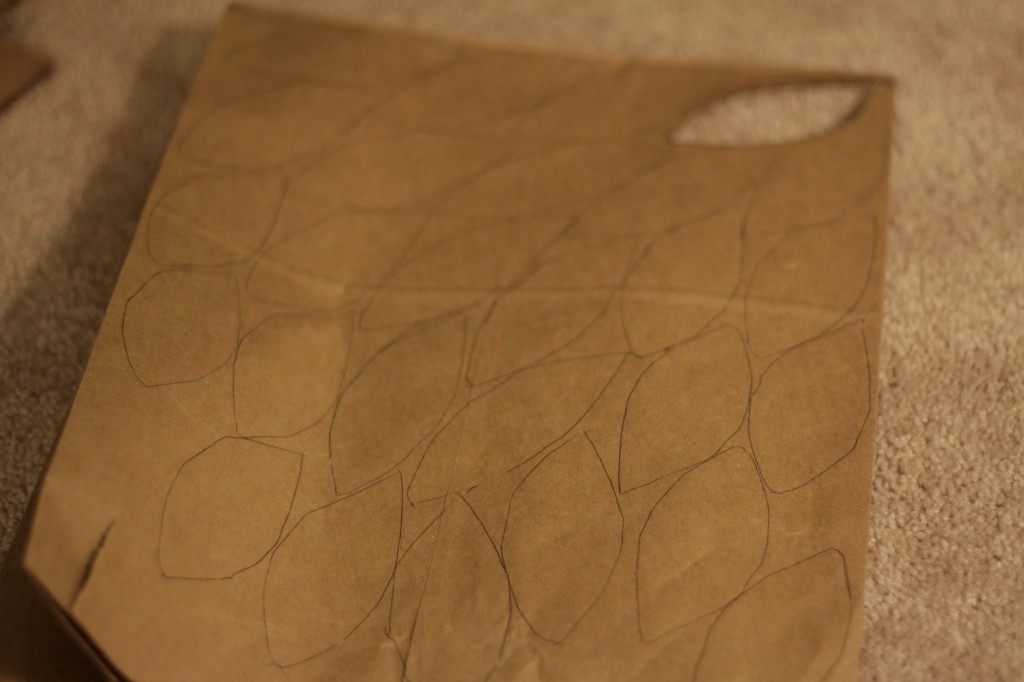
Draw a leaf shape on your bag. Mine is about 3″ long and 2″ wide. I cut one out then trace it over and over so they are all the same size. Then cut then all out. One bag full of leaves is enough for one wreath.
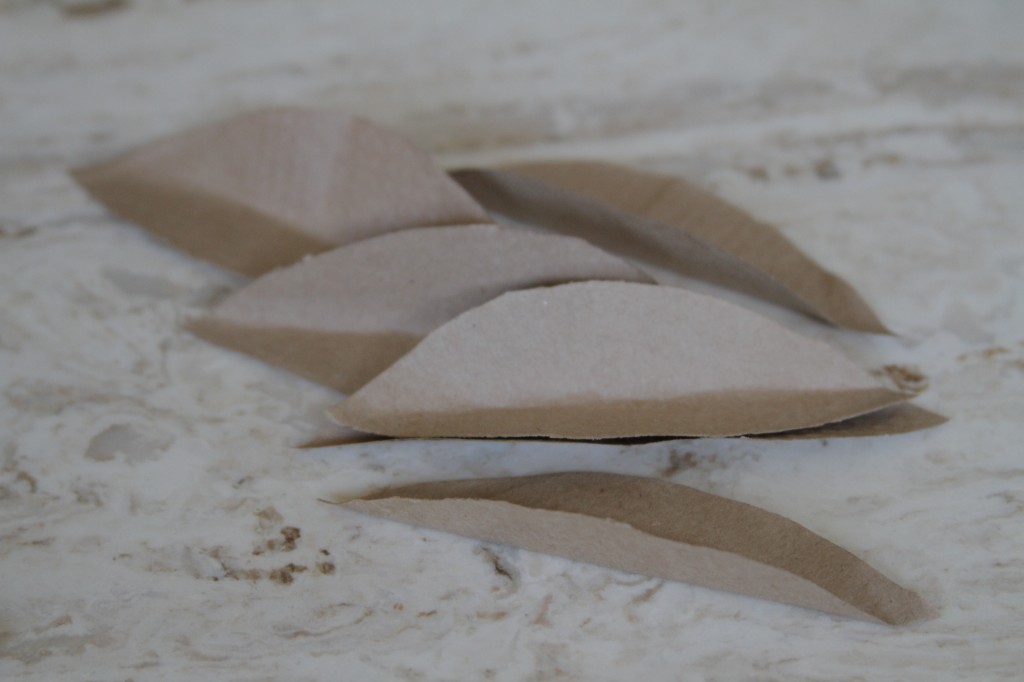
Once your leaves are all cut out crease them in half. Like so:
Next…make your wreath form. You can cut it out of an old box…or use up some more paper bags. For the one I made yesterday I used bags and a cereal box. The point is to make a form that is fairly stiff to glue your leaves to.
To make your form from bags do like this:
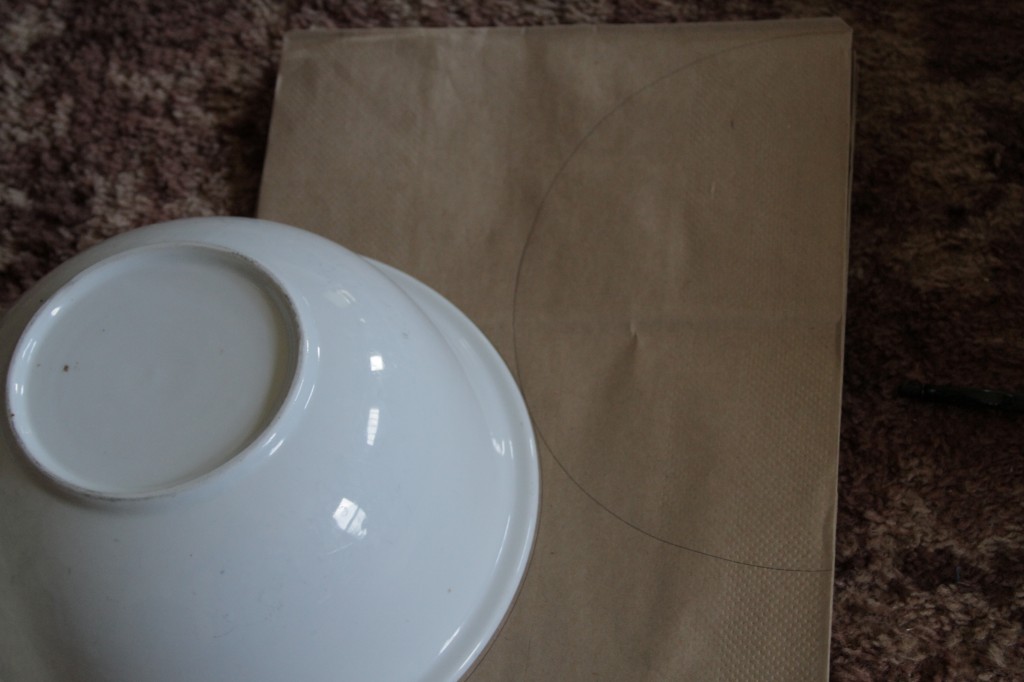
Use a big mixing/salad bowl to trace half a circle on your bag. If you are making a bigger wreath you may only be able to fit half on one bag. Use a smaller bowl to make an arc about 2″ wide. Cut them out of four bags. Trace your arc twice on a cereal box and cut those out too. Sandwich all your arcs together to make a full circle and hot glue them all together.
Then it’s time to glue on your leaves. Please don’t be too repulsed by my hideous carpet. You know how much I hate it. It’s days are numbered.
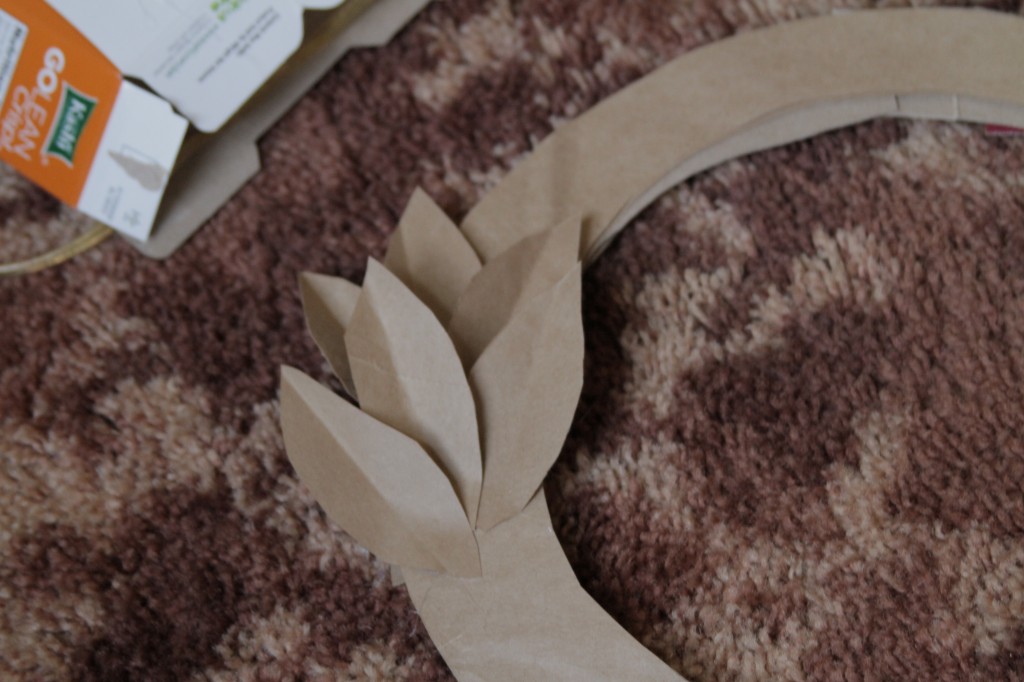
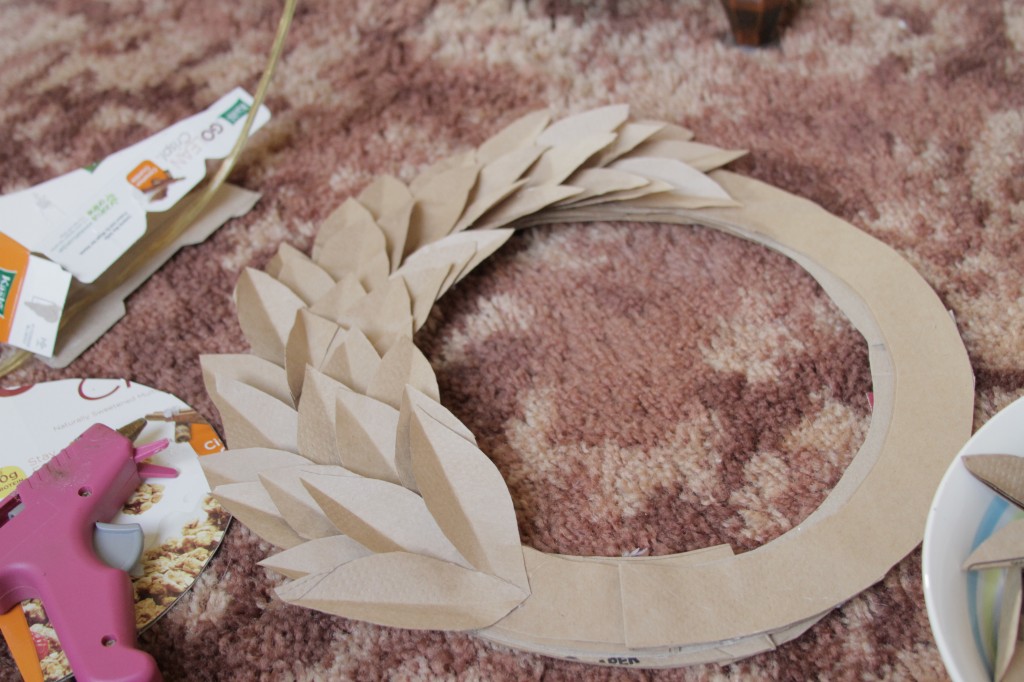
Glue them on in small clusters until you’ve gone all the way around. Finish it off with a dusting of gold spray paint. I usually get mine out in the fall…but it’s a super versatile wreath for all year.
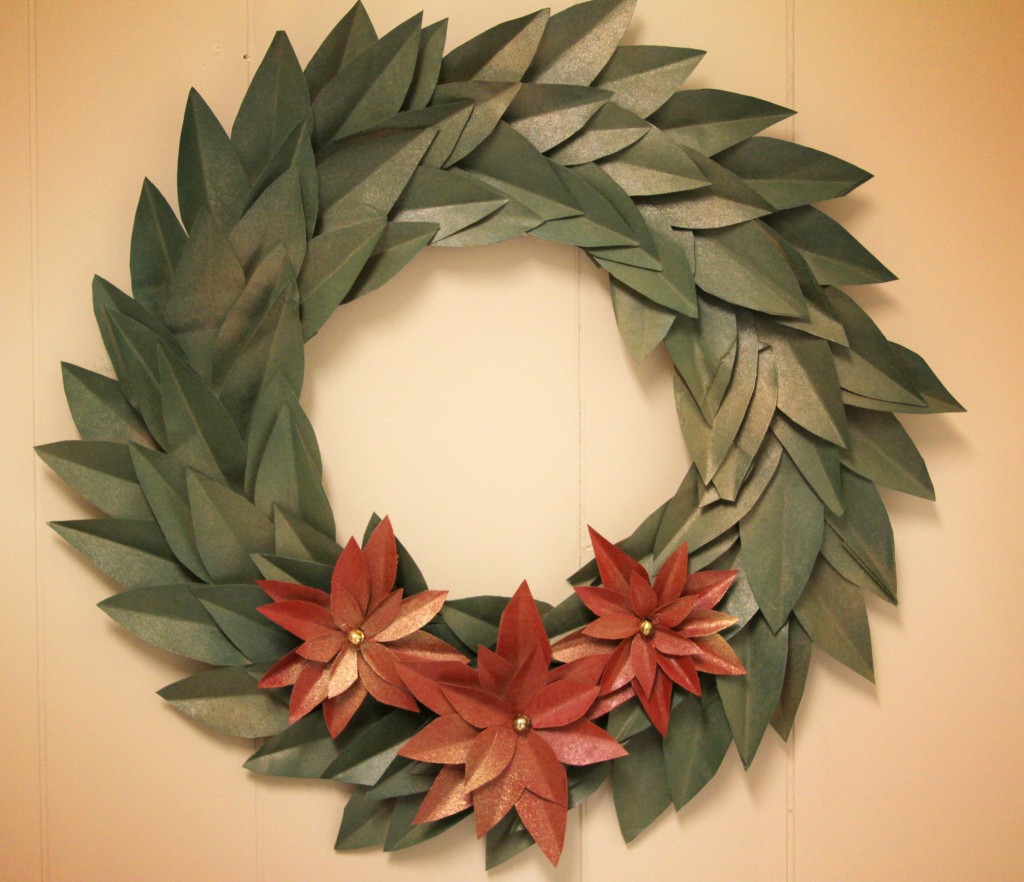
And…I know Christmas is still a long ways off, but while you are at it, you can easily whip one up for Christmas. Follow the same instructions, but spray paint it green and add some paper bag poinsettias. The tutorial for those is on the old blog. See it here.

Happy Crafting!
Amy
PS…This post is partying at Sew Can Do…and these other great linky get-togethers.


