by Amy | Jan 2, 2014 | Blog, The Art of Adventure, The Art of Faith, The Art of Gathering, The Art of Living, The Art of Projects, The Art of the Kitchen, The Art of the Moment, the house
Happy New Year! It’s hard to believe we have entered another year. If your life is anything like mine…it’s felt like a whirlwind ever since Thanksgiving. Yikes. But now the festivities are behind us and it’s time to learn from the past year and step into a fresh, new season.
The year goes by so fast that I often feel like it passed in a blur. {Any one second that?} I have to remind myself that a year is a long time. A lot can happen. One life can do a lot in one year. I really believe that and I hope you do too. For me 2013 could have been a very hard, negative year…but I think we chose how we spend our time and resources and energy. We can let negative circumstances weigh us down…or allow them to give us a chance to brush up on our hurdling skills. I may have banged my shins on hurdles a few times in the past 365, but I can confidently say that I cleared them all.
And if you don’t believe a lot can get done in a year…let’s look back at the biggest moments of a year with Amy Allender. (more…)
by Amy | Dec 5, 2013 | Blog, Crafts, The Art of Gathering, The Art of Projects, The Art of the Kitchen, The Art of the Moment

Did you have a happy Thanksgiving?
I sure did.
As most of my holidays go, the day revolved around being in the moment with family and friends. Oh, and it also involved quite a bit of food too. I’m a big fan of eating later in the day so that there isn’t a big rush with baking the turkey. It also takes away the need for a second giant meal of the day…we do dinner, pie, tea, games and bed time. Eating at dinner time {instead of that awkward 2pm “lunch”} gave everyone time for a little Thanksgiving activity time.
For Derek and my dad that meant time in the field hunting. For mom and me it meant time at the gym for a little turkey trot {aka an hour on the treadmill.} Of course we were home in time for THE parade.
You like the place setting in the photo above? I thought you might. I bought a new {cheap} table cloth from Target’s Threshold line. I just love that stuff. Then I topped it off with a runner made from some unhemmed gingham fabric I had in the basement. My favorite part of the table was the place mats I whipped up. They are paper bags I ran through the printer {cut to 8.5″ x 16″ long} with this adorable free printable. Paper bags! {And you know how I like paper bags.}

On the menu:
An herb rubbed turkey stuffed with sliced apples. It was just enough sweet. Mashed potatoes mashed with nonfat Greek yogurt, milk, chicken bullion, garlic and green onions. Homemade yeast rolls that Mom and I worked on throughout the afternoon. Jiffy corn casserole {it’s a classic, but I sub Greek yogurt for the sour cream called for in the recipe.} Sweet potatoes with cinnamon and pecans. Apple butter. And the prettiest part of our meal, apple cider sangria. Thanksgiving and Christmas are two of the few days of the year I have a glass of wine, and I can’t think of much prettier than this sangria with pieces of apple floating in the glass. And since Derek doesn’t drink at all {ever} he had his non alcoholic. Just cider with apples in a fancy glass. {Which means this can be a fancy drink for the whole family.}

As much as I like cooking and setting the table, my favorite part of the day is sharing a meal with a table full of people I adore. After the meal comes something I like even more than eating…games. Then of course, hot beverages {tea, coffee, cocoa} and pie. Between activities there is lots of chatter, story telling and foolery. I love the rhythm of Thanksgiving at our house.


Where’s my mom? Probably on the couch with Derek and me…occupying my dad’s lap after dinner was his “lap” dog.


This year was very special because the living room was taken over by the chalkboard for mini sessions. But for us it only added to the merriment because it meant that I could take Katie and Sean’s Christmas photos. Here’s a peek. You’ll have to wait a few days for the rest…

xo Amy
by Amy | Nov 22, 2013 | Blog
I know it’s late. I had a crazy day. And there are a couple more crazy days ahead. That’s okay, though. Crazy days mean you are doing something. No one calls a day spent on the couch binge watching Park & Recreation “crazy.” A day is only crazy when you’ve done a lot of things. Personally, I’d take a crazy day any day.

But seeing that it is late. Late on the night of November 21st…I thought it would only be appropriate to talk about what happens at midnight tonight. The Catching Fire movie premiere!!
Guilty, I’m a big time Hunger Games fan. Okay, I’m a fan of a lot of teen-ish fiction. I like stories that aren’t too deep. I like stories that I can’t put down, with easy words, and plots that aren’t 100% realistic. And, since they are for teenagers, usually they aren’t full of sex or misguided “ideals” of marriage. Those are hot buttons for me. I love good, Godly marriages and I’ll defend them to the death. To the death I say.
Okay, I’m done ranting.
Anyway. Hunger Games, tonight! Awesome. So I thought we’d spend some time drooling over some HG inspired things buzzing right now.
Let’s start here. Cover Girl has a “Capitol Beauty Studio” line out. The site is awesome. Every district has a specific look based on their industry. Every look is broken down so you can recreate it at home…it even includes a way to tone down the look into something you can wear outside the Capitol.


On the craftier side of things, let’s revisit my old blog for a little mocking jay action. When the first movie released I had a crafting party with a couple friends. I still love my mocking jay pin and head band. Oh, and check out my red hair…Click over for my HG’s crafts.

Now food. Of all the Hunger Games food in the world, I think I love these cupcakes from Erica’s Sweet Tooth most of all. I like them because they are doable. No making a frosting mocking jay here. That’s got fail written all over it. You should go to her site, it’s got adorable all over the place.

What’s a Hunger Games post without plugging the best part of this franchise? Jennifer Lawrence! I have a major girl crush on her. She’s so awkward, so talented, so real. I love a good awkward girl. And this one takes the cake. Here is a gallery of Awkward JL photos.

But let’s be honest. The downside of the Catching Fire premiere is that it will only last a couple hours. Then it’s back to waiting. Oh, what to do, what to do in the mean time. I’d say, you should find a new book to love. My I kindly recommend one of these?
Divergent {series of three books}. The Maze Runner {again, series of three…looove this one!!} Miss Peregrine’s Home for Peculiar Children.

Or, if you want something more adult for a change, you should read Unbroken. It’s a true story, and it’s amazing. I’m 150 pages in and it’s just blowing my mind.

by Amy | Oct 11, 2013 | Blog, The Art of Projects, the house
Good news everyone. The guest room floor was done in time for our latest house guest. And it’s ready for the next batch, and then the holiday batch after that. I’m so happy with the results {especially the lack of old-carpet-smell.}

And I apologize for these hideous B&A photos. I know. It’s so cheap to show the before with the room looking like a wreck. The truth is, I was just so eager to rip that carpet up and drag it to the curb that I nearly forgot to take any before photos at all. I had the bed stripped and the mattress prepped to be moved out when I remembered. So, sorry. It is, what it is.

This room was so easy to work on. {Especially compared to the office.} It rolled right up. No glue. Only a few staples on the carpet pad and a tack strip to rip up. {See how it came up here.}
I scraped up some old paint splatter of yester-projects and sanded out some rough spots. Then I cleaned the whole thing with Krud Kutter {that stuff rocks} and let it dry.

Then it was two coats of Fast-Drying Polyurethane from Minwax applied with lambswool. Same stuff I used in the bedroom. In there I used a natural bristle brush. I think I like that technique better. Especially since I neglected to wear gloves and I had polyurethane all over my hands…and no mineral spirits in the garage to get it off.
Yuck.

Pretty isn’t it?
I talked to some folks earlier who called this type of flooring “porch floor.” They claim it’s an old school type of sub-flooring, meant to be covered. I claim that it’s rustically perfect and full of character. I like the nails. I like that they aren’t in perfect rows. I even like the little bits of paint that are left behind. And I like the price. This redo didn’t cost me a penny.
To protect cold toes from icy hard floors we put down this braided rug that was rolled up in the basement. That’s a win-win, because it serves a purpose and frees up shelf space in the basement. It’s from the Shabby Chic collection at Target, but I {of course} bought it second hand. Whatever. Pretty is pretty, right? And I love a good bargain.
Amy
by Amy | Oct 10, 2013 | Blog, Crafts, The Art of Projects
I’m in love with Glade candles. So I was super excited when I came up with this easy, cheap and quick way to dress them up for fall.

I just made one for an end table, but a group of three would be hefty enough to stand alone as a Thanksgiving centerpiece.

{Photos via Glade.com, DollarTree.com, and OhNuts.com}
I bought quite a few nuts, but for just this project you’ll only need a couple to keep things extra cheap. Looking for another cute way to use up those nuts? How about revisiting this centerpiece I created for last Thanksgiving. If I remember right…I think this one also featured a Glade candle. I’m telling you, they are the best.

Amy
by Amy | Oct 7, 2013 | Blog, Crafts, The Art of Projects
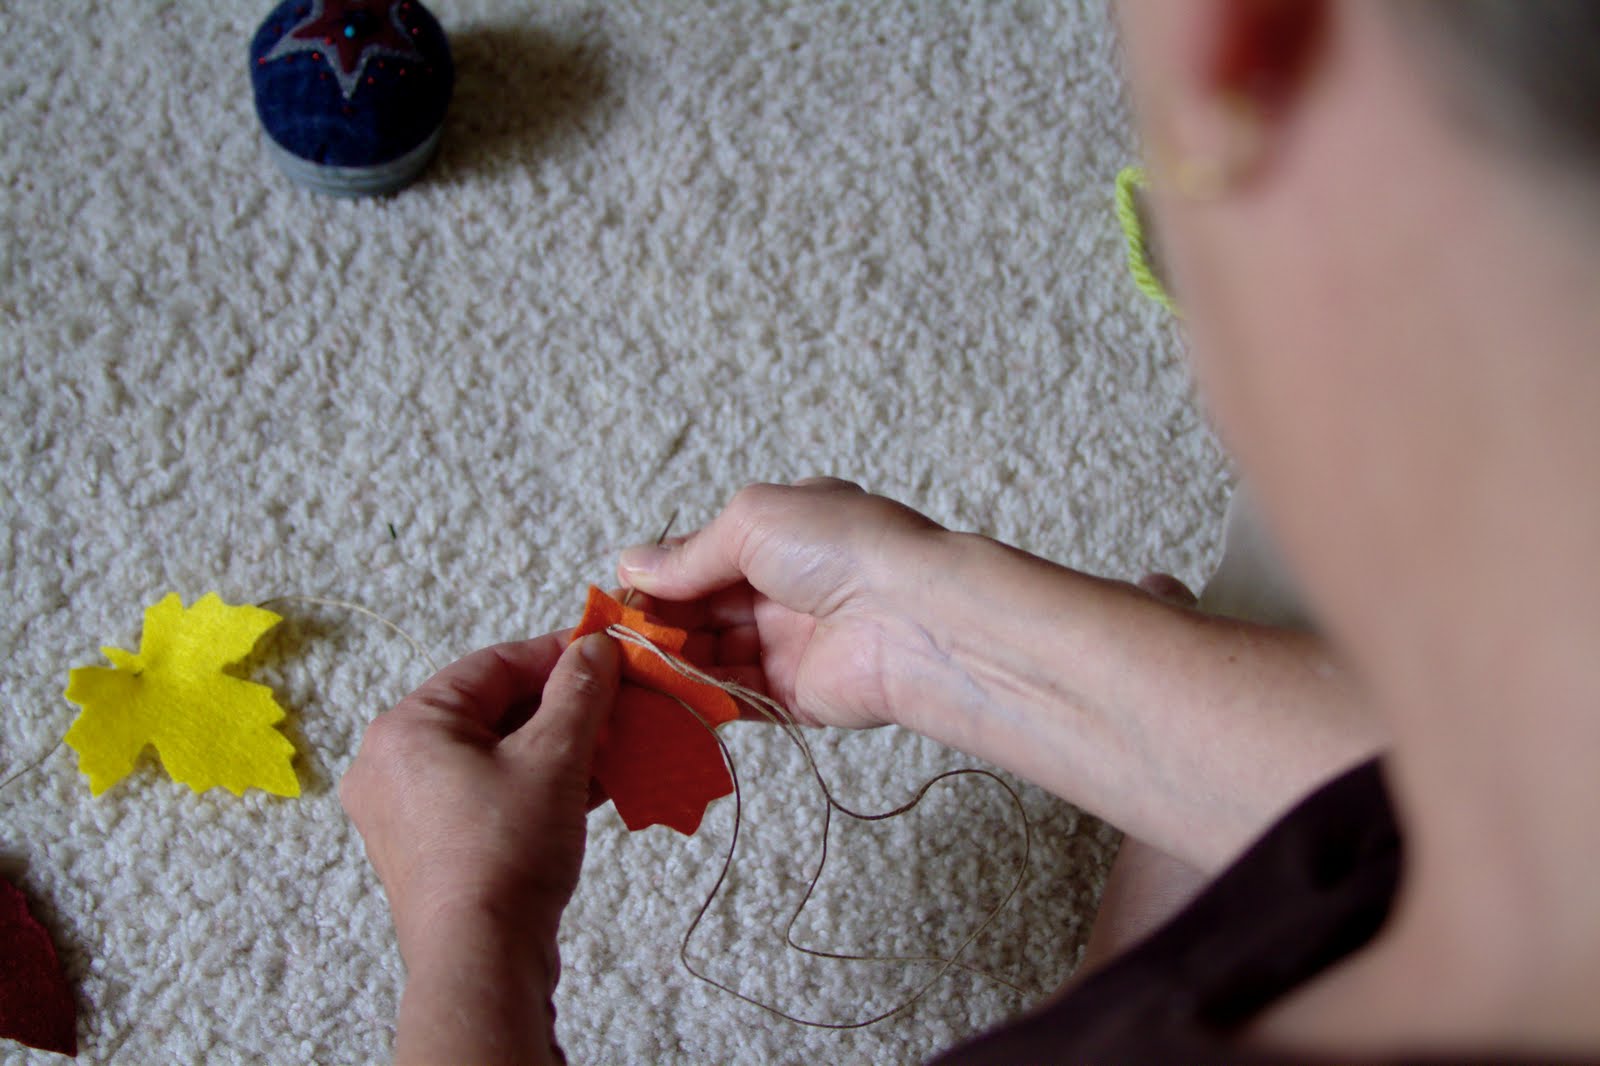
Many moons ago when I first started writing about all my projects and adventures, I wrote a post about an adorable fall garland I made with my mom.
And since most of you weren’t reading back then, and it’s not fair that you miss out, just because you didn’t know this blog existed, I thought I’d do a rerun. The adorable fall garland you see below is a compliment catcher. I get comments on it every year when I hand it up. And it only cost $5 to make two of them. All you need is some felt, very sharp scissors, a Sharpie, and a buddy to chat with while you snip these bad boys out.
Here’s the finished product. Simple and lovely.
I originally made this to be hung on my mantle. But now I live in a house with no mantle. So it resides here. On my piano.
Here’s what you’ll need:
Craft twine–I got a big spool of it at Hobby Lobby for $2.
Felt–Your choice in colors
Computer
Paper
Sharpie
Sharp Scissors
Wide Eyed Needle
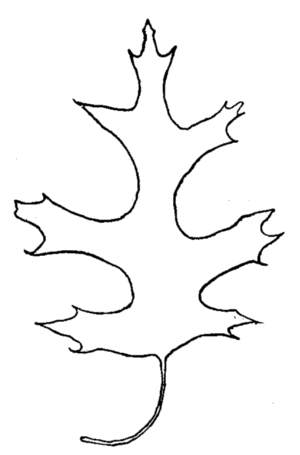
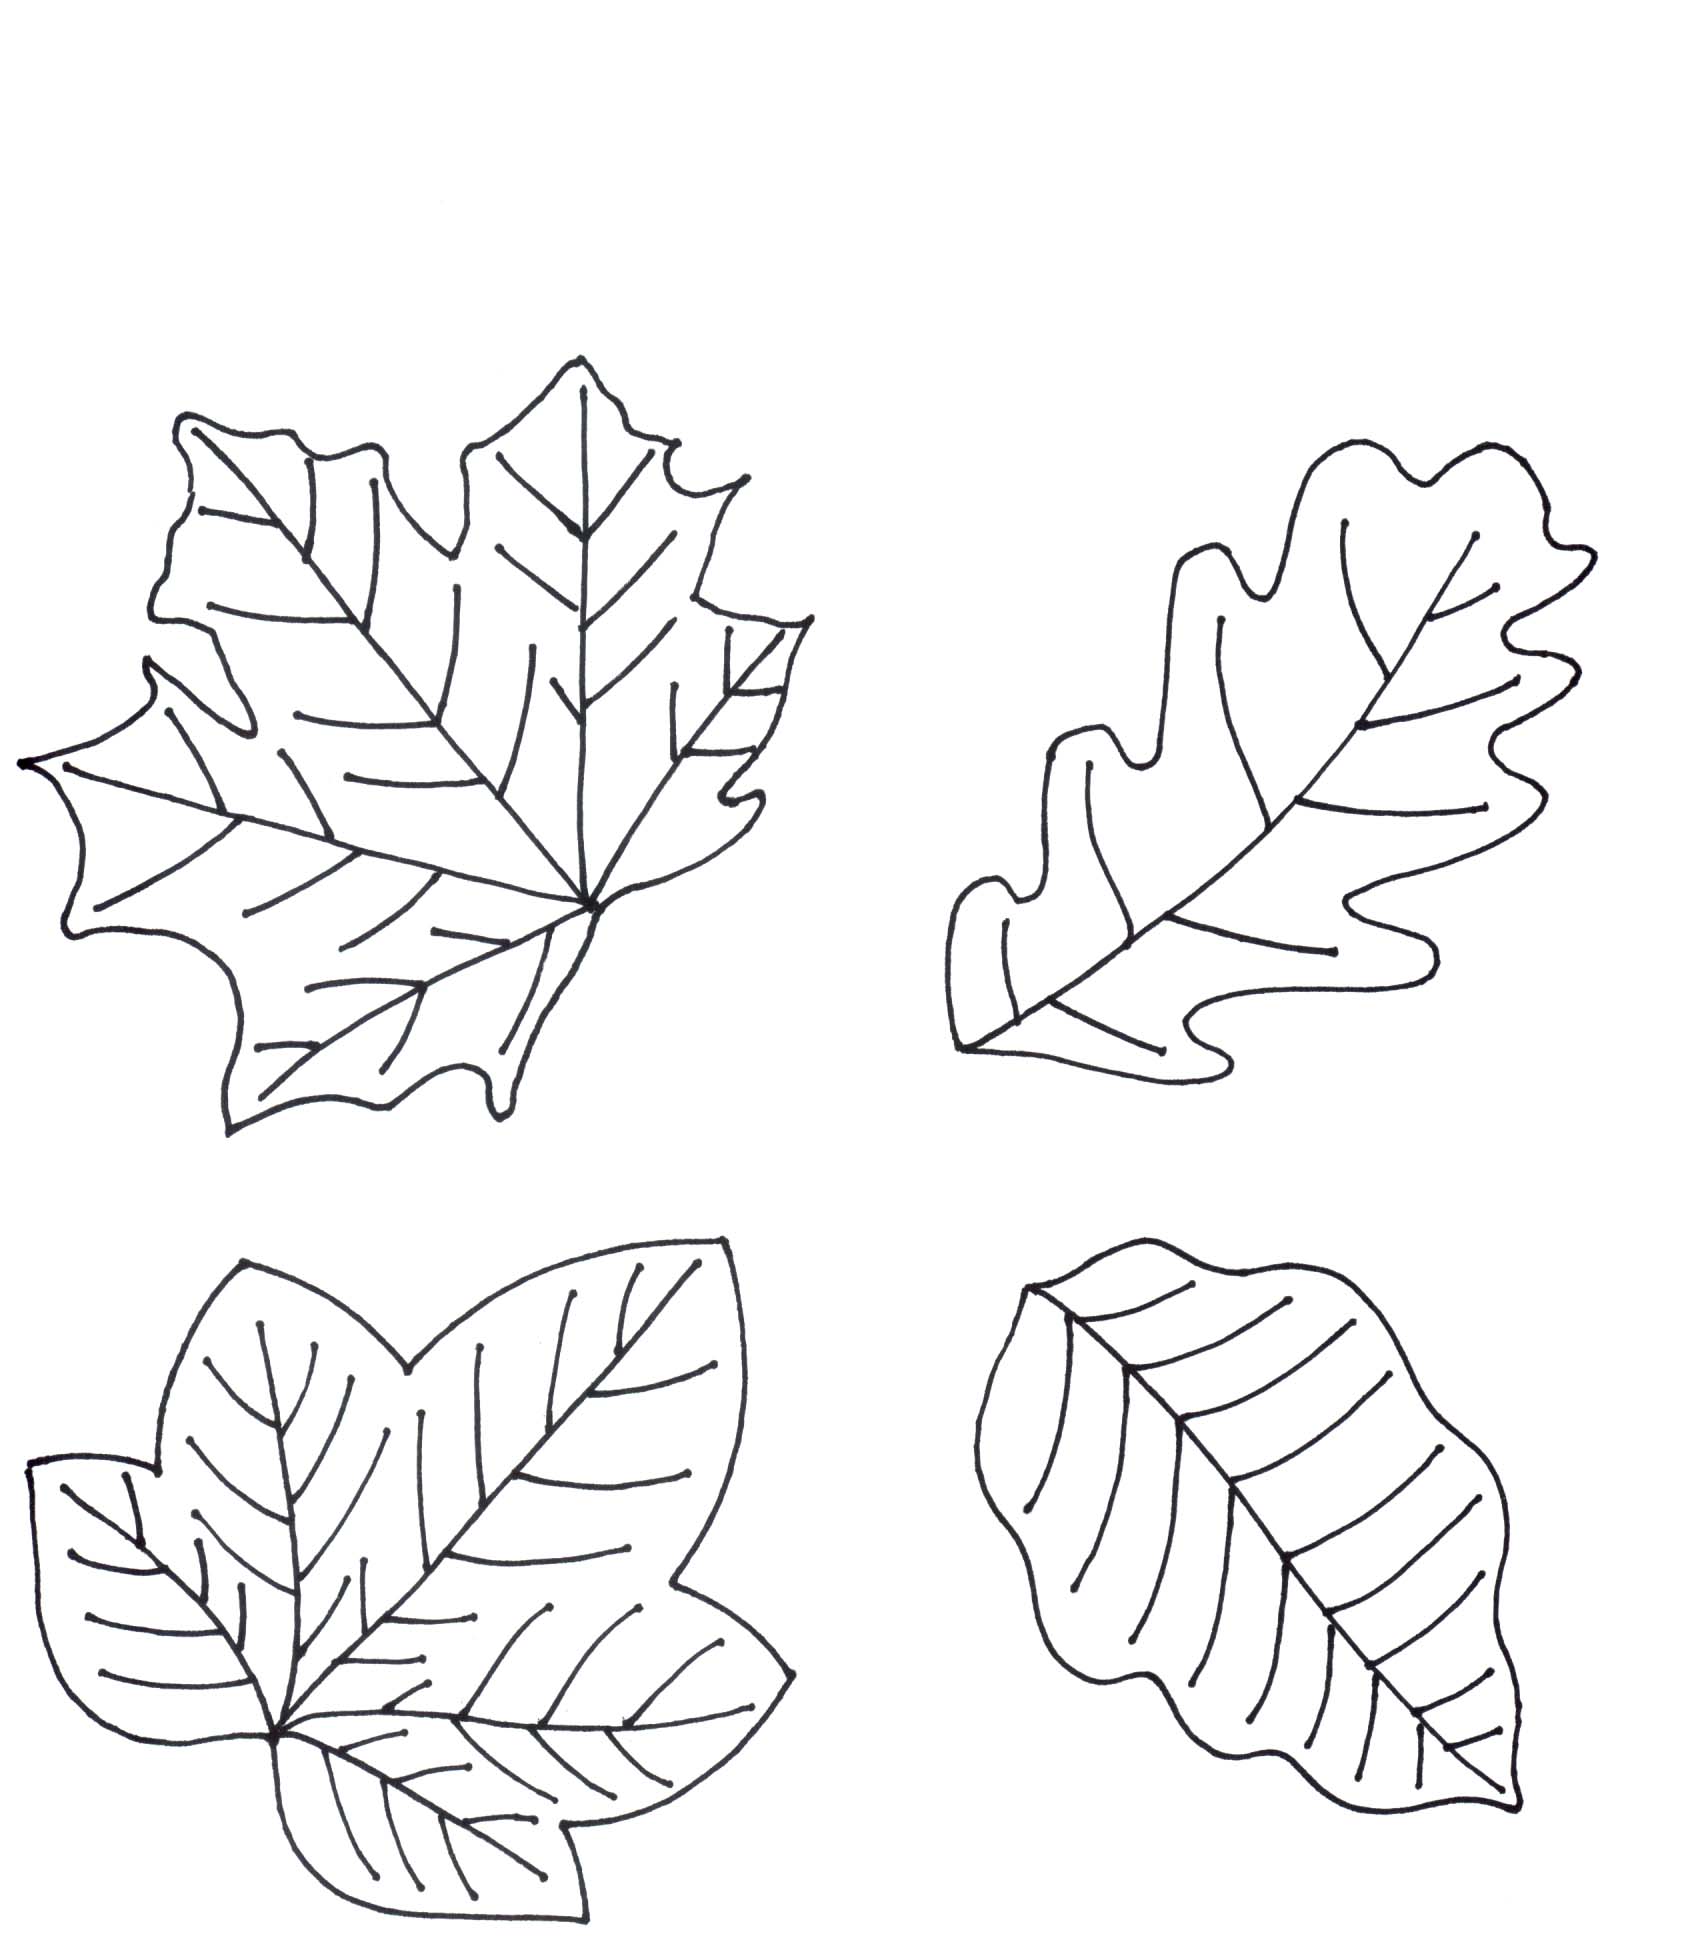
Step one: Google Image some leaves. I used five different shapes. Then, use your computer as a light-box and trace the shapes onto some regular or stiff paper. You could easily do this using only one type of leaf. The templates I made were about 3-4″ long. But, you pick the size. Next, cut your templates out and trace them onto the felt. I used a Sharpie for this.
Remember, this is a craft. It’s not going to be judged by a tree specialist. Do your best on tracing and cutting but it doesn’t have to be perfect.
Step Two: Cut out your leaves. My garland used 16 leaves for my 4′ mantle. It may be helpful to decide where you want to hang it before you start, so you have the right amount of leaves.
Step Three: Cut your twine the length you need. Leave a few inches on either end to hang by. Thread a wide eyed needle with the twine. Begin to stitch the leave on the line. Use a simple running stitch so you can adjust the spaces between leaves once they are all attached.
Step Four: Once they are all on the line, space them out how you like. I left a few inches between mine. My mom finished hers by tying scraps of fall colored fabric between each leaf. I left mine bare. Do what you like. To hang it, tie the extra twine into a loop on either end. Use a small nail or clear thumb tack (that’s what I use) to secure it to the wall, window or mantel on either side.
Amy
by Amy | Oct 2, 2013 | Blog, Crafts, The Art of Projects
If you follow the Facebook page, you saw that yesterday I was working on a couple new chalkboards. A while back a friend gave me a couple old window panes that she didn’t need. It’s been months and finally I’ve converted them into something useful. I plan to use them in photo sessions, but when they aren’t in use there, one will be hanging on the gallery wall.

Nearly a year ago I showed you guys how to make your own custom chalkboard paint. Today I thought we’d revisit that technique. Since last time I forgot to take photos and the tutorial was really lacking.

Here’s what you need:
Paint in the color you’d like your chalk board
Unsanded grout
Water
Something to mix in
Something to mix with
Something to chalk board
A paint brush
Here’s what you need to do.
Start by priming your surface. In my case, I primed window glass. But you can use basically anything that can hold paint. I prime with basic acrylic or latex paint.

After you’ve let that dry completely, mix up your chalkboard paint. I mixed mine in an empty baked beans can. It was handy, free, and disposable.
Mix together, 2 TBS unsanded grout and a few drops of water. Just enough water to make a really thick, but smooth paste. If yours is looking thin because of too much water, add a little more grout. Then mix in 1/2 cup of your paint. Paint an even coat all over your surface and let it dry.
Once that’s dry, season your new chalkboard by rubbing the side of a piece of chalk over the whole surface and gently wiping it off. Because of this, your color will not be as vibrant as it was in the jar. Keep that in mind when you choose a color.


Now you are ready to write on your new board.
I used this graphic I made for a little inspiration. But, let’s face it, everything looks cool written on a chalkboard.


Hope this one helps you more than the last tutorial. See you tomorrow,
Amy
by Amy | Sep 27, 2013 | Blog, The Art of Projects, the house
Here’s the thing. Derek is going to be leaving for a few days for a little work exercise. And you all know what I like to do when Derek’s gone…right? If not, look at this. Or this. Or this.
Another thing you may know about me is that I have a deep felt hatred for old carpet. Especially carpet in bad carpet in ugly colors. Especially old carpet that is hiding hardwood treasures.
This whole hating carpet thing really didn’t set in until we moved into our house here in PraCan. In nearly every room we found bad, ugly, dusty, smelly carpet. So I started ripping it out. The stairs, the living room, the office, the bedroom. Gone, gone, gone, gone. Then, there was only one lonely room left with bad carpet: the Guest Room. Which is a bummer, because I love to entertain…and I feel like a big jerk when I shove a weekend visitor in the only ugly room in the house. I feel terrible letting them shut the door before bed, only to sequester themselves in a room that has a weird smell coming from the floor.
Take a look. This is the last time that you will see blue carpet in this house.

Derek actually hasn’t left yet. I had him help me move the furniture out. I meant to wait until he was gone to start ripping…but I couldn’t. It’s like opening a present when you see that natural, aged wood pop through. He’s on the couch next to me now, taking in the premier of Parks and Rec…meanwhile, upstairs, the floor looks like this.

It only took a few minutes. And I couldn’t resist. Now, all that stands between me and a dazzling floor are a few staples, some tack strip and a couple coats of polyurethane.
Look for a B&A coming soon. As in next week soon. I’ve got a bestie coming!!! And she’ll need an amazing room to relax in.
Amy


