by Amy | Apr 27, 2013 | Blog, The Art of Design, The Art of Gathering
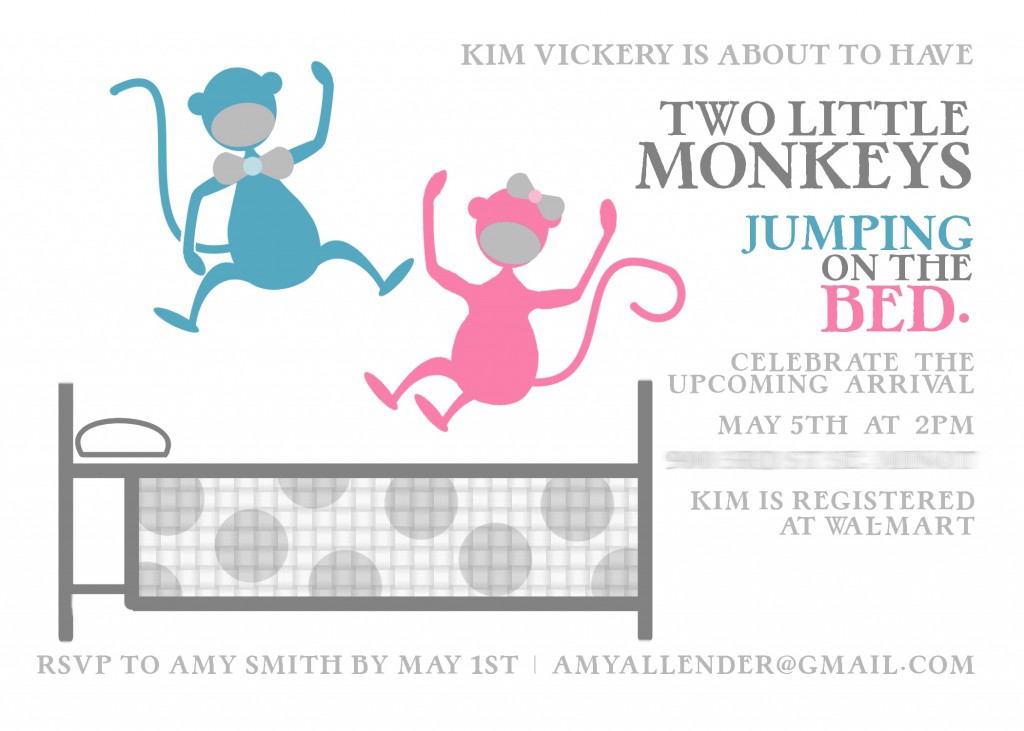
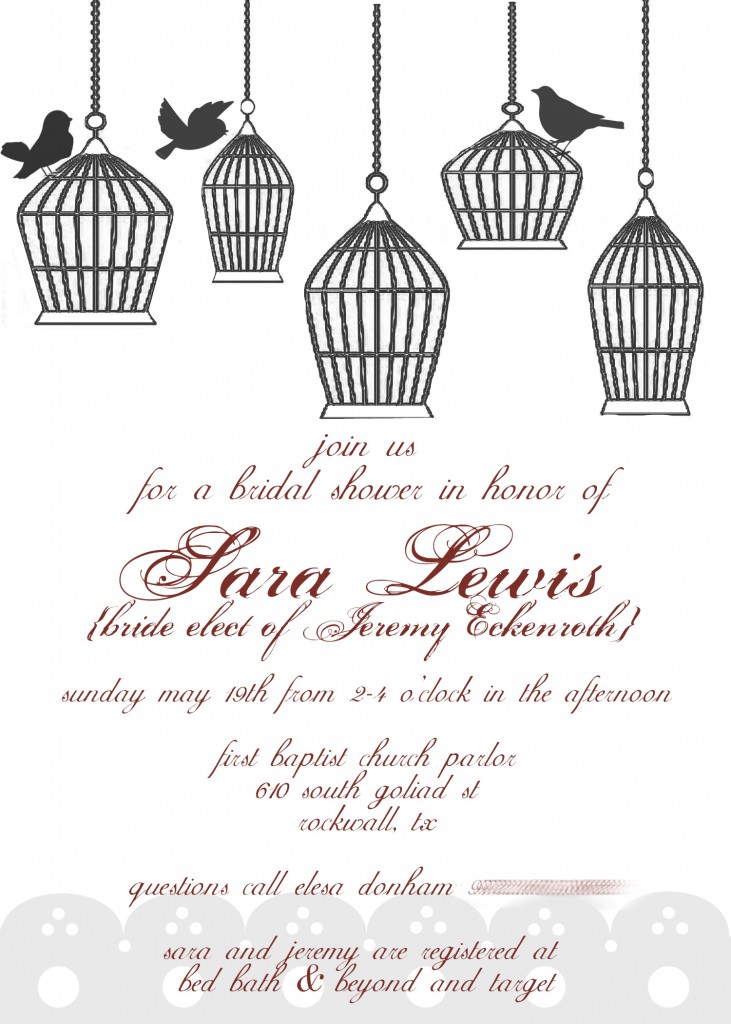
You know I love a good party. I love going to them. I love throwing them. I love helping others throw them, plan them, decorate them. Parties are the best. And a good party starts with a good invitation.
Soon I’ll be adding a design section to amyallender.com. Which is very exciting because I’ve been designing for friends for quite a while now. In the mean time check out these recent designs churned out by the one and only Amy Allender. Maybe you’ll get a little inspiration for your next get together.

If you’d like me to design something special for you drop me a note!
by Amy | Apr 26, 2013 | Blog, The Art of Projects
Have you heard of Gliffy? I hadn’t until just about a year ago. And, let me tell you…it changed the way I rearrange my furniture. It changed the way we moved in to our house.
Intrigued?
Gliffy is a free program online. It’s basically draft paper that you can draw your house plans into. They have graphics for furniture, walls, windows, etc. So you can virtually rearrange things before you do any heavy lifting. Because we’ve all be there before…you think it’ll fit just perfectly…only to heave-ho and learn that the dresser is just an inch wider than the nook you had in mind.
Bummer.
Ever since our very first move Derek and I have kept a careful log of the dimensions of our furniture. That way when we arrived at our new home we could measure our rooms and decide where things would fit. When the movers showed up we’d be ready with a plan.
Gliffy takes that awesome logic a step further. It’s all saved on your computer. Well, the Internet. So it’s never at risk of being lost.
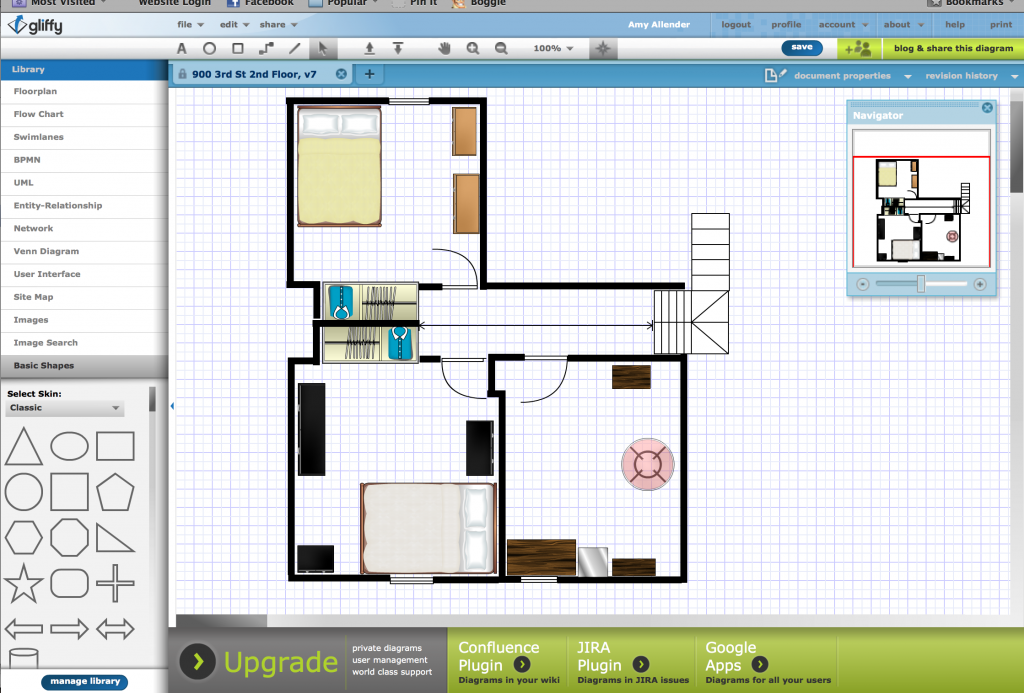
I haven’t visited my Gliffy worksheets for a long time. But all that is changing. My next type of separation therapy is on the horizon:
Destruction Therapy.
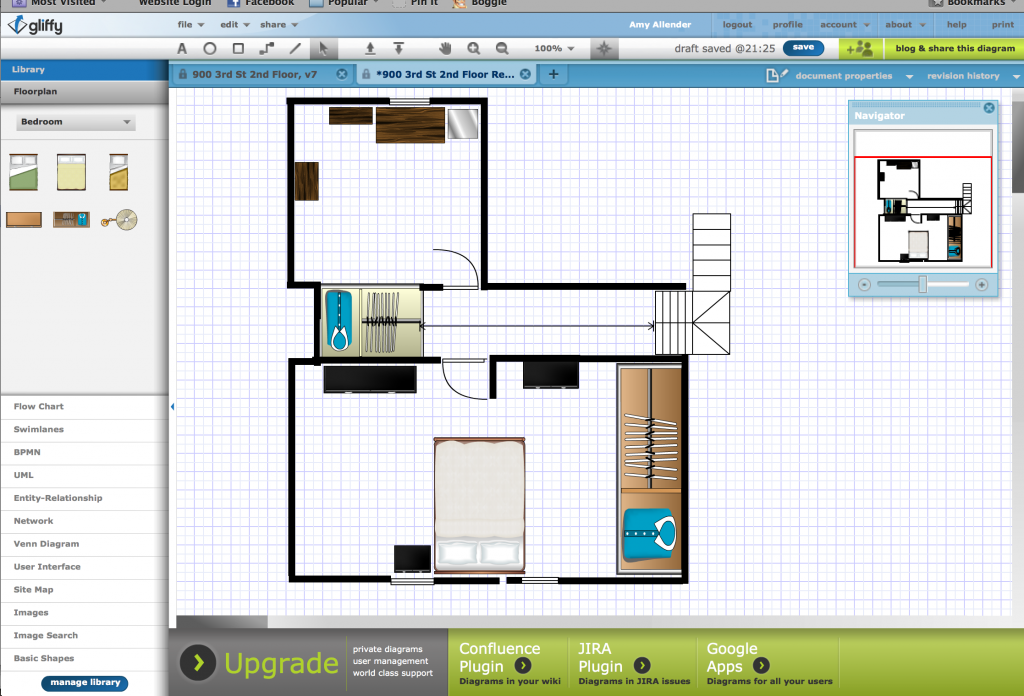
When we moved in we knew we wanted to renovate our second floor. Friends, it’s happening. May is a make-it-happen month. Hopefully by June things will look more like this: {Minus the fact that the guest room will still be there.} Still not 100% committed on where the new closet will be. The bottom line is that the wall will be gone and my furniture will fit more comfortably.
by Amy | Apr 25, 2013 | Blog, The Art of Projects, the house
My parents like to have a dog in the house. I never remember a time when we didn’t have a dog. In fact, usually they chose to overlap our dogs. As one was on its way out we bought a puppy. It eased the transition and kept our home at ease.
Projects are like puppies in my eyes.
This is how it usually plays out for me. As one thing is wrapping up, another thing starts. So here’s where I’m at today. The upholstery thing is wrapping up {and should be done at the end of this week.} Meanwhile another small project has started.
First, the chair. Impressive, right?
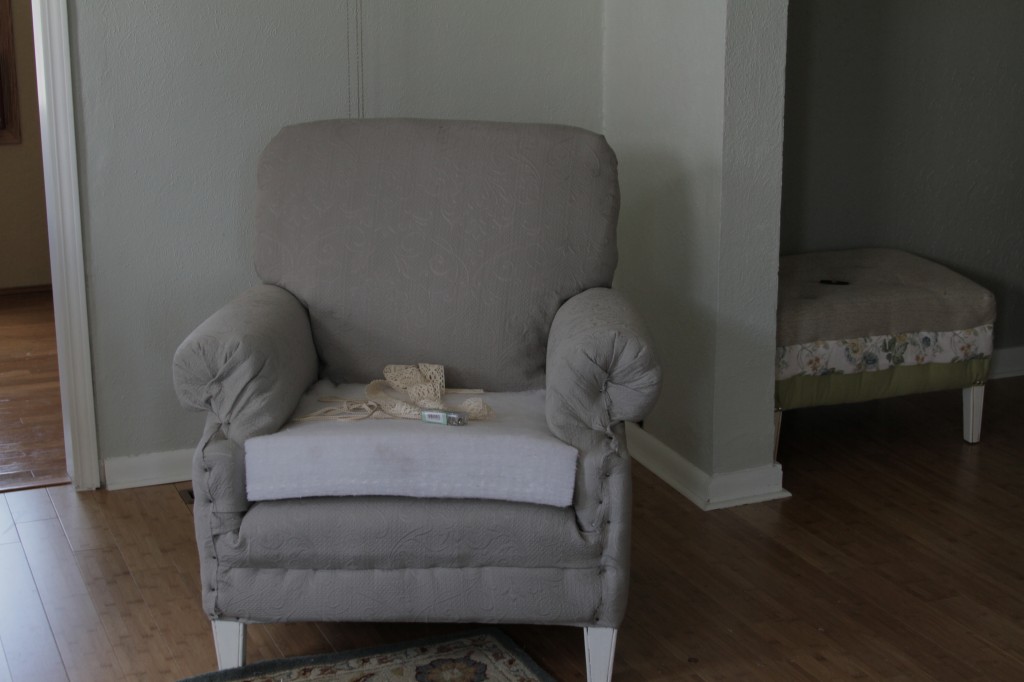
I just need to add cover pieces to the arms to cover the nails there and sew the seat cushion cover.
Second, I’m going to paint the inside of our built in cabinets. They’ve already gone through a pretty impressive makeover {which you might remember}, but I am really fed up with that ugly pinkish-brown. I want my collection of white wares to pop.
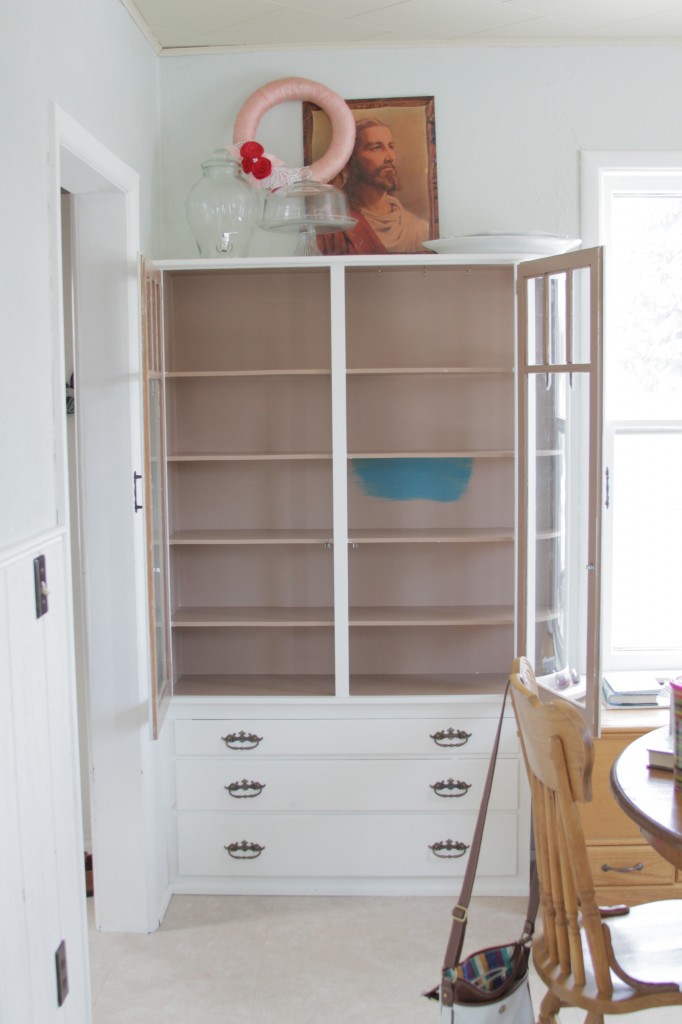
So today I taped. Tonight I upholster. Tomorrow I paint. {And I’ll buy one more yard of fabric. I’m just shy. Bummer!!}
Don’t you love adventures?
Amy
by Amy | Apr 23, 2013 | Blog, The Art of Adventure
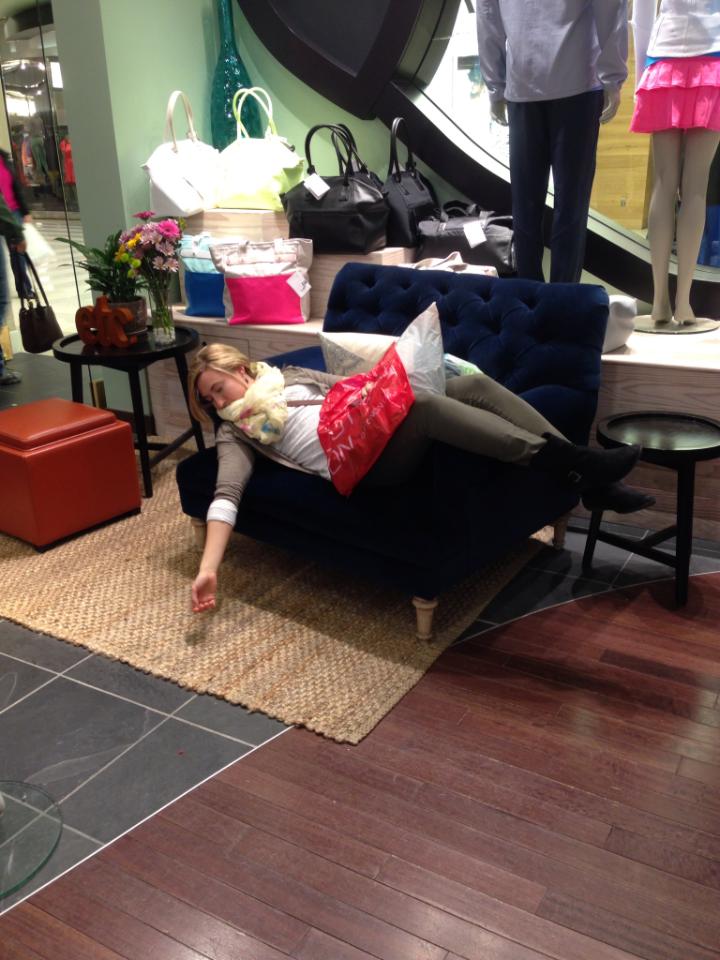
As you may remember, the drive to Minneapolis to visit the Mall of America {from here on out it will be referred to as the MOA} was pretty treacherous. Scratch that. It was some of the most terrifying driving I’ve ever done. Ever. But we made it. And, yes…it was worth it. (more…)
by Amy | Apr 19, 2013 | Blog
Have you ever time traveled?
Get ready because we are going back to the 90’s.

When I was a kid my parents bought my sister and me a game called Mall Madness. I’ve talked about it to friends since then, but no one seemed to remember it. I almost thought I made it up…especially since looking back it all just seems so weird.
But alas, it did exist.
As you can see from the box, it’s geared toward both boys and girls {just kidding}. Here is the premise as I remember it:
You set up an elaborate board that looks like a clue board, but with mall shops instead of rooms. Then you move a cool plastic person around the board. You press a button on a little machine and a weird voice tells you what store is having a sale. Then you rush there and buy things.
This is what the box says:
“Attention Mall Shoppers! The voice of the Mall has big news! Come inside and hear all about the giant sales and special bargains! Then join your friends on a wild shopping spree as you rush from store to store!
Press the console button and the Voice will tell you where to move and where to find the best sales. Hurry! Your friends may try to beat you to the bargains! See if you can be the first to buy six items. IF you need more money, make a quick stop at the bank!
To buy or bank – just insert your credit card into the slot and listen. You never know what the Voice of the Mall has “in store” for you!”
Did you catch that bit about the money? If you run out, just go to the bank. No big deal, just get more and keep shopping. Only in the 90’s…am I right?
Any time our babysitter came over we would play this game. Looking back, I really feel sorry for that. Especially since her little brother usually came along when we watched us. Andrew played a lot of Mall Madness in his day. Luckily the box came with one male character.
Anyway, the moral of this story is. First of all, that was a great game. Second, I think that was good coaching for my day today. I’ll be spotting the sales then getting there faster than anyone else.
“Attention mall shoppers, there is a sale at H&M.”
What? I’m there. Also, look out Forever 21. Storm’s a’comin’.
Amy
by Amy | Apr 19, 2013 | Blog, The Art of Adventure
Well, we made it Minneapolis.
Barely.
Let me tell you…if warm weather late into fall is called an Indian Summer, I don’t even know what to call the weather we are having right now. Well, I know what to call it, but those words are not appropriate for my younger readers.
Okay, I’ll say it. It’s poopy. Down right poopy, I tell you.
Our day started out great. Blue sunny skies in Minot. We got coffee from Sweet and Flour {the best place to get coffee in Minot} then headed out.
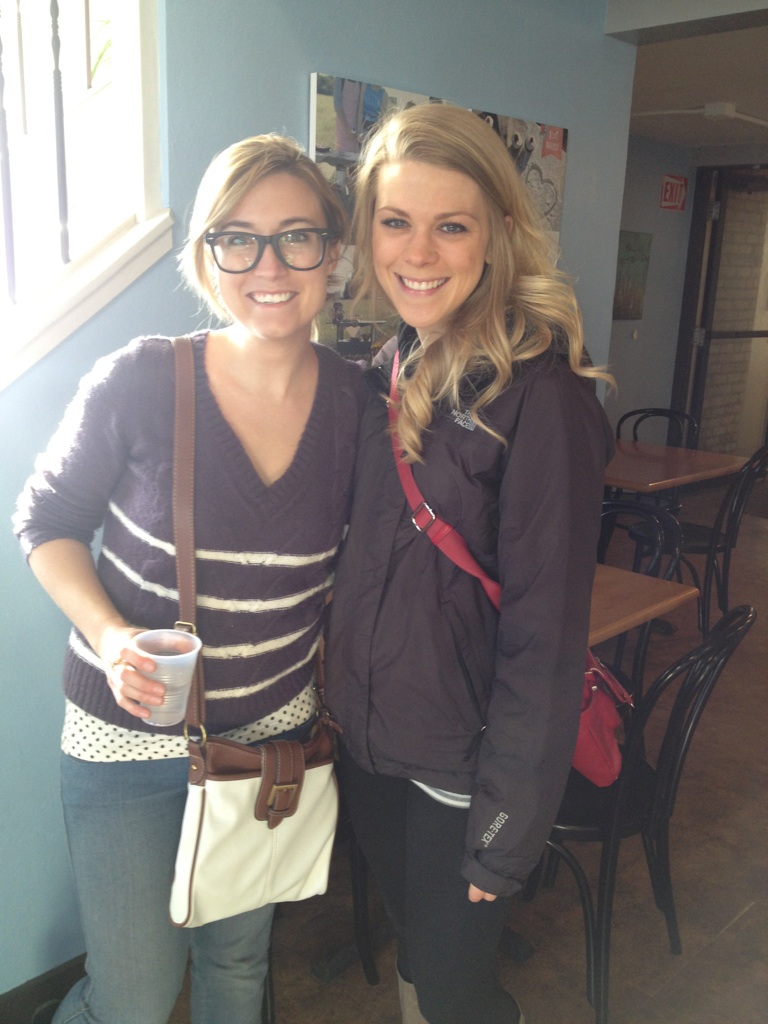
But about half way the weather turned into this.

I thought for sure we’d drive out of it eventually. I thought wrong. This lasted the rest of the drive. 5.5 hours later {it takes 3.5-4 hours in clear weather} we arrived. Yes, that is the highway. Speed limit 70. Traffic pace 40 mph.
After a good dinner at the Cheesecake Factory the weather looked like this.

Poor Katie! She’s just a little California Raisin. This is no way to treat a girl on her birthday.
Good thing our hotel offers a free shuttle to the Mall of America. No more driving for us until it’s time to go home. Hopefully by then it will be over.
Seriously, this is nuts.
Amy
by Amy | Apr 18, 2013 | Blog, The Art of Projects
Okay guys. I did it. I’ve officially parted with my T-shirt collection. Which is a pretty big deal. Why do T-shirts hold such power over us? Like that 5K we walked in won’t exist if we don’t keep the T-shirt. Or we won’t remember anything about high school if we ever toss the shirt we got senior year on that marketing trip.
I don’t use my T’s any more. I used to work out in them…but since I teach so many classes these days I’ve accumulated a very nice collection of professional fitness gear. So I weeded out my T-shirts. Nearly all of them.
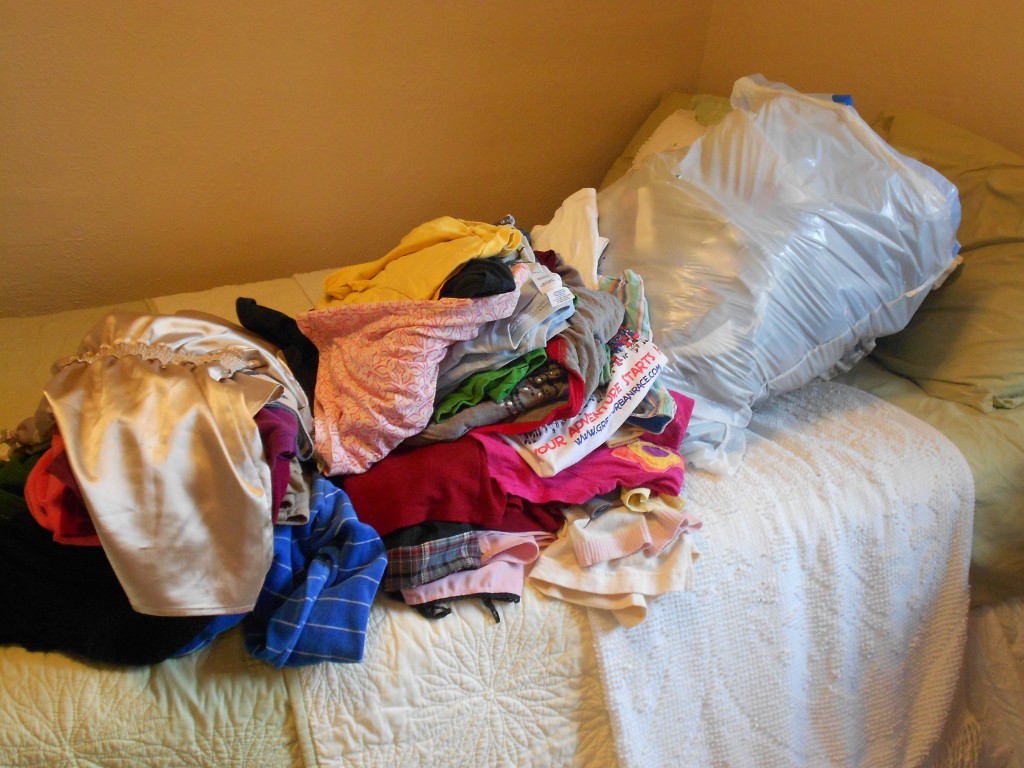
And I didn’t stop there…the more I put in the “get-rid-of” pile the easier it was to add to it. I really weeded the proverbial clothing garden in my closet. Anything that I didn’t wear this winter=gone. Things that don’t fit=gone. Things that I want to like, but never really do once their on=gone.
Add in the garbage bag full of clothes that Derek set aside for the “pass on pile,” our closet is looking pretty good. {It’ll look better in May…we are having some construction done!! But that’s a different post.}
Why, oh why did I pick this week, of all weeks to purge my closet? I’ll tell you…tomorrow…I head to Minneapolis…to go to the MOA! Yes, that’s right, The Mall of America, baby! I will never, ever buy more than I am tossing, but I will buy. I’ll buy things from this decade, things that fit, things that look like post-college.
Even if you aren’t going to the MOA {sorry for your luck} I bet you have some things to get rid of. And I was serious when I said it’s easier once you start. You’ll see. Try it. You’ll feel better without all that excess. I pinky swear.
For tips on getting organized this spring go check out Kuzak’s Closet. Amanda is a blogger buddy of mine and she totally rocks…her tips will have you whipped into shape in no time.
Amy
PS…this is the only kind of purging I encourage. You are beautiful just the way you are.
by Amy | Apr 17, 2013 | Blog, The Art of Projects
I’ve had lots of people inquiring about how my chair is coming. Honestly? Really good.
It’s been stripped down and restuffed. Now I’ll show you how to do it. This part is easy…as long as you are patient and take good notes.
Today we’ll look at the five easy steps it takes to get that fabric off and get the cushy padding on.
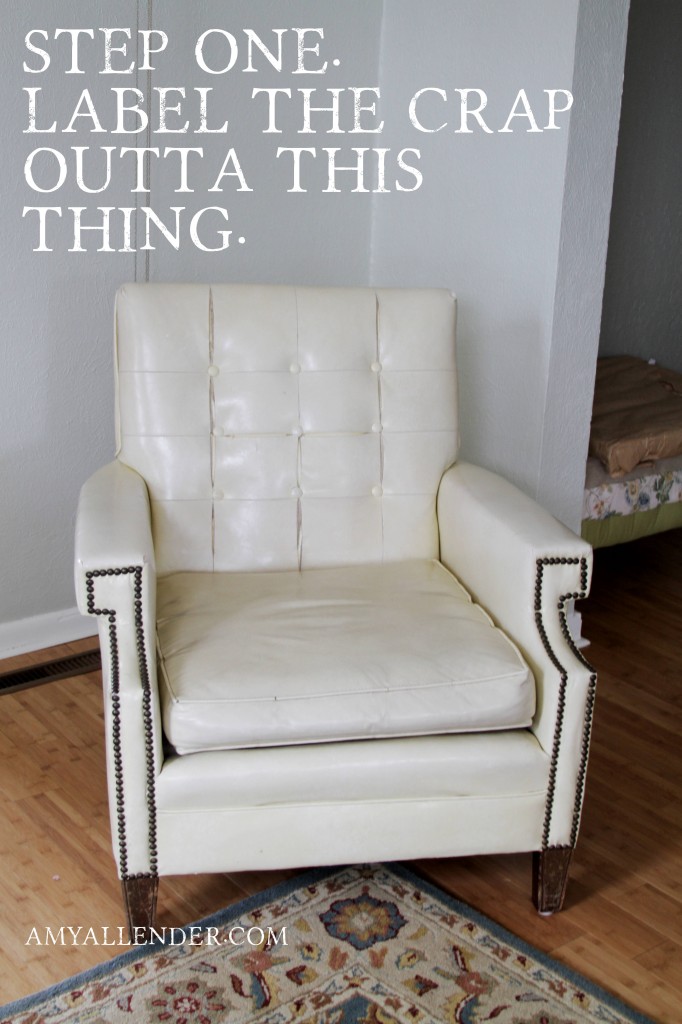
That’s right. The first tool you’ll need is a Sharpie. You’ll be taking the fabric all off, so don’t be shy. Write all over your piece. Everywhere you see a seam: label. Make notes. Note what side is up, where decorative brads are, etc.
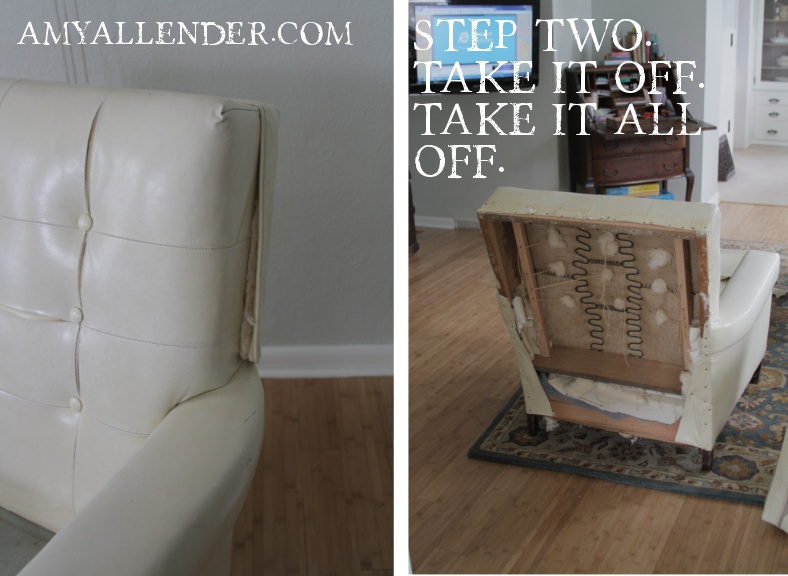
Once your piece is fully labeled it’s time to remove. Start by finding a seam. Upholstery has very little sewing involved. Most seams will be held together by staples or nails. As you can see, my chair was already falling apart, so it was a good place to begin.
Keep that Sharpie handy, though. As you remove each piece, number it. Then when it is time to cut new fabric and reassemble, you’ll put them back on in reverse order. On chairs the back is usually one of the last pieces on, so it will be one of the first to come off.
Take care as you remove. You’ll want each piece fully intact, with as little tearing as possible. The best way to pattern for your unique piece of furniture is by patterning after the fabric that comes off.
Tip: I used a small chisel for prying off stubborn upholstery tacks.
Tip: Remove as many tacks and nails as possible…this will make it easier to add new tacks later.
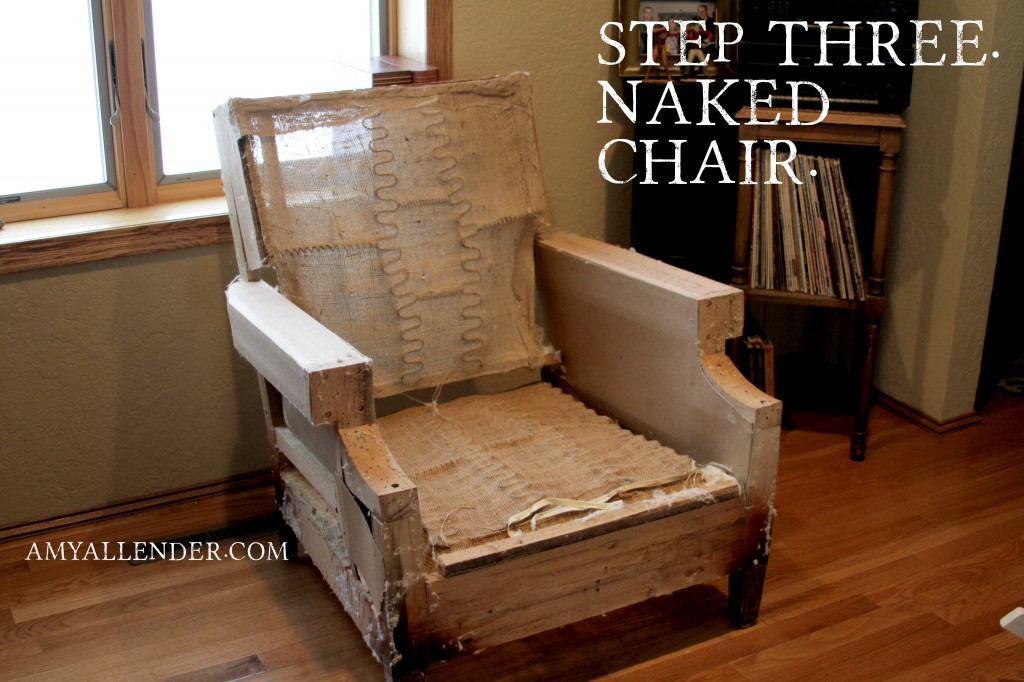
Step three is easy. You’ll have a naked chair. {A friend recently told me if I ever open a brewery it should be called the Naked Chair after seeing this guy…funny, right?
Take a look at your piece’s bones. Shake it. Is it rickety? Are there loose nails? Did you get all the upholstery nails out that you possibly could? Should you repaint the legs? Are the springs good?
If your furniture seems shady in any way, now is the time to fix it.
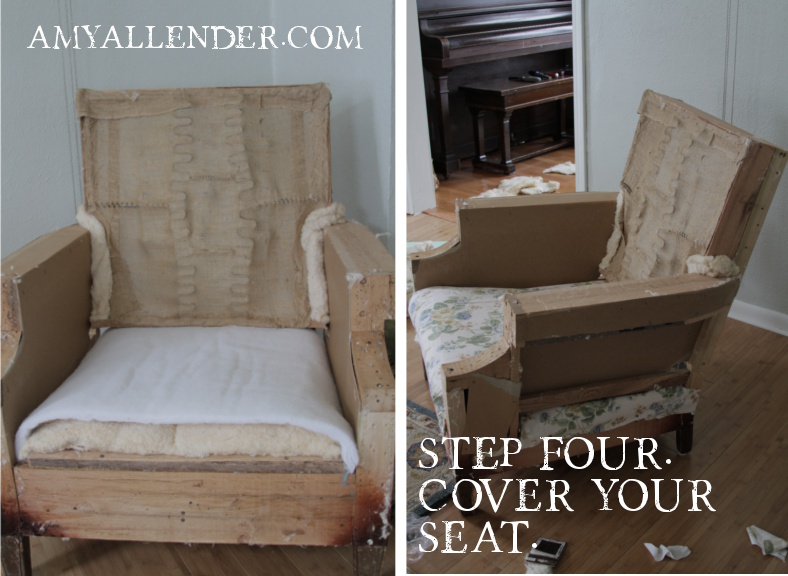
Now we start to make this baby comfy. I used two types of padding: cotton mat and 1″ foam upholstery batting. The fabric covering the thin layer of padding over the springs was last to come off, so it is the first thing to address.
I put the cotton over the burlap covering the springs, then a layer of foam {left image.} Tuck it into the sides. Then I covered that with fabric. I used the nasty, super-worn original fabric as a template for the new covering. Although this fabric is cute, it will be hidden under the seat cushion…still a pleasant surprise when you search the cushions for Waffle Cone Wednesday change.
Start by nailing the fabric to the front edge. {You can also use a good stapler.} If you are using nails, make sure you invest in a package of upholstery tacks. They are specifically made for holding this kind of stuff in place. After the front is secure, go to the back. Pull the fabric as taut as possible and nail down.
Repeat the process on the sides.
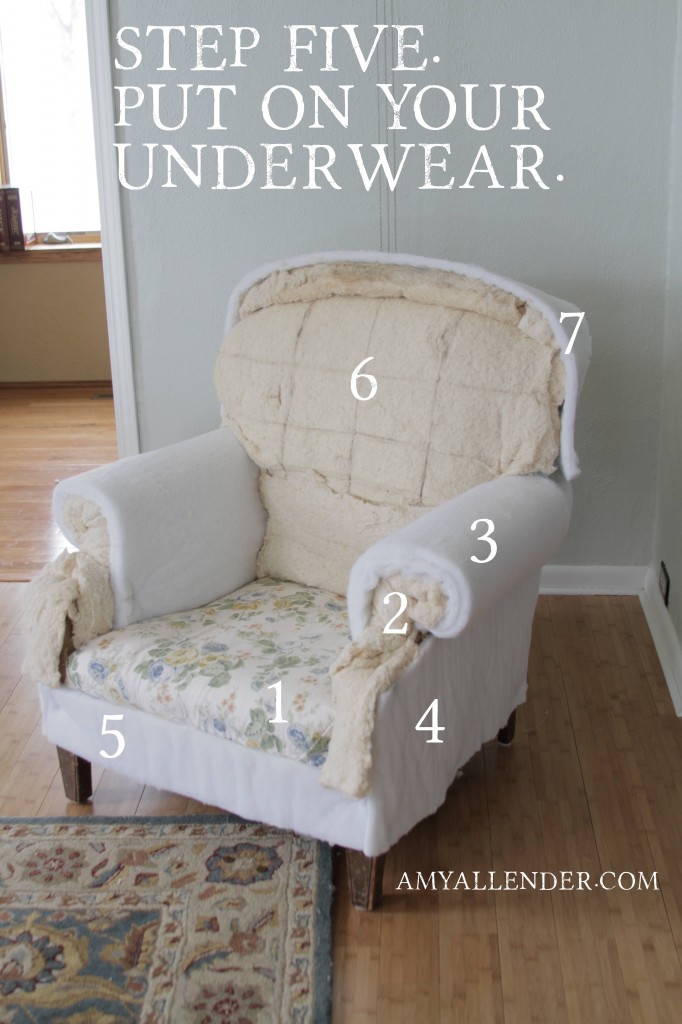
Okay, just like getting dressed…you need to put on underwear before you get dressed up. That’s what the padding does for the chair.
I conveniently numbered the order of the pieces I put in place. Seat was first. After that, put a thin layer over the front of the arm rests. Rule of thumb: Make the parts you lean on/sit on the softest.
#3, cover the arms. I doubled my 1″ foam for this part. Then cover the exterior side panels. Then the front.
Some of the padding may get too thick for using upholstery tacks. In that case, just use small, thin nails. For parts that have thin padding, use tacks. Either way, you’ll want to use enough tacks to keep things firmly in place. No one likes a shifty arm rest.
When it came to the chair back I really wanted to add some pad. I cut a piece of 2.5″ high density foam to cover the chair back, then a layer of cotton mat on top of that.
Last is padding to soften the edges of the top of the chair. I left the back totally open, since I’ll need to access it to add buttons later.
And there you have it! One stripped and repadded chair. Hopefully it’ll be totally done next week and I’ll have a B&A to show off.
Amy


